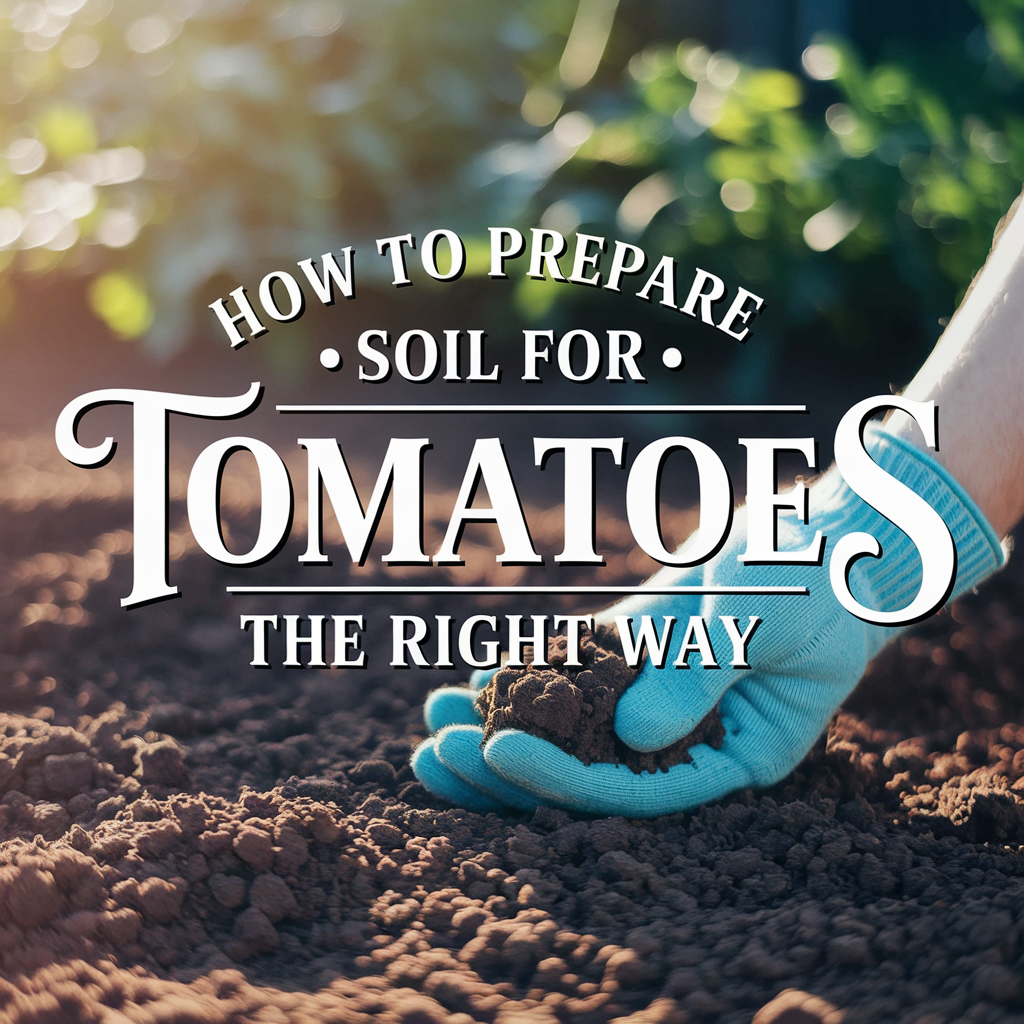
Why Soil Prep Matters More Than You Think
When I first started growing tomatoes, I didn’t think much about the soil. I figured as long as I put them in the ground, watered them, and gave them sunlight, they’d thrive. I learned the hard way that healthy tomato plants start with the right soil prep. If your soil is too compact, missing nutrients, or the wrong pH level, you’re setting yourself up for weak growth or no tomatoes at all.
Preparing your soil ahead of time not only helps with stronger root systems, but also improves nutrient uptake and reduces issues like blossom end rot and yellowing leaves. It really is the foundation of the whole harvest.
Test the Soil First—Don’t Guess
Before I plant anything now, I test the soil. A simple soil test kit tells me if I need to raise or lower the pH and what nutrients are missing. I use both of these:
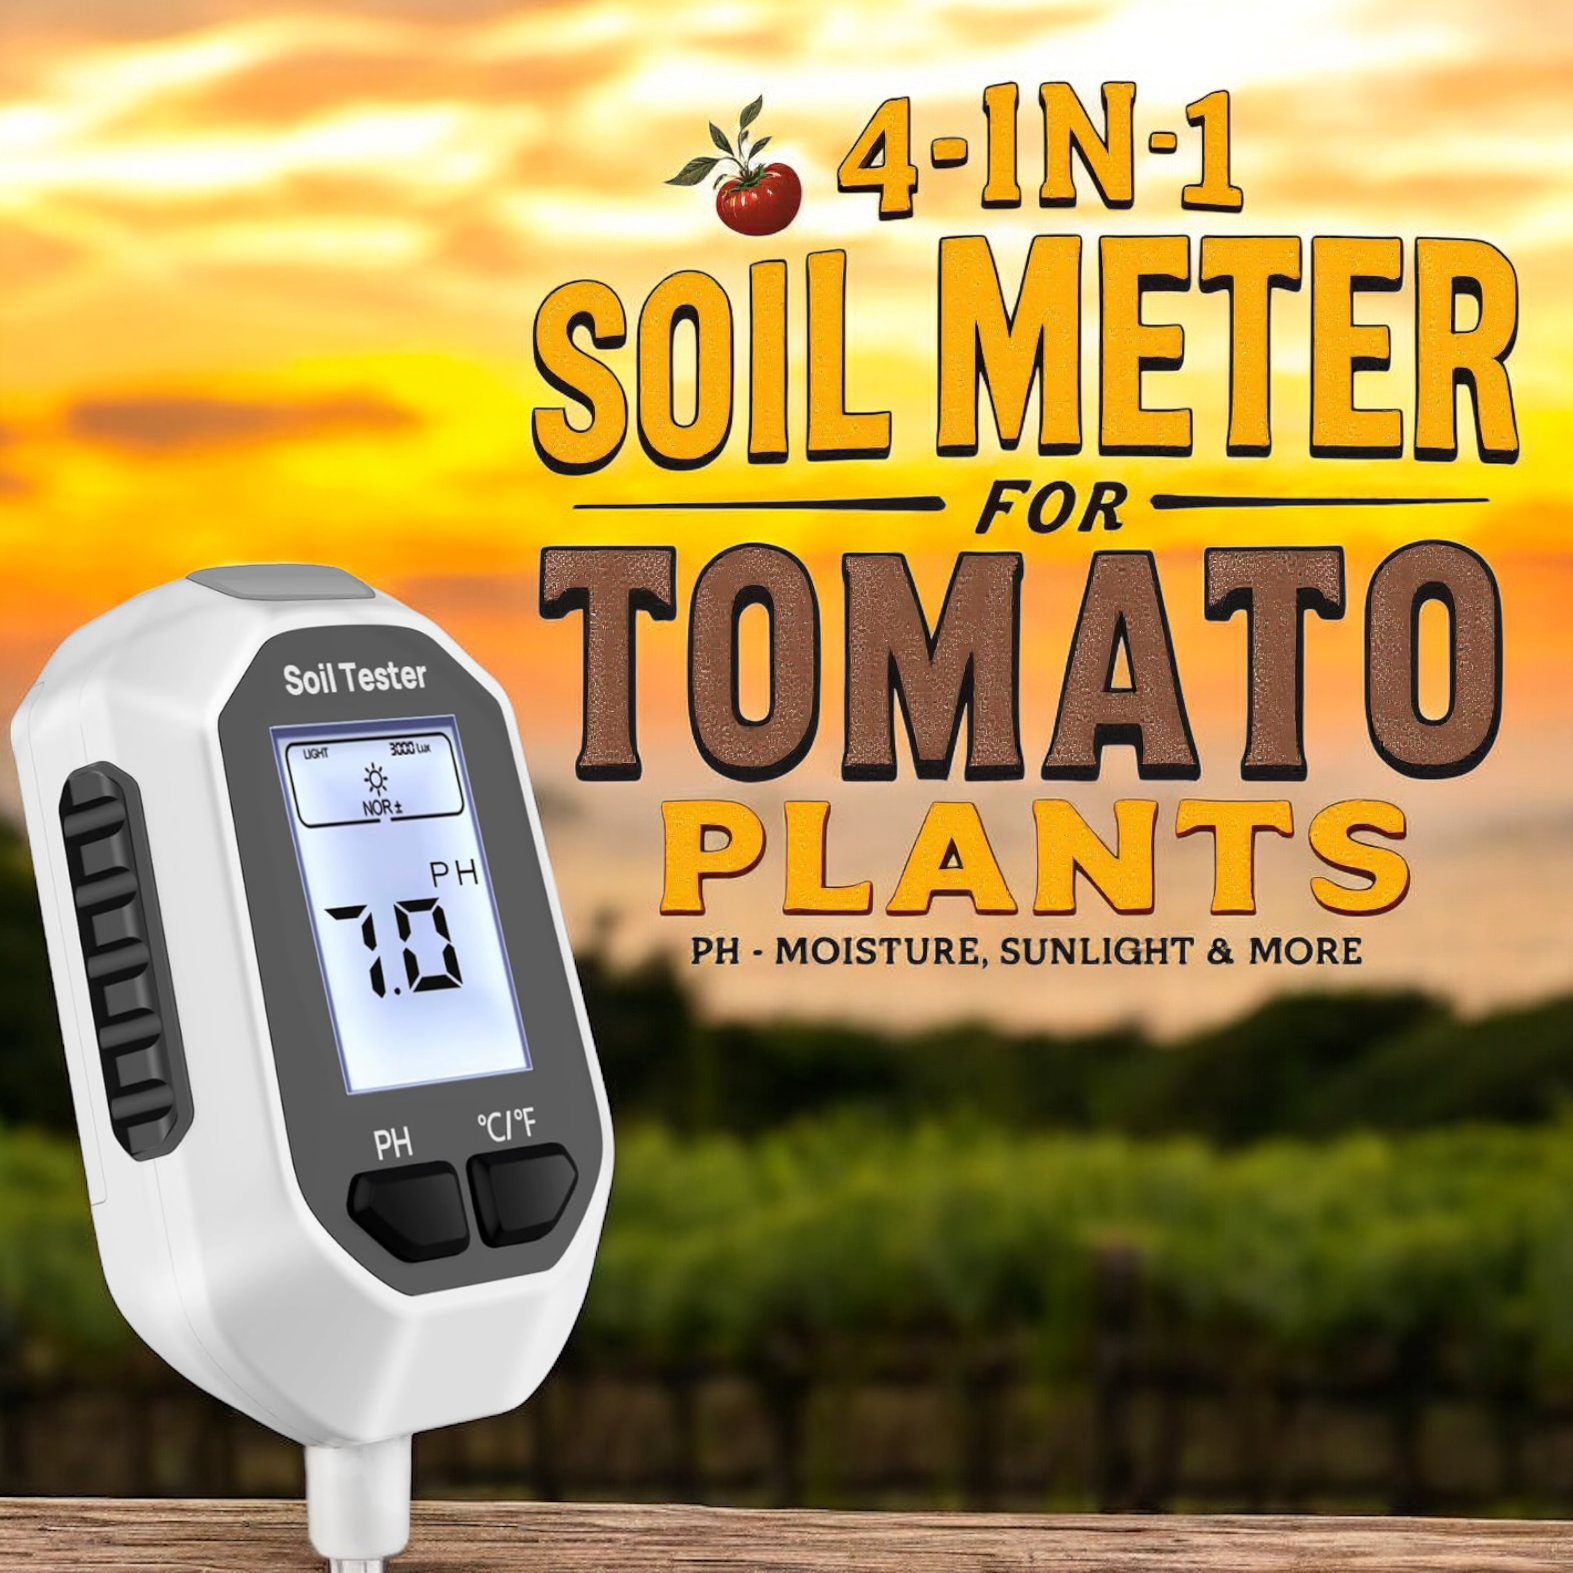
- 4-in-1 Soil Meter for Tomato Plants – PH, Moisture, Sunlight & More 🌱
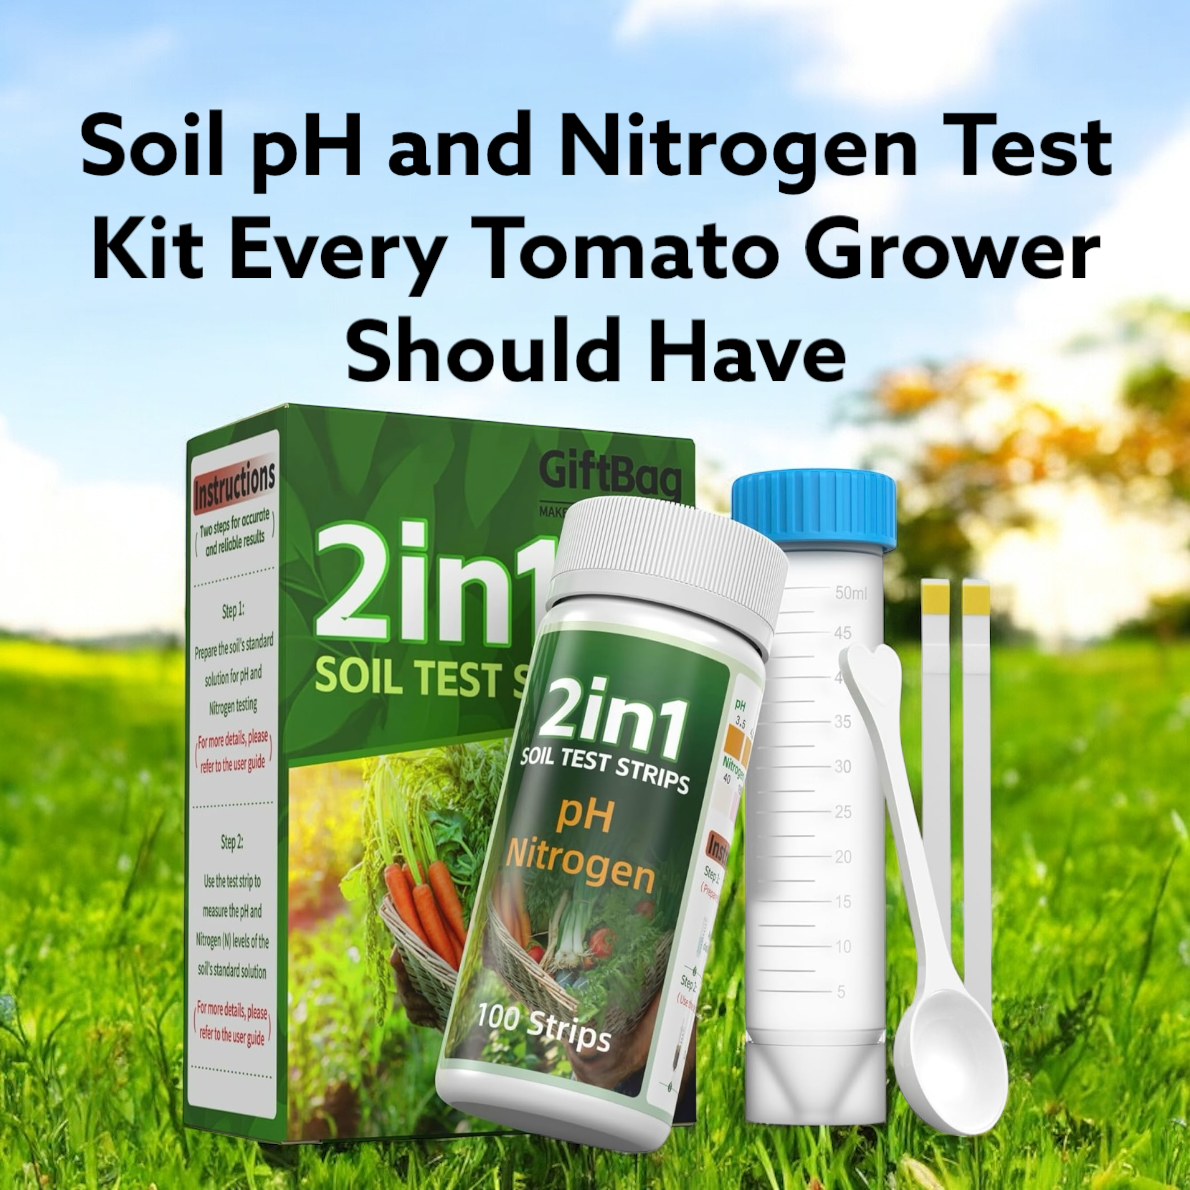
- Soil pH and Nitrogen Test Kit – A Must-Have for Gardeners 🧪
Tomatoes like soil that’s slightly acidic—between 6.0 and 6.8 pH is ideal. If the soil is too acidic or too alkaline, I adjust it before planting. That one step alone has made a huge difference in how many tomatoes I get each season.
Clear the Area and Work That Soil
Once your pH is in check, it’s time to get your hands dirty. I clear out old roots, weeds, and debris from last season. That junk can steal nutrients and attract pests, and trust me—tomato hornworms love an unkempt garden. (If you’re already dealing with pests, check out what to spray on tomato plants when bugs start chewing for some real solutions.)
After clearing, I till or loosen the soil to at least 8–12 inches deep. Tomatoes need room to root down, and tight soil chokes them out. If the soil is heavy or full of clay, I’ll mix in some compost, peat moss, or even a bit of sand to boost drainage and aeration.

Add Organic Matter Like It’s Magic
This step is a game changer. I mix in well-aged compost, worm castings, or rotted manure. That stuff brings life back into the soil and gives your tomatoes the nutrients they crave. I usually aim for a 1:1 ratio—half garden soil, half compost blend.
I’ve also started using mulch around my plants once they’re in the ground, which keeps moisture balanced and prevents weeds. Just make sure you avoid a mulch volcano—it’s a common mistake. (Seriously, check out this mulch volcano warning if you’re not familiar.)

Don’t Forget to Feed the Soil Before You Plant
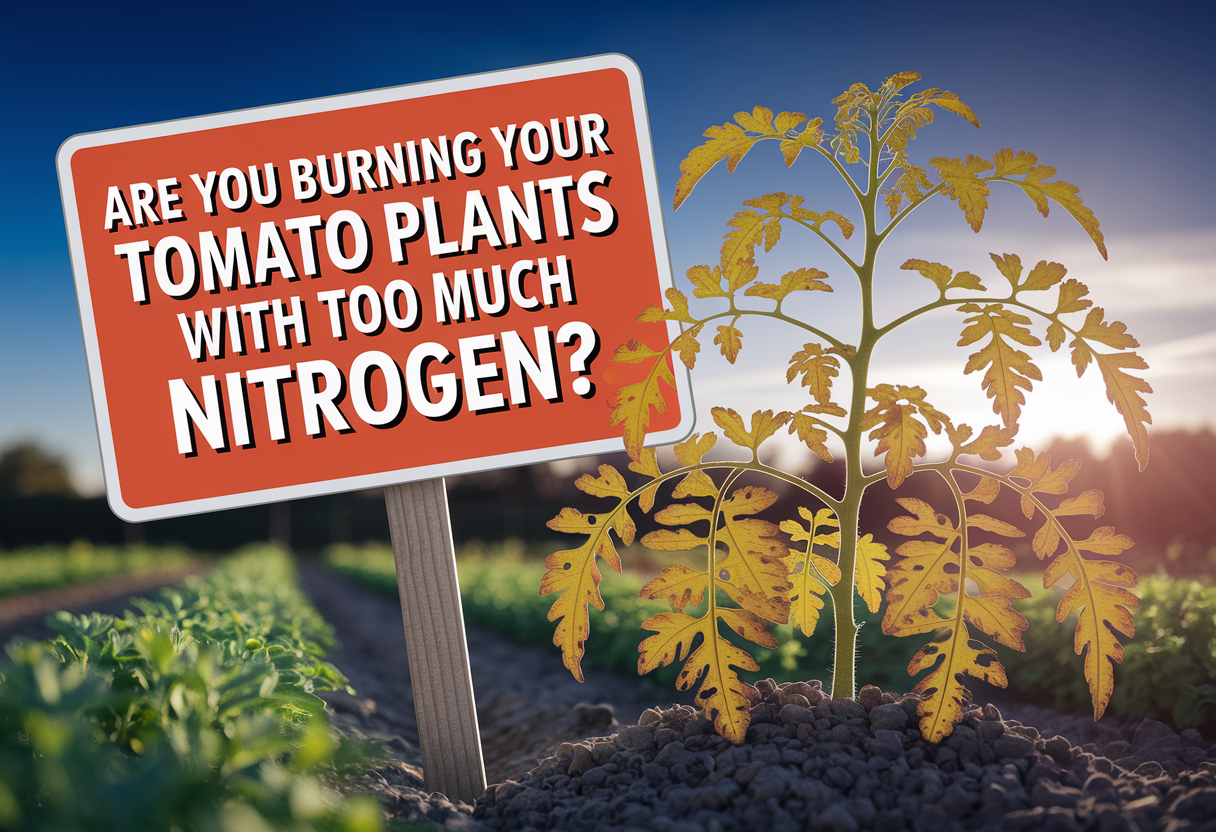
Once my compost is mixed in, I like to add a balanced fertilizer before transplanting. Tomatoes are heavy feeders. If your soil’s too poor in nutrients, you’ll get tall plants with no fruit—or worse, sickly stems and yellow leaves.
Lately, I’ve been using this tomato fertilizer that actually works because it’s packed with the right nutrients (like nitrogen, phosphorus, and potassium) in the right ratio. It seriously boosted my tomato production last summer. I sprinkle it into the top few inches of soil and water it in a few days before planting.
Level It, Let It Rest, and Test Moisture
Before planting day, I give the soil a break—literally. Letting it rest for a few days after mixing everything in allows nutrients to settle and microbial life to kick in. Then I level it off gently and do a quick moisture check.
The soil should feel damp but not soggy. If it clumps too tightly, it’s holding too much water, which tomatoes hate. A 4-in-1 soil meter like this one makes it easy to check moisture, pH, and even sunlight intensity—all the stuff tomato plants care about.
Why Tomato Roots Need Loose Soil to Thrive
One thing I learned the hard way is that compacted soil is the enemy of tomato plants. If your soil feels like clay when wet or like a rock when dry, roots can’t spread, and water just pools or runs off. I always loosen my soil at least 12 inches deep, especially in raised beds or older garden spots. A garden fork works better than a shovel for this, and it makes a huge difference in how well the roots anchor and grow.
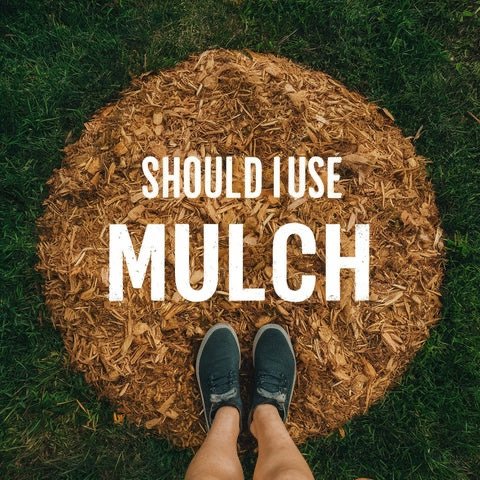
The Role of Mulch in Soil Prep
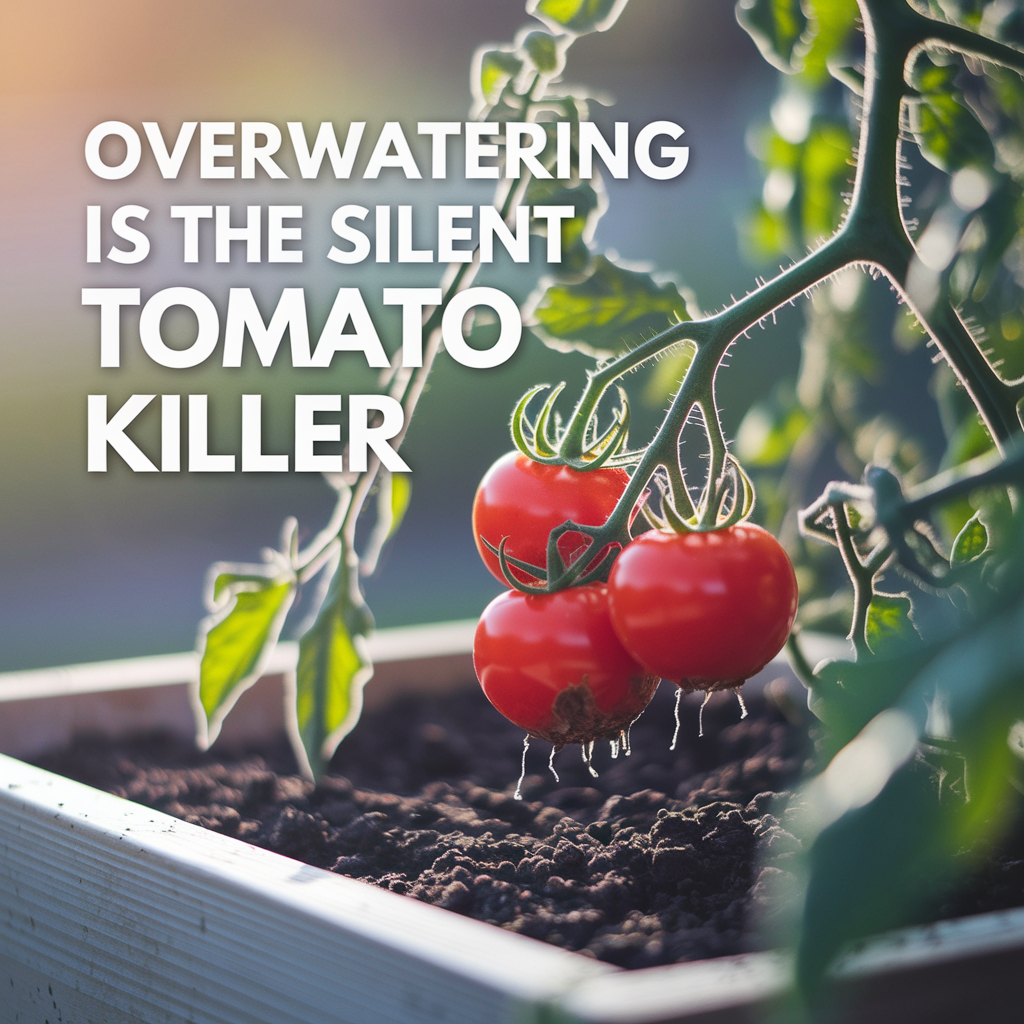
Most people think mulch is something you add after the plant is in the ground. Not me—I work some mulch into my soil a week before planting. Not only does it help keep moisture steady, but it gets the surface layer used to insulation. Once the tomatoes are planted, I’ll add more around the base. This helps prevent overwatering issues like these signs of tomato plants getting too much water.
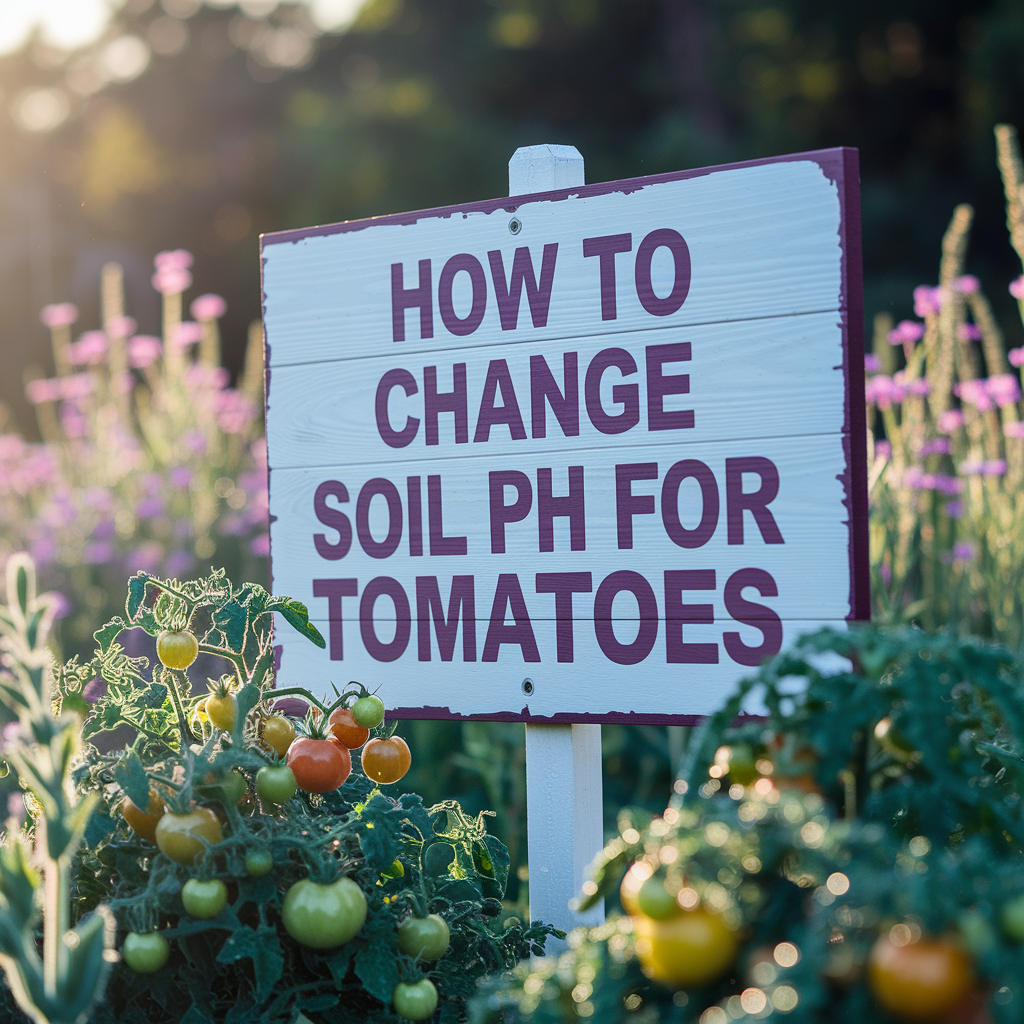
Do Tomatoes Like Acidic or Alkaline Soil?
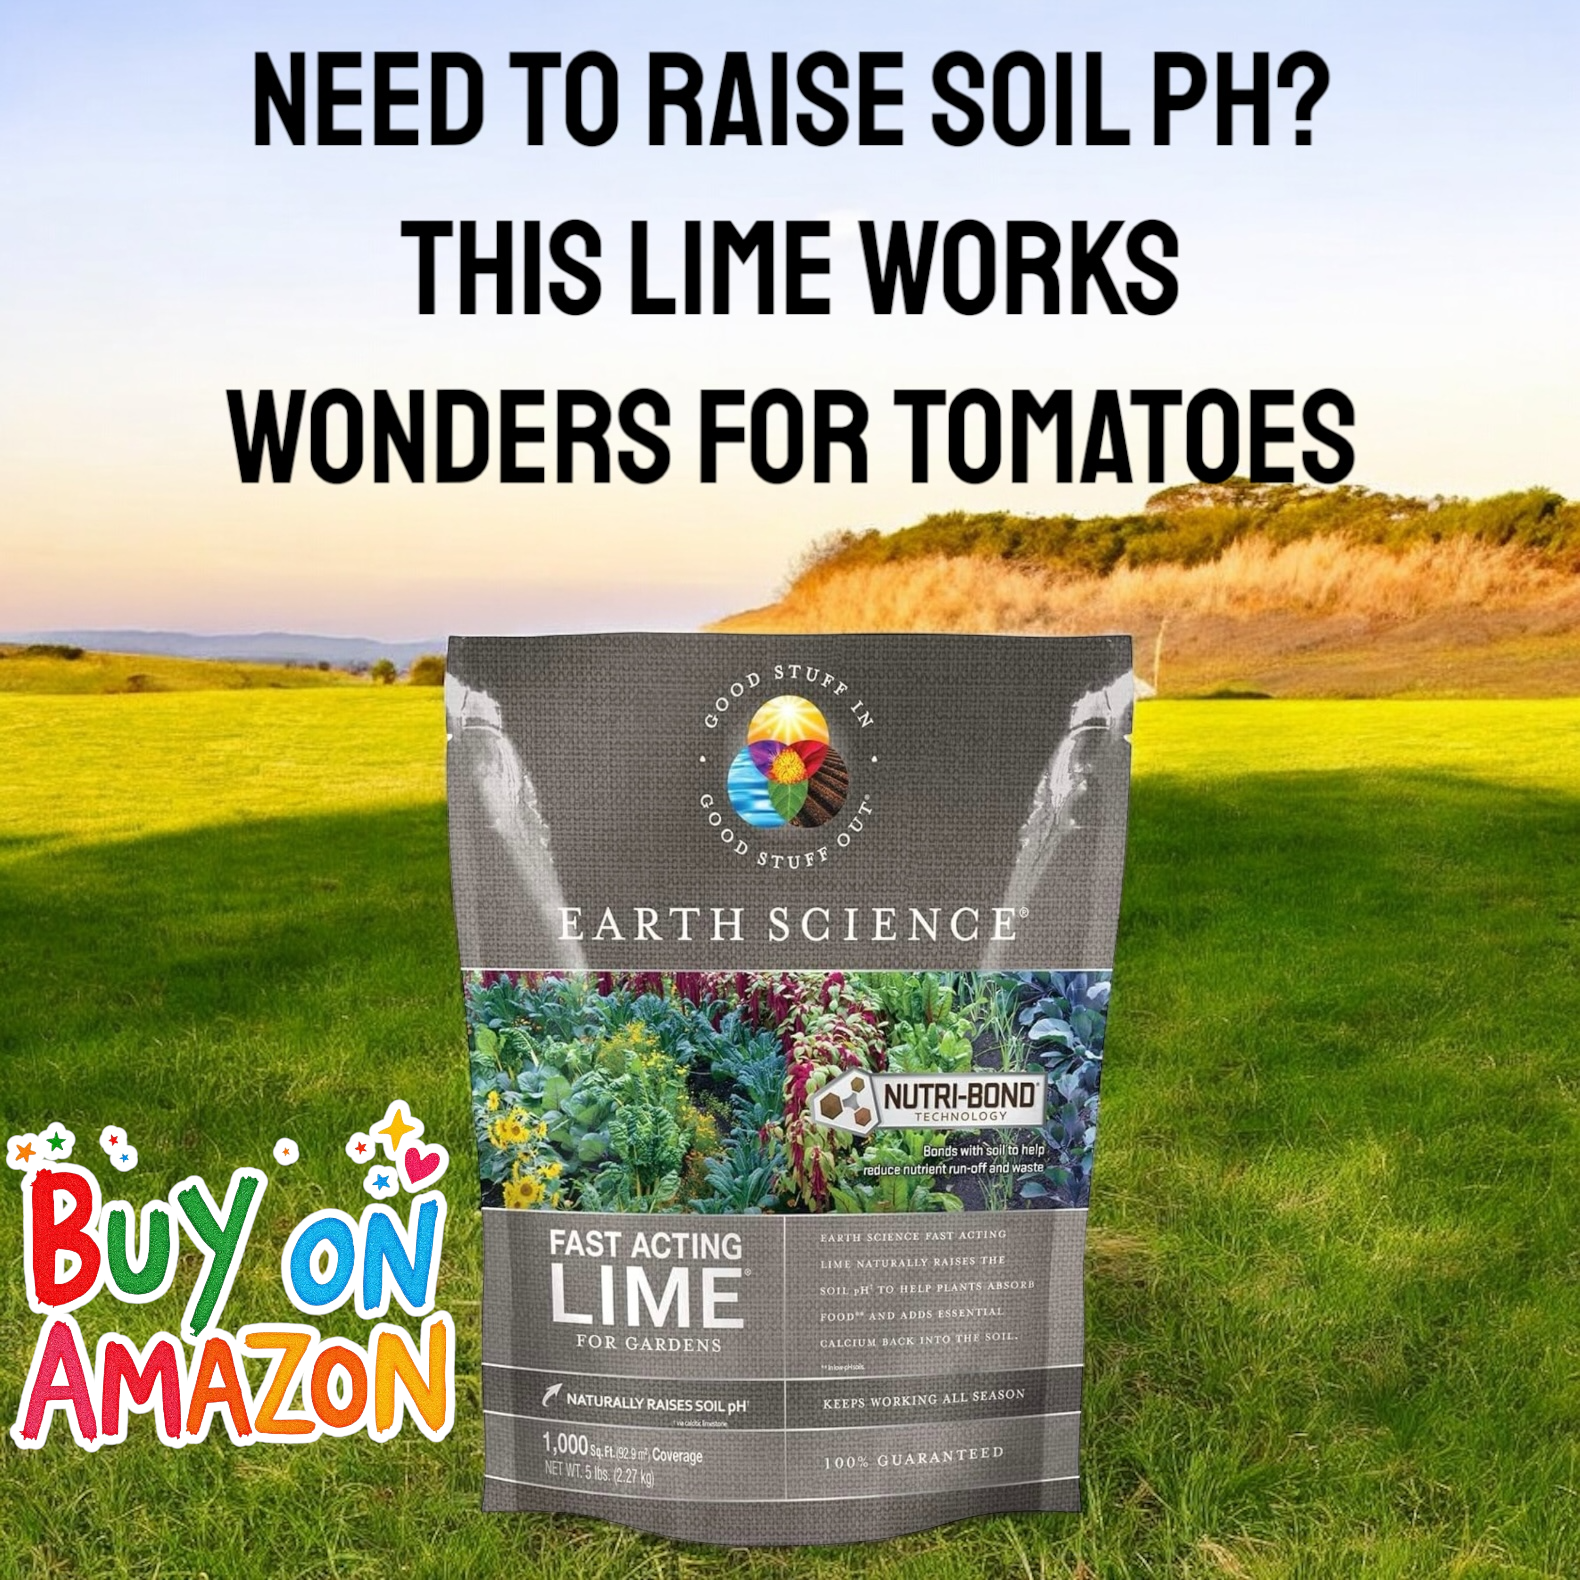
Tomatoes actually prefer slightly acidic soil, ideally in the 6.0–6.8 pH range. I test this every season, and if it’s off, I fix it fast. If my soil is too alkaline, I use this sulfur product to lower the pH. If it’s too acidic, this lime treatment does the trick. This step is crucial if you want your tomato plants to actually absorb the nutrients you’re working hard to give them.
Dealing with Weeds Before You Plant
Weeds compete for nutrients, and the last thing I want is crabgrass stealing what my tomatoes need. I always remove surface weeds a few weeks ahead of planting and cover the area with cardboard or black plastic. It helps kill off anything hiding below the surface. Trust me, clearing weeds during soil prep saves you hours of frustration later.
Should You Add Epsom Salt or Coffee Grounds?
This one’s controversial, but I’ll tell you what I do. I don’t go crazy with Epsom salt, but I do sprinkle a little in my planting holes if I know my soil lacks magnesium. It can help with blossom end rot. Coffee grounds? I compost them first. Raw grounds can be too acidic and clump up. A balanced approach is key—don’t turn your soil into a science experiment unless you’re testing regularly with a soil pH and nitrogen kit like this one.
How Soon Can You Plant After Prepping the Soil?
If you’ve added a bunch of amendments—especially things like compost, manure, or lime—give your soil 5 to 7 days to mellow out before planting. It gives time for materials to settle and not burn new roots. I use this time to map out my spacing and set up trellises. When your soil looks fluffy, smells earthy, and drains well after watering—it’s ready.

FAQ: Preparing Soil for Tomatoes
Can I reuse the same soil from last year for tomatoes?
You can, but I don’t recommend using it as-is. Tomato plants are heavy feeders and can drain soil of nutrients fast. I always refresh last year’s soil by mixing in new compost, testing the tomato soil pH again, and making sure there’s no leftover disease or pest issues (like those annoying hornworms). Rotate your beds if you can — even just switching sides of the garden helps avoid problems.
How do I test my garden soil for tomatoes?
There are two ways I test: with a digital 4-in-1 soil meter for quick checks, and with a more detailed soil pH and nitrogen kit when I need accurate info before planting. Both are easy to use and give peace of mind that my soil’s on the right track.
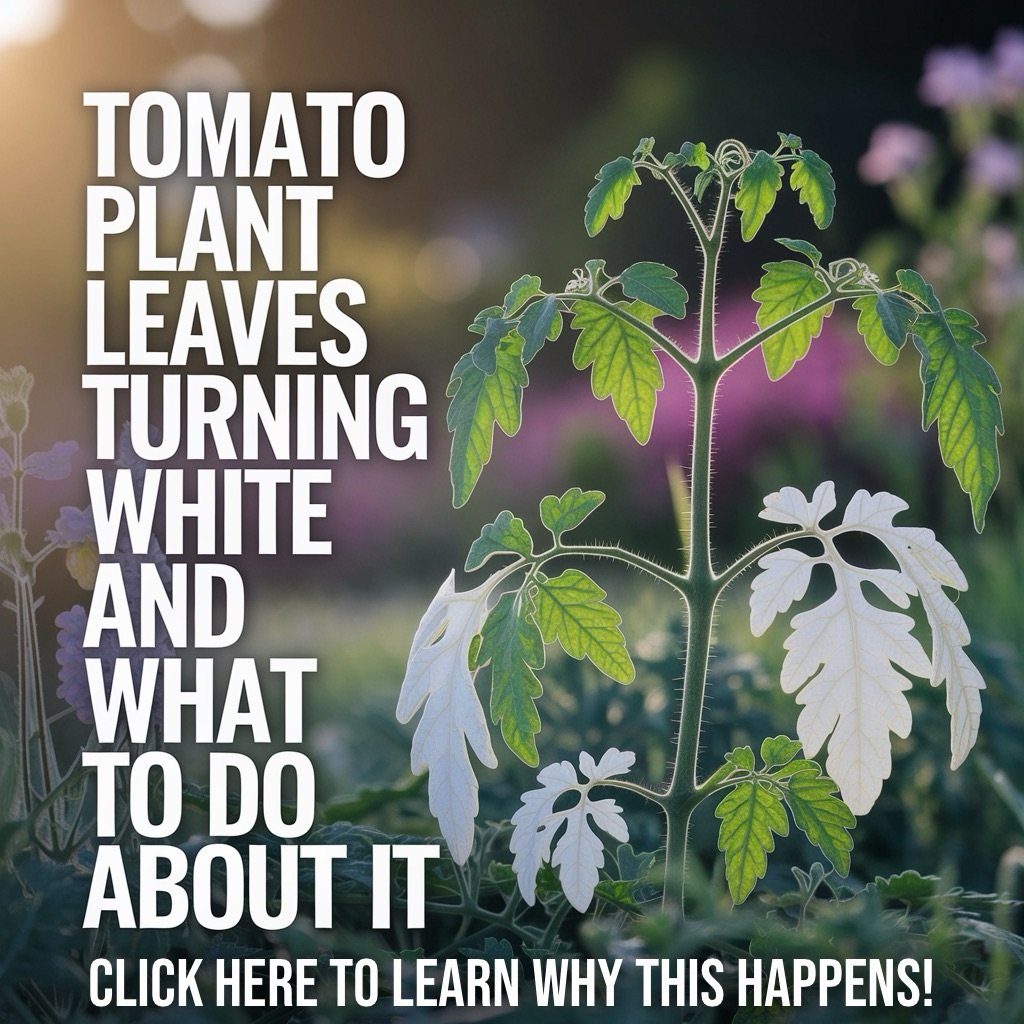
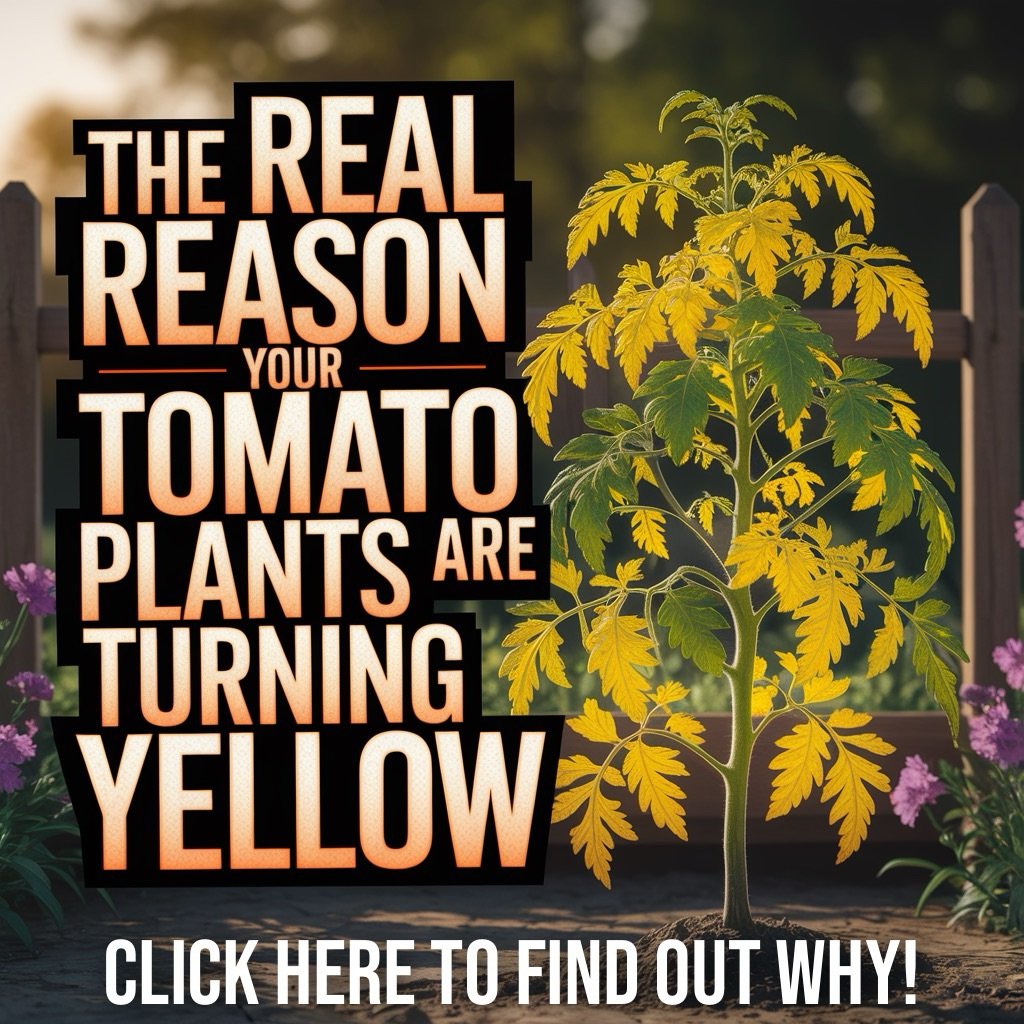
What if my tomato plant leaves are already turning yellow before I plant?
Yellowing can be a sign of overwatering or poor nutrients. Before planting, check your drainage and avoid overly rich, soggy compost. If you’re seeing this after planting, here’s a breakdown of the real reason tomato plants turn yellow.
Is it okay to till the soil before planting?
Yes — but don’t overdo it. I lightly till or loosen the top 8 to 12 inches just enough to mix in compost and amendments. Over-tilling can destroy helpful microbes and lead to compacted soil once it settles.
Can I plant tomatoes in potting soil?
You can, but potting soil alone doesn’t usually have the nutrients tomatoes crave long-term. If I’m planting in containers, I mix potting soil with compost, a handful of worm castings, and make sure to test the pH just like I would in a garden bed.

As an Amazon Associate we earn from qualifying purchases through some links in our articles.