Why Bother Trellising Tomatoes in the First Place?
When I first started growing tomatoes, I didn’t trellis a single plant. Big mistake. The vines sprawled across the ground, fruit rotted from lack of air, and bugs had a buffet. That’s when I realized trellising isn’t just for looks — it’s for survival.
Trellising keeps your tomatoes off the soil, improves airflow, prevents diseases like early blight, and helps support the weight of ripening fruit. Plus, you’ll actually be able to find the tomatoes when it’s time to harvest (trust me, it helps).
If your plants are struggling from too much water, laying on the ground can make things worse. Here’s a full breakdown on what to look for 👉 Signs of Overwatering Tomato Plants and What To Do Next
Even if you’re growing in raised beds or grow bags, the right trellis system makes a world of difference in how productive and manageable your garden becomes.
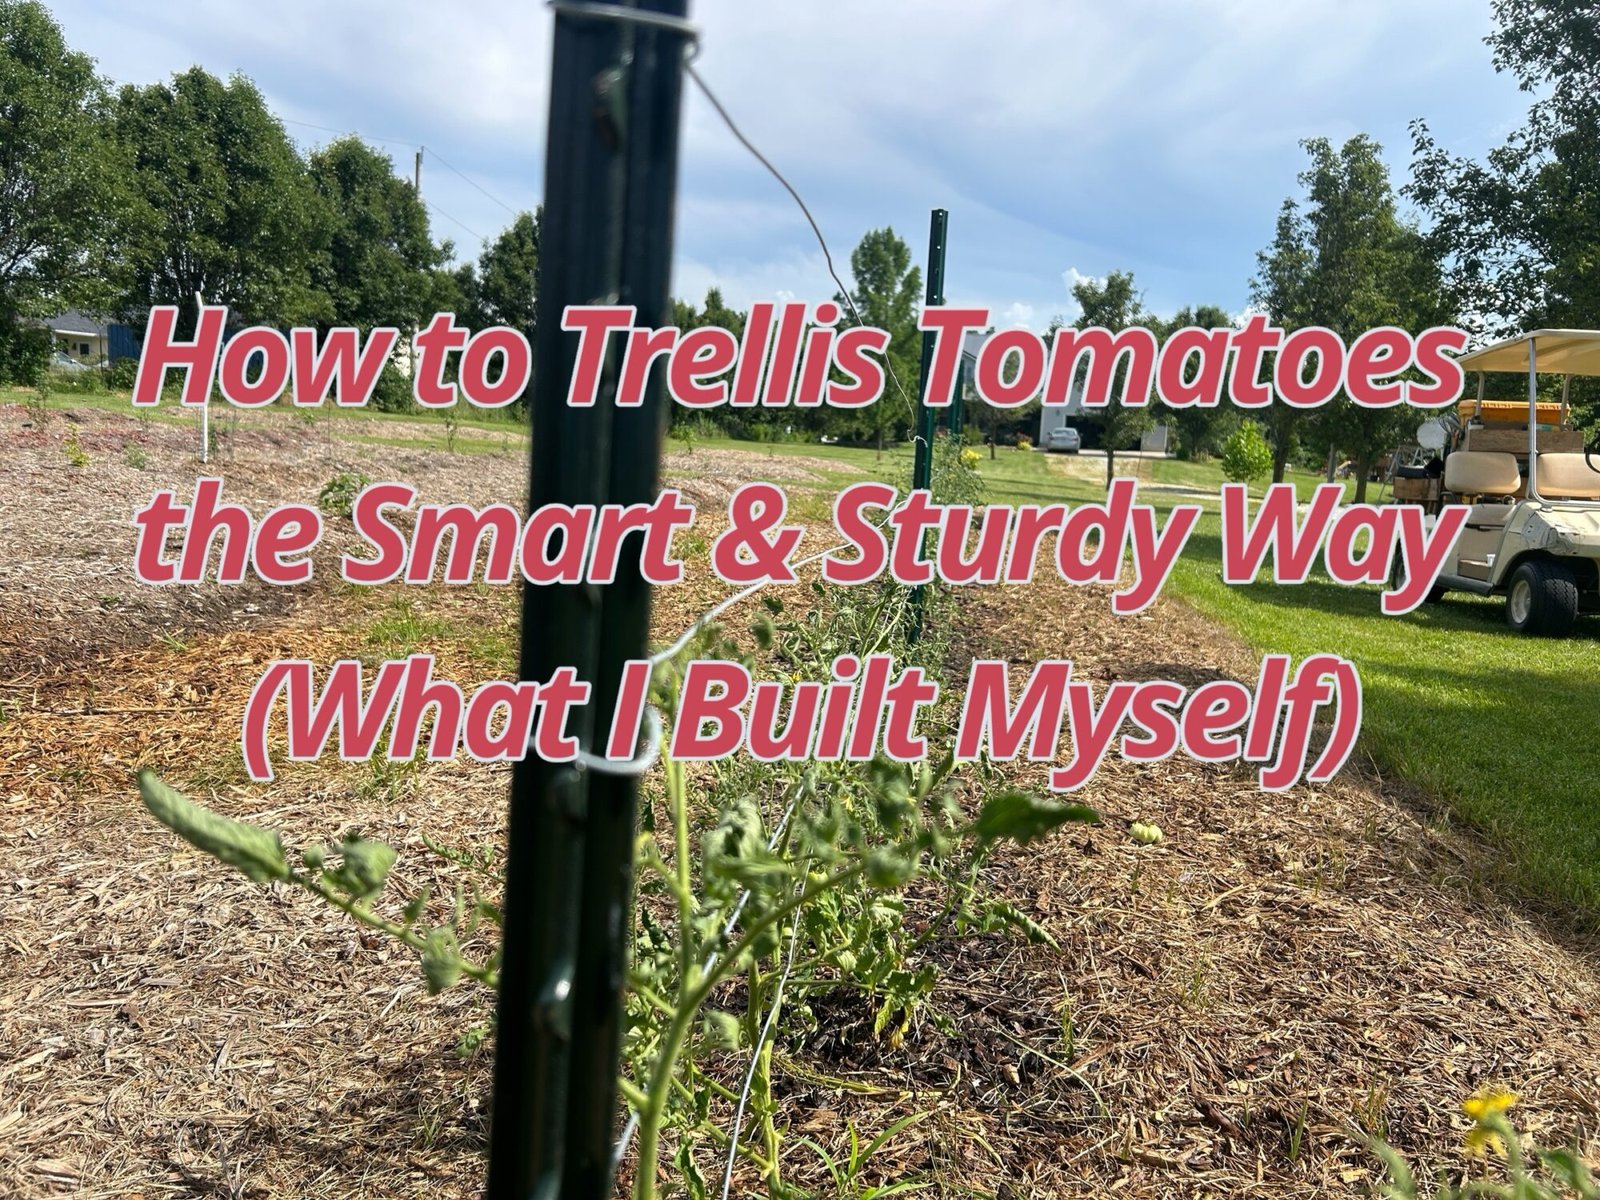
My Wire Trellis Setup: What I Used and Why
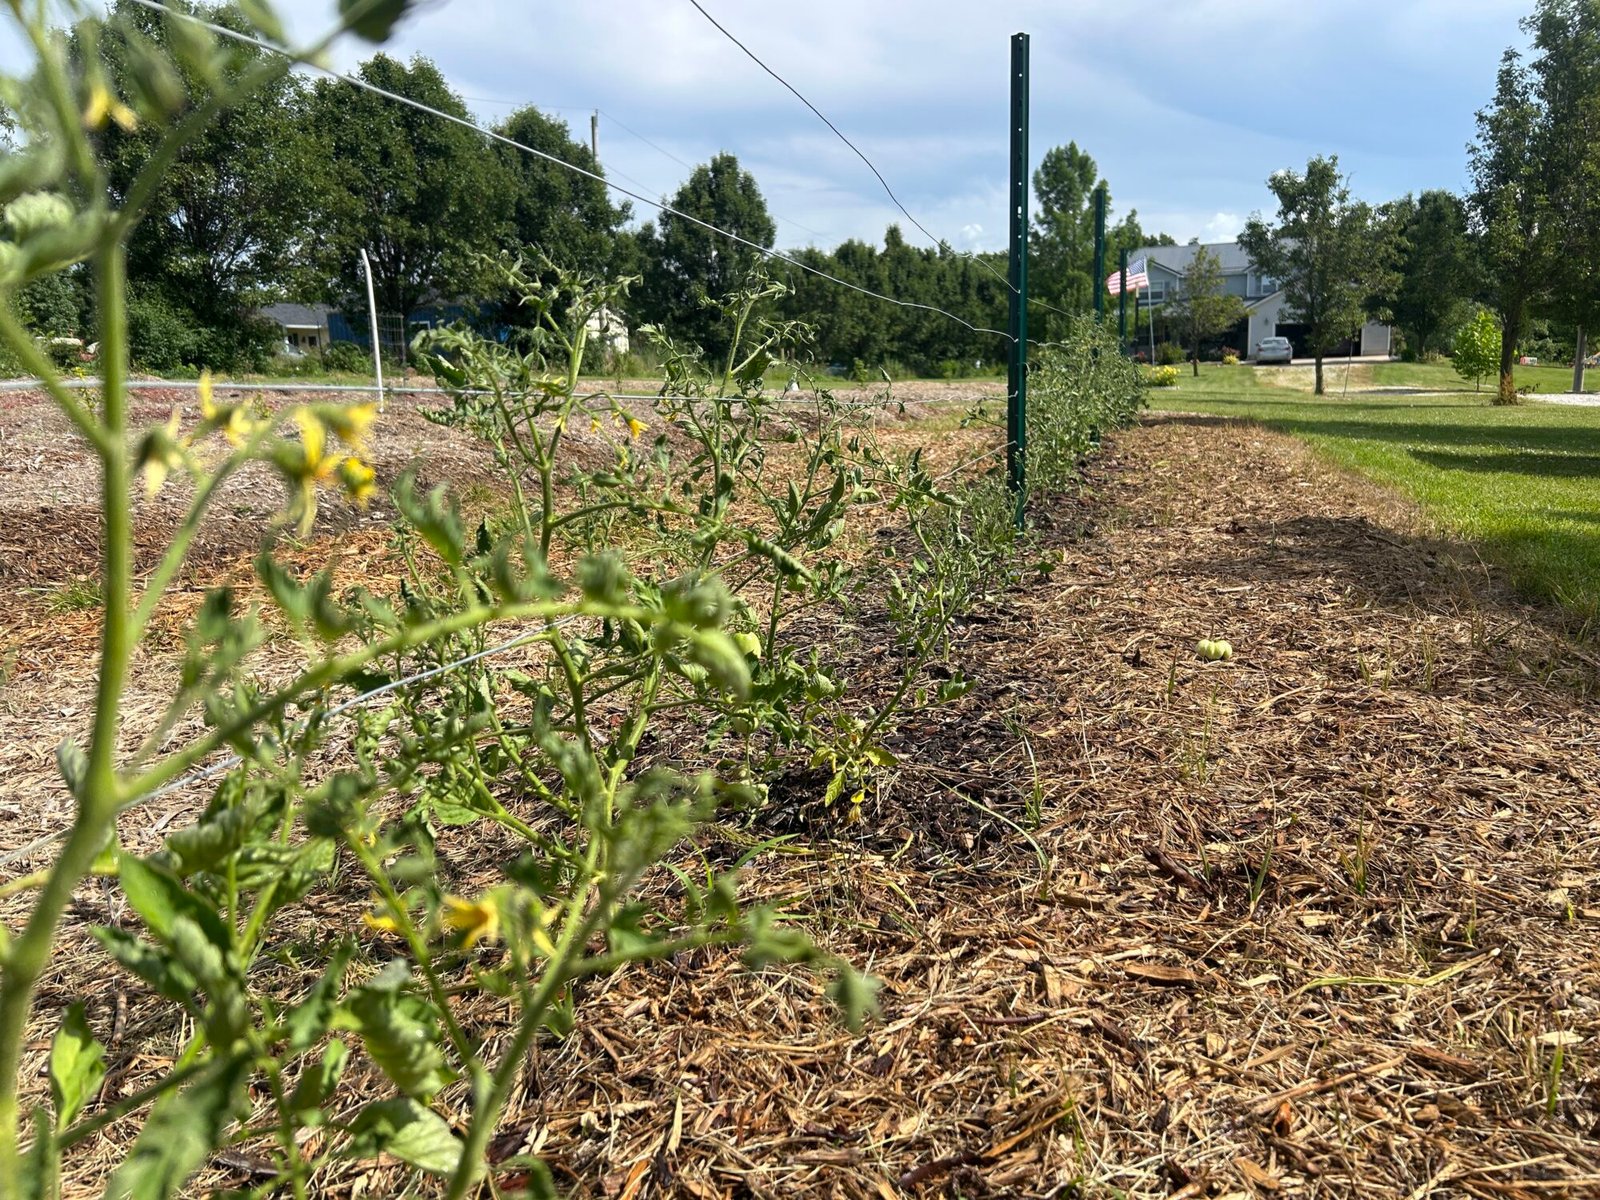
This past spring, I built a heavy-duty tomato trellis that now supports more than 20 plants — and it could handle more if I extended it. Here’s how I did it:
- I drove a 6.5-foot T-post into the ground at each end of my row.
- Between those T-posts, I spaced out U-posts — the kind with the holes in them — every few feet.
- Using strong wire, I threaded it horizontally from one T-post to the other, looping it through the holes in each U-post for added stability.
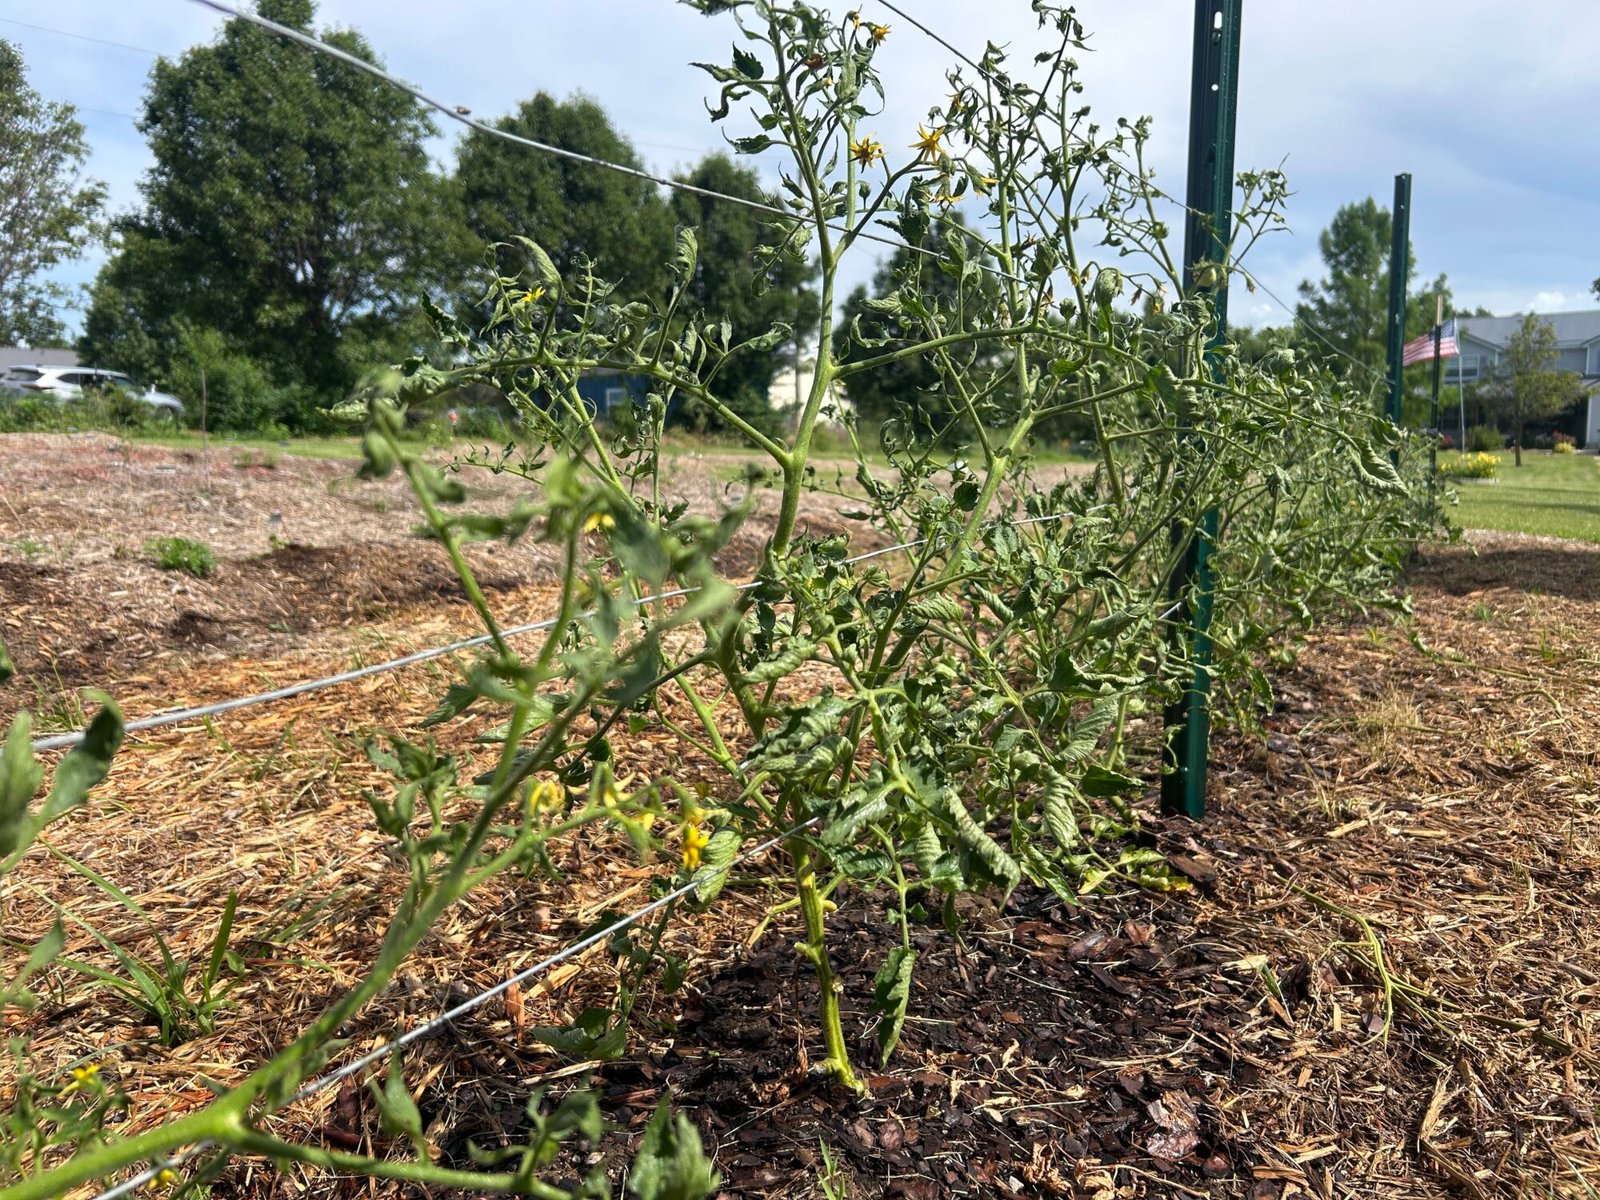
As my tomato plants grew, I simply wove them back and forth between the wires. This gave them natural support and kept them standing tall even during wind and heavy rain.
Want to try something similar? Here’s the exact kind of wire I recommend (I use it myself):
👉 316 Stainless Steel Cable – 400FT with Aluminum Sleeves – super tough and doesn’t rust.
It’s cheaper than pre-made cages, more adaptable, and strong enough to last you several seasons. If you’re planting a serious number of tomatoes, or even a dozen, this setup is a game-changer.


Why I Chose Wire Over Tomato Cages or Strings
I’ve tried them all—cages, wooden stakes, Florida weave, and strings. The wire trellis I built this spring? By far my favorite. Cages always bent under the weight of large varieties like Brandywine or Big Beef. And the string method? I found myself constantly retying and adjusting.
The wire system gave me multiple levels of support and worked for both determinate and indeterminate types. As the season went on, I could easily guide vines where I wanted by tucking them between the wires. No clips. No ties. Just natural support as the tomatoes climbed higher.
If you’ve never tried growing large slicing tomatoes, check out this guide on The Best Tomatoes to Grow — it’ll help you pick the right variety for your garden and your trellis.
Tips for Setting Up Your Wire Tomato Trellis Right the First Time
Here’s what I’ve learned the hard way, so you don’t have to:
- Start early. Don’t wait until your tomatoes are flopping over — install the trellis before or at planting time.
- Use strong posts. T-posts for the ends give you rock-solid support, but U-posts with holes make it easier to thread wire through and keep spacing tight.
- Run multiple wire levels. I run lines every 12-18 inches as the plants grow. This allows me to gently weave the vines and keep the canopy open.
- Stretch the wire tight. Slack wire = sagging tomatoes. Use pliers or a turnbuckle to keep it taut.
- Anchor your posts deep. At least 12-18 inches into the ground, or more if your soil is loose.
Want an even deeper dive into planting deep for stronger roots? This trick makes a huge difference, especially when paired with a trellis:
👉 9 Tomato Growing Tips That Actually Work

Maintaining the Trellis as Your Tomatoes Grow
As the plants get taller, you’ll need to stay a step ahead. I usually check my setup once a week, especially after heavy rain or wind. If you’re using wire, make sure it hasn’t loosened. A slack line can quickly turn into a tangled mess of branches and broken stems.
When weaving the tomato vines through the wire, I always guide them gently and space out the larger clusters of fruit. This helps with airflow and reduces the chance of fungal issues. If you’ve had problems with leaf curl or yellowing leaves, you might want to read about signs of overwatering tomato plants — trellising helps here too, but watering right is just as important.
And if you need extra support mid-season? I’ll sometimes add zip ties or tomato clips temporarily, especially for beefsteak varieties. Just make sure not to pinch the stems.
Trellising Tomatoes in Grow Bags or Raised Beds
You don’t need a giant in-ground garden to build a solid trellis. My neighbor used the same wire setup I did but placed grow bags side by side along the base. It worked perfectly.
If you’re short on space, I highly recommend trying 10-Gallon Grow Bags for Tomatoes — they’re breathable, easy to move, and hold just enough soil for solid root development.
And if you’re going the raised bed route, you’ll love the Raised Metal Garden Bed option. You can anchor the posts right outside the bed or even bolt them to the wood if needed. These setups allow you to enjoy vertical gardening with less bending and easier harvesting.
Trellising in small spaces? Totally doable — and your back will thank you later.

Choosing the Right Wire for Your Tomato Trellis
Not all wire is created equal. Trust me, I’ve tried the cheap stuff—and let’s just say sagging wire and snapped lines mid-season aren’t fun. That’s why I now stick with 316 stainless steel cable, like this 400FT 1/32IN Wire Rope with Aluminum Sleeves. It holds up beautifully under pressure, doesn’t rust, and has just enough flexibility to adjust as needed.
The sleeves make it easy to secure each end without fancy tools. I loop the ends around the T-posts, thread them through the aluminum stops, and crimp it down with pliers. Clean, secure, and strong. If you’re serious about trellising tomatoes the right way, this is the kind of upgrade you’ll wish you did sooner.

How Far Apart Should Wires and Plants Be?
Spacing is one of those things that can make or break your trellis setup. I space each horizontal wire about 12–18 inches apart, starting roughly 8 inches from the soil. This gives the plant something to lean on as it climbs naturally. I usually have three to four levels of wire per row, depending on how tall I expect the plants to get.
For plant spacing, I like to give each tomato at least 18–24 inches between them. Any closer, and you risk poor air circulation and tangled vines—which can lead to pests or diseases fast. If you’re noticing issues with bugs nibbling at your plants, check out what to spray on tomato plants when bugs start chewing.
The better the spacing, the easier it is to weave the vines, prune as needed, and pick ripe tomatoes without damaging anything.

Weaving Tomatoes Through the Trellis: The Game-Changer
One of my favorite parts of this trellis system is how easy it is to train the plants. Instead of tying every stem, I simply weave the tomato vines back and forth between the horizontal wires as they grow. It’s way faster than using clips or twine, and it gives the plant solid support without choking the stem or damaging the fruit clusters.
This method also encourages upright growth, which means better airflow and easier pruning. I usually start weaving once the plant hits the first wire and just keep an eye on it every few days. It’s a great alternative to the hassle of traditional cages, and it makes maintenance and harvesting way more efficient.
If you’re curious about other support options like cages or grow bags, check out my post on the best containers for tomatoes that actually help them thrive—especially if you’re growing in smaller spaces.

How to Make Your Trellis Last for Years
If you’re putting in the effort to build a strong trellis, you might as well make it durable enough to last season after season. I highly recommend using 6.5′ heavy-duty T-posts on the ends—they’re rock solid and don’t budge when tension is applied. In between, I use U-posts, which have built-in holes that make it easy to thread and adjust the wires.
A few things I’ve learned the hard way:
- Don’t skimp on post depth—make sure they’re at least 12 inches into the ground.
- Tighten your wire enough to support the plants but not so tight it pulls the posts inward.
- Consider using zip ties or wire clamps at the ends for quick wire replacements if anything snaps.
And if you’re curious about improving your overall setup, I cover more helpful advice over in my best tomato growing tips—little things can make a big difference.

As an Amazon Associate we earn from qualifying purchases through some links in our articles.