The complete tomato garden setup guide — seeds, soil, fertilizer, containers, support, watering, pest control, season extension, and preservation tools that actually make a difference.
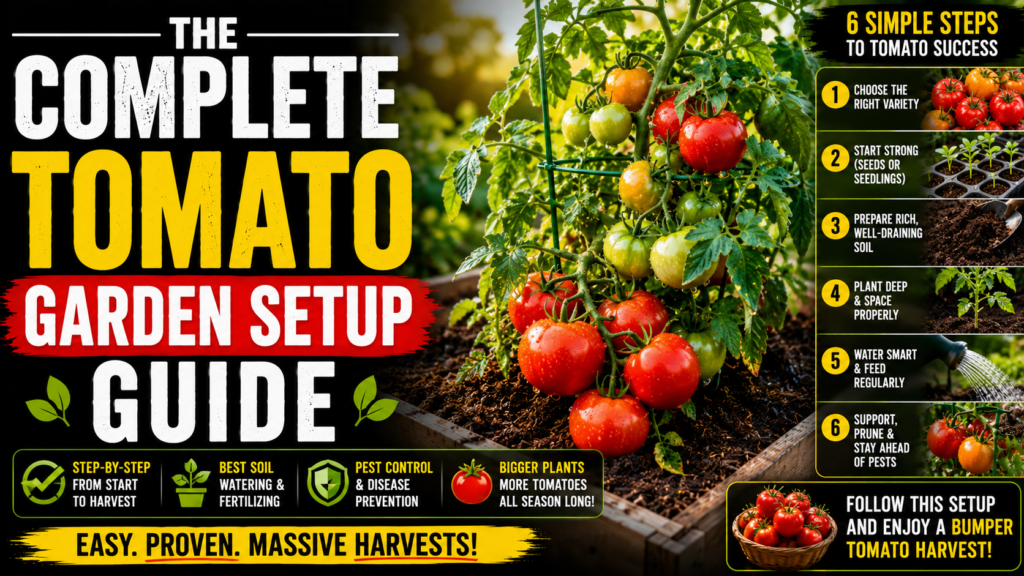
Most people start their first tomato garden the same way. They buy a couple of transplants at the garden center, dig a hole in whatever soil is available, water when they remember, and hope for the best. Some years it works out fine. Most years it produces a fraction of what the garden could actually deliver.
The difference between a garden that limps through the season and one that produces more tomatoes than you can eat comes down to setup. Not luck. Not a green thumb. Setup. The right tools, the right soil conditions, the right environment from seed to harvest — and everything else follows naturally.
This is the complete tomato garden setup guide. It covers everything you actually need, what each piece of equipment does, and how it all fits together into a system that works season after season.
Start With Seeds — and Start Them Right
Everything starts with the seed. The quality of your seed determines the ceiling on what your plants can become before they ever touch soil.
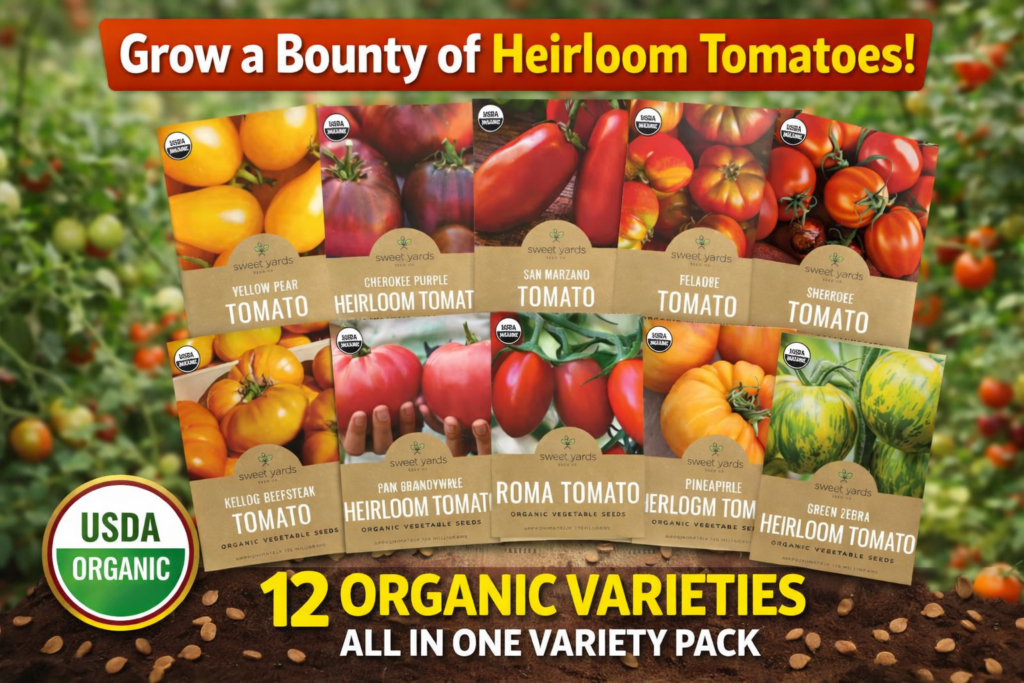
Cheap, old, or poorly stored seeds produce spotty germination, weak seedlings, and plants that never quite reach their potential. Starting with quality organic tomato seeds gives you higher germination rates, more vigorous seedlings, and access to varieties — Roma, cherry, heirloom, beefsteak — that you simply cannot find as transplants at most garden centers.
Starting from seed also puts you in control of your timing. You decide when your season starts, not the garden center’s delivery schedule.
Solve the Germination Problem Before It Starts
The single biggest reason tomato seeds germinate slowly or not at all is soil temperature. Tomato seeds need soil between 70–85°F to germinate efficiently. A sunny windowsill in early spring rarely delivers this consistently — the air might feel warm but the seed starting tray sitting on the surface is often 10–15 degrees cooler.
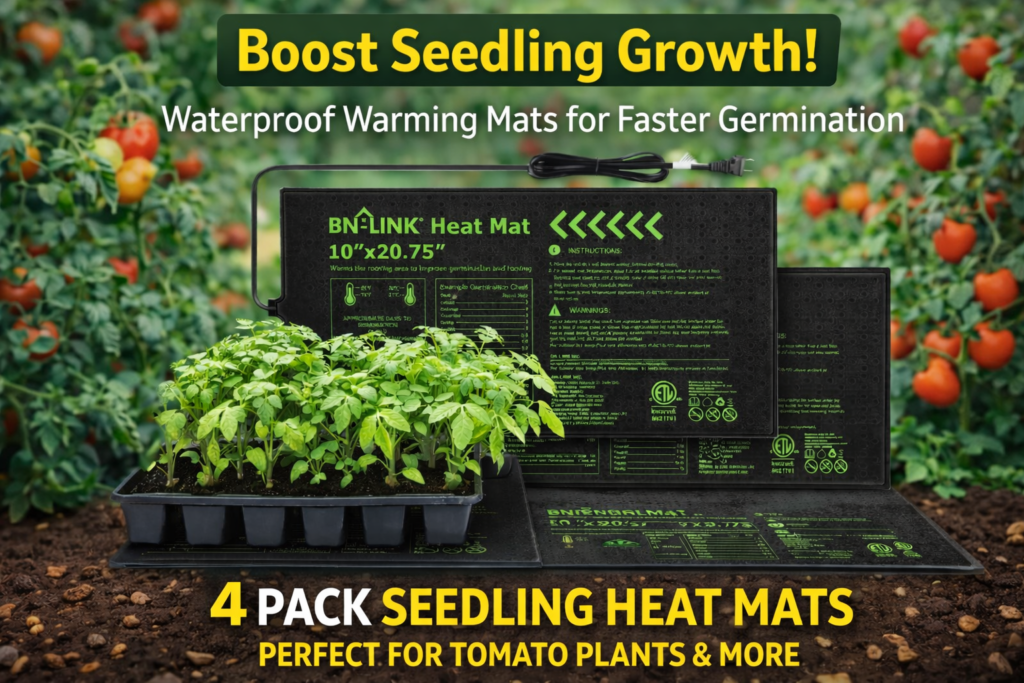
A set of seedling heat mats placed under your trays maintains the ideal soil temperature regardless of room temperature. The difference is not subtle — seeds that take 14 days to germinate on a cold windowsill often germinate in 5 days on a heat mat. Over a season of growing, that is a meaningful head start.
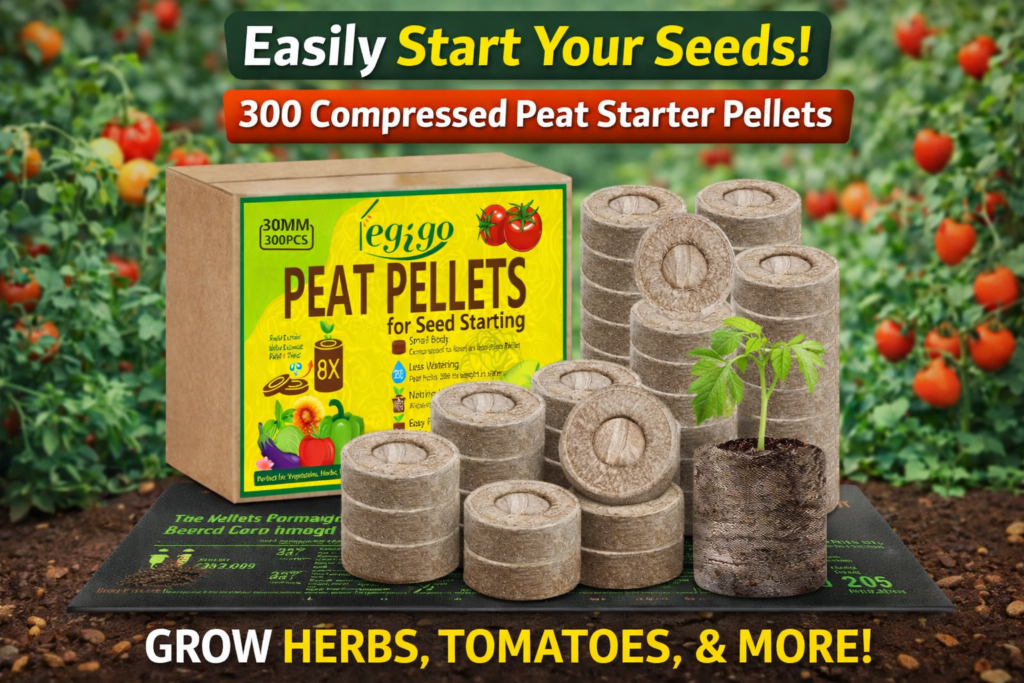
Pair the heat mats with peat pellets for seed starting and the entire process becomes nearly effortless. The pellets expand with water, provide a perfect germination environment, and go directly into the next container at transplant time with zero root disturbance. No mixing seed starting mix, no digging out fragile seedlings. Just expand, plant, grow, transplant.

Give Seedlings the Light They Actually Need
Heat mats solve the germination problem. Light solves the next one.
Tomato seedlings that do not get adequate light immediately after germination become leggy — tall, pale, and weak-stemmed. They reach toward whatever light is available and stretch themselves in the process. Leggy seedlings never quite recover their full potential even after transplanting.
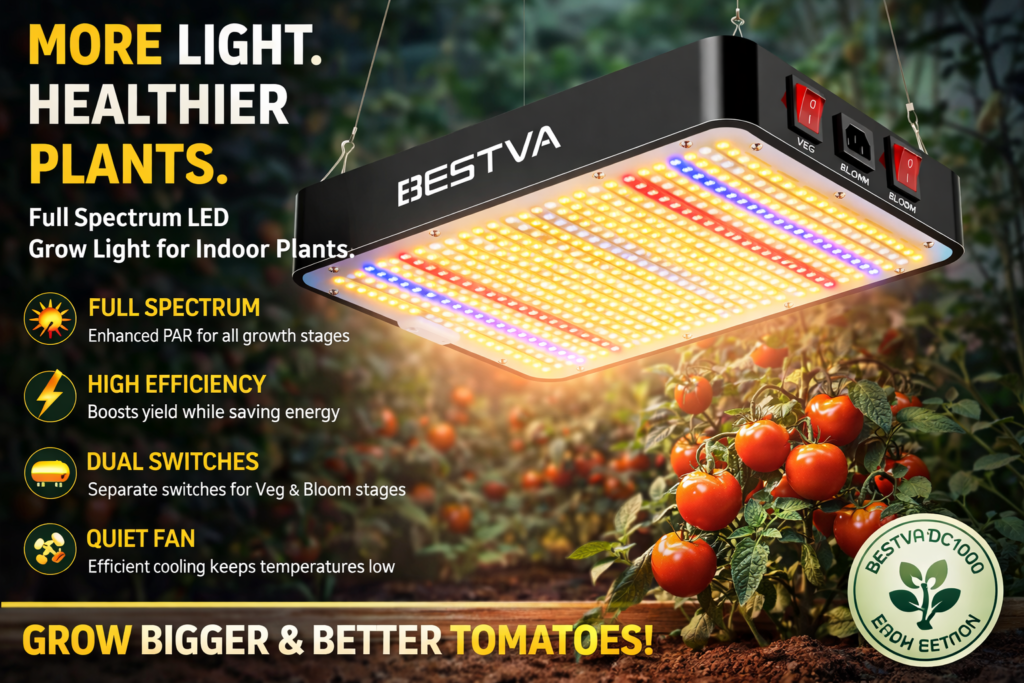
A dedicated LED grow light positioned 2–4 inches above seedling tops and run for 14–16 hours per day produces compact, sturdy, dark green seedlings with thick stems that are ready to take off the moment they go into the garden. The difference between grow light seedlings and windowsill seedlings at transplant time is immediately obvious — one looks like a plant ready to produce, the other looks like it is asking for help.
Know Your Soil Before You Plant Anything
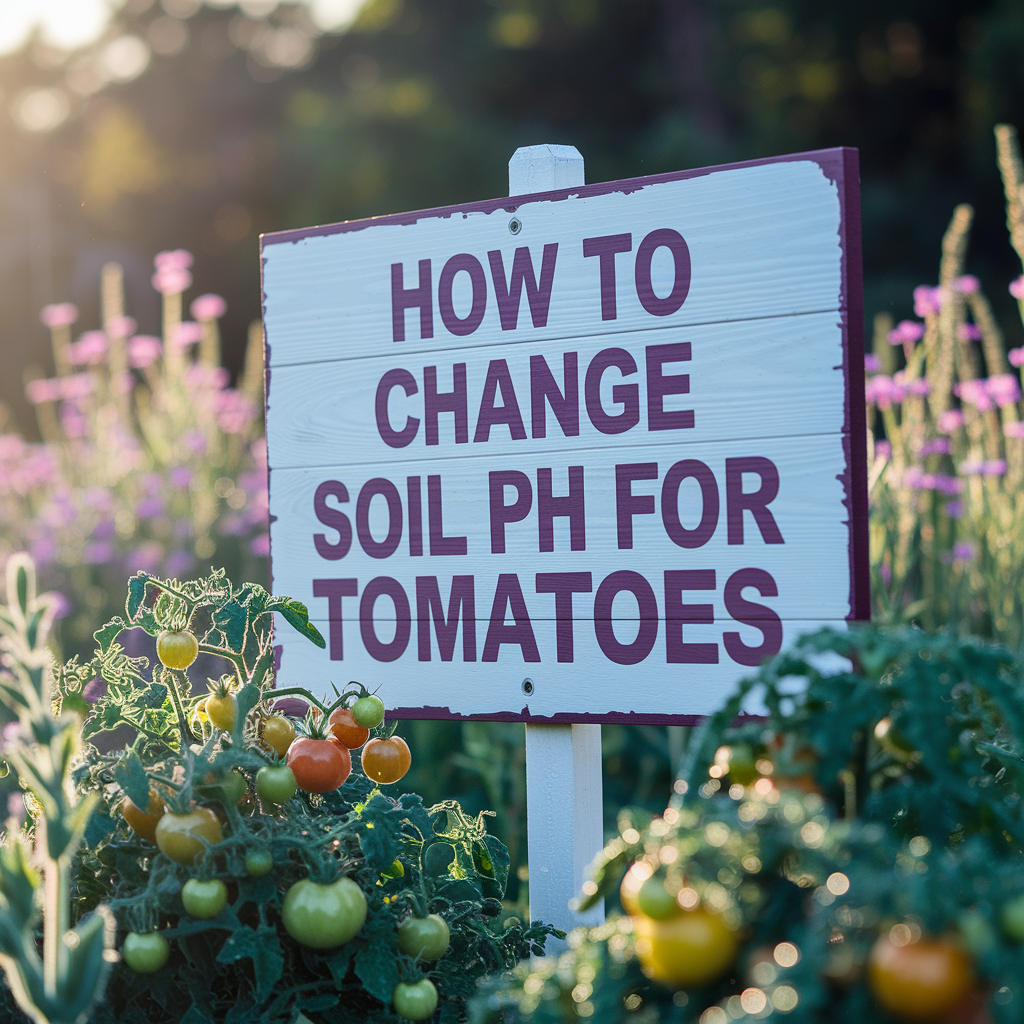
Healthy tomatoes start with healthy soil — and healthy soil starts with knowing what you actually have. Testing and correcting pH is a practical next step, covered in How to Change Soil pH for your tomato plants.
The two most common invisible problems in tomato gardens are incorrect soil pH and inadequate moisture management. Both can completely undermine an otherwise well-managed garden. Plants can look like they need fertilizer or water when the real problem is pH locking out nutrients, or soil that drains too fast or too slow.
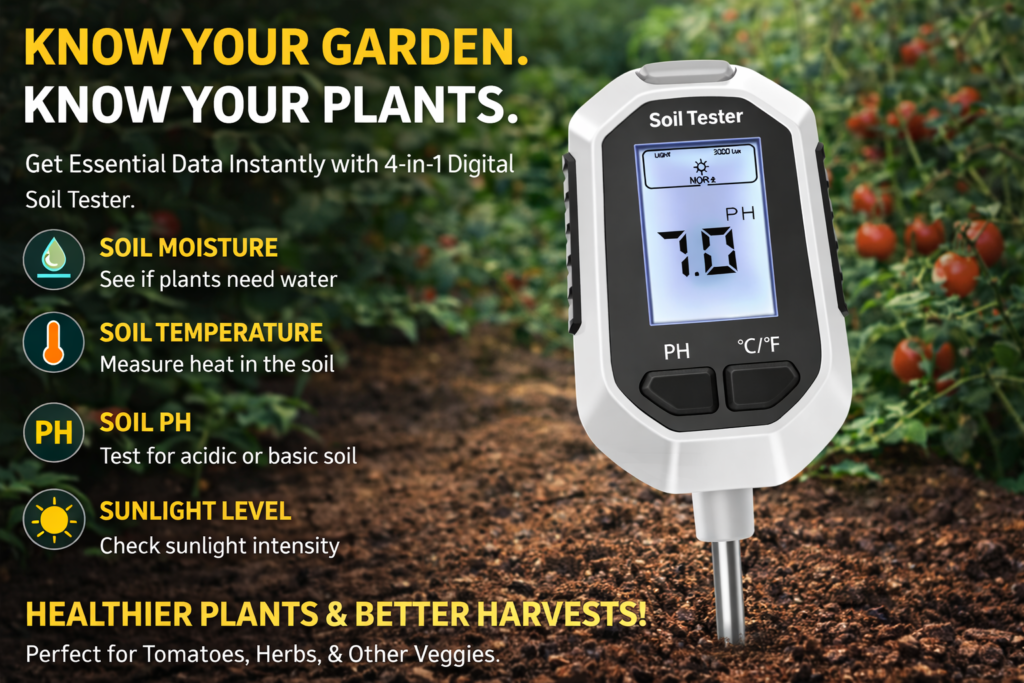
A 4-in-1 soil meter reads soil moisture, pH, light levels, and temperature simultaneously. Stick it in the soil and you have the four most critical data points in tomato growing in about ten seconds. Before you water, check moisture. Before you plant, check pH. Throughout the season, check that your plants are getting adequate light at soil level. This one tool replaces a lot of guesswork.
Tomatoes grow best in soil with a pH between 6.2 and 6.8. Outside that range, nutrients lock up and become unavailable to roots even when they are physically present in the soil. You can fertilize heavily and still have a nutrient-starved plant if the pH is wrong.

Build Soil That Actually Grows Tomatoes
The fastest way to build rich, productive soil for tomatoes is worm castings. Not synthetic fertilizer, not potting mix — worm castings.
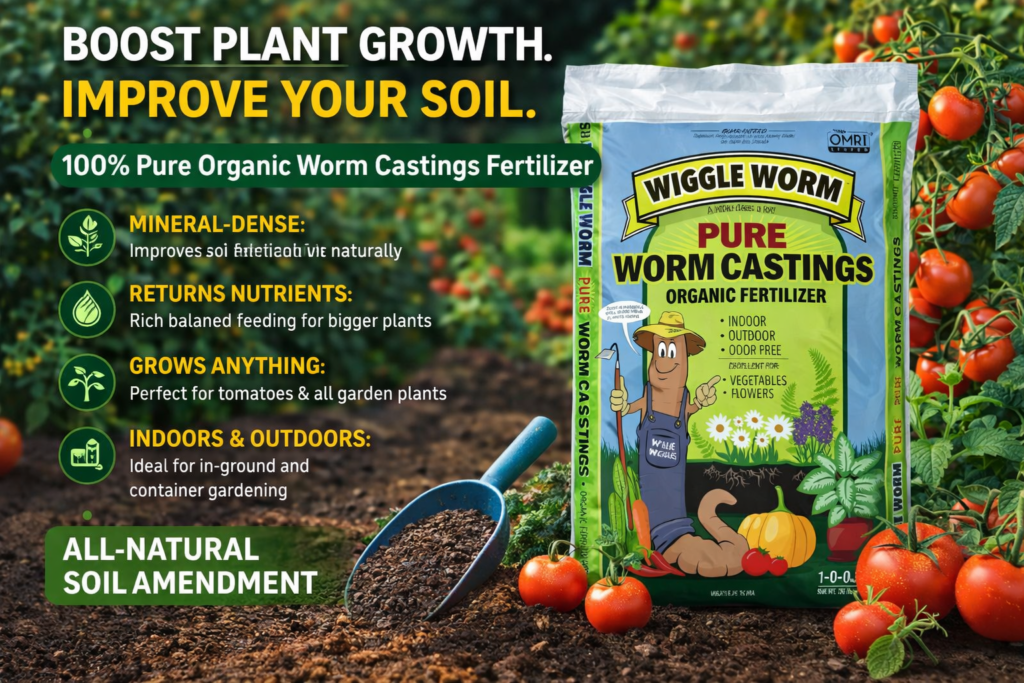
Worm castings improve soil structure, increase water retention, support beneficial microbial activity, and deliver a gentle, consistent nutrient profile that feeds plants without burning. Mixed into planting holes and worked into garden beds before the season, they create the kind of living soil that tomato roots thrive in.
They are also one of the most forgiving soil amendments available — it is nearly impossible to overapply them. Work a generous amount into every planting hole and blend them into container mixes for a season-long foundation that other inputs build on top of.
Feed Plants at Every Stage With the Right Fertilizer
Worm castings build the foundation. Fertilizer carries the season.
Tomatoes are heavy feeders that need different nutrient profiles at different stages of growth. Early in the season, a balanced formula supports root establishment and vegetative growth. Once flowers appear, the plant needs more phosphorus and potassium to support fruit development — too much nitrogen at this stage pushes the plant back into growing leaves instead of tomatoes.
Espoma Tomato-Tone is the go-to organic granular fertilizer for in-ground and raised bed tomatoes. The 3-4-6 ratio with added calcium hits the right balance for the full season, and the calcium component specifically addresses blossom end rot before it starts. Work it into the soil at planting and side-dress every few weeks through the season.
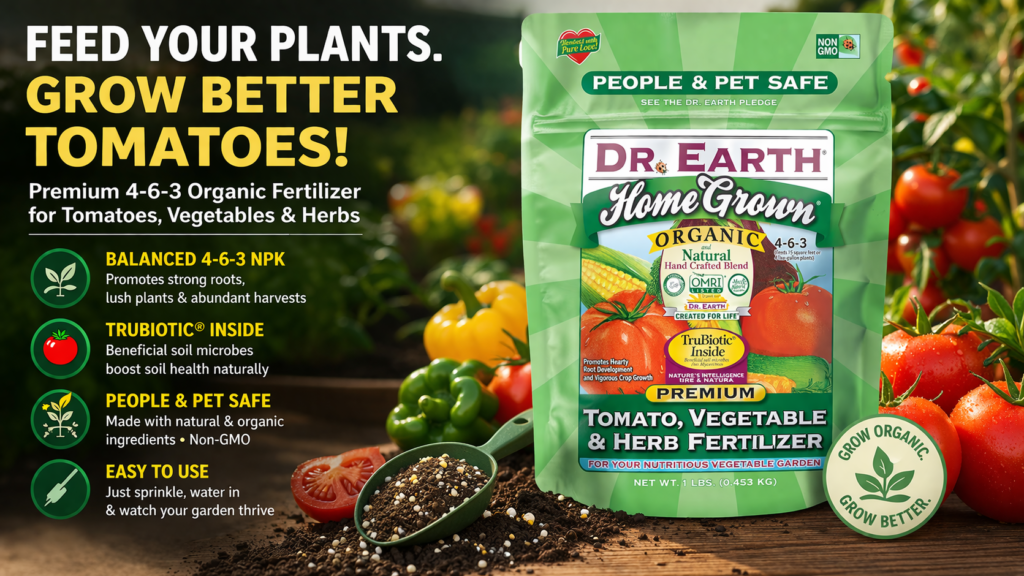
For container tomatoes or situations where you want faster uptake — correcting a deficiency, pushing a plant during peak fruiting — Dr. Earth liquid fertilizer delivers nutrition quickly and directly to the root zone. Liquid feeds are especially valuable for container growers because nutrients leach out of pots with every watering and need to be replenished more frequently than in ground beds.
Get Planting Timing Right With a Soil Thermometer
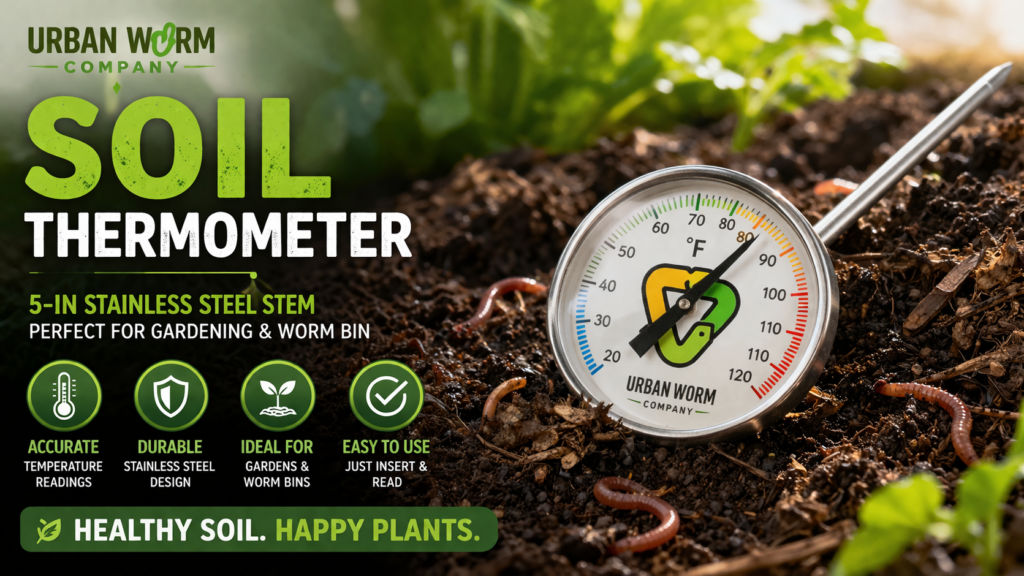
Knowing when to transplant is as important as knowing how to grow. Tomato roots are most active between 65–85°F. Below 60°F, roots sit essentially dormant — the plant looks like it is doing nothing because underground, it is. A transplant put into cold soil in late April often gets outperformed by one planted two weeks later into warm soil, even though the later plant had less time in the ground.
A soil thermometer answers the one question that matters at planting time: is the soil actually ready? Push the probe to the depth you are planting, read the temperature, and make the call based on data rather than the calendar date or air temperature. This single tool prevents one of the most common early-season mistakes in tomato growing.
Choose the Right Container for Your Growing Setup
Not every tomato garden is in the ground. Containers, raised beds, fabric grow bags, and buckets all produce excellent tomatoes when set up correctly — and each has advantages over in-ground growing in the right situation.
Fabric grow bags are one of the best container options for tomatoes for a reason that is not obvious until you understand root biology. When roots reach the wall of a fabric container, the air at the surface causes them to stop growing and branch back inward — a process called air pruning. This creates a dense, fibrous root ball with far more absorption surface area than the circling, pot-bound roots that develop in hard-sided containers. More root surface area means more water and nutrient uptake, which translates directly to plant size and productivity.
For larger scale growing, a raised metal garden bed gives you the benefits of raised bed growing — excellent drainage, fast spring warming, loose soil throughout — with a durable structure that lasts for years. Raised beds also give you complete control over soil composition from the start, which matters enormously in gardens where native soil is heavy, compacted, or nutrient-poor.
Support Plants Before They Need It
Tomato support is one of those things gardeners consistently underestimate until a plant topples over mid-season, and by then it is too late to fix without damage.
Set up support at transplant time — not when the plant is already large. The root disturbance from driving stakes or positioning cages around an established plant sets it back noticeably.
Adjustable tomato cages are the most versatile option for most gardens. They work for both determinate and moderate indeterminate varieties, they are easy to position at planting time, and the adjustable design accommodates different plant sizes through the season.
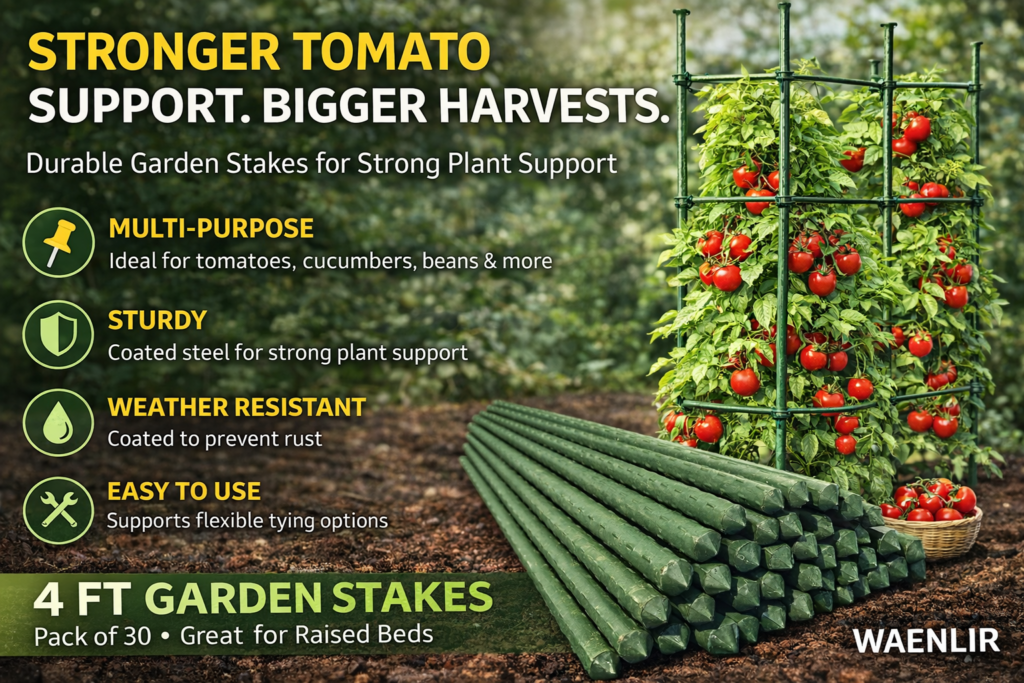
For large indeterminate varieties — beefsteak, heirloom types that grow 6 feet or more — heavy duty garden stakes driven firmly into the ground before planting provide a more robust support structure. Train the main stem to the stake as it grows using garden twist ties, which grip firmly without cutting into stems the way wire or string can. Tie loosely — the stem needs room to thicken.
Solve Watering Once and Stop Thinking About It
Inconsistent watering is responsible for more tomato problems than almost any other single factor. Blossom drop, blossom end rot, fruit cracking, flavor problems — all of these have inconsistent watering as a common thread. Fix the watering and a significant portion of mid-season problems simply disappear.
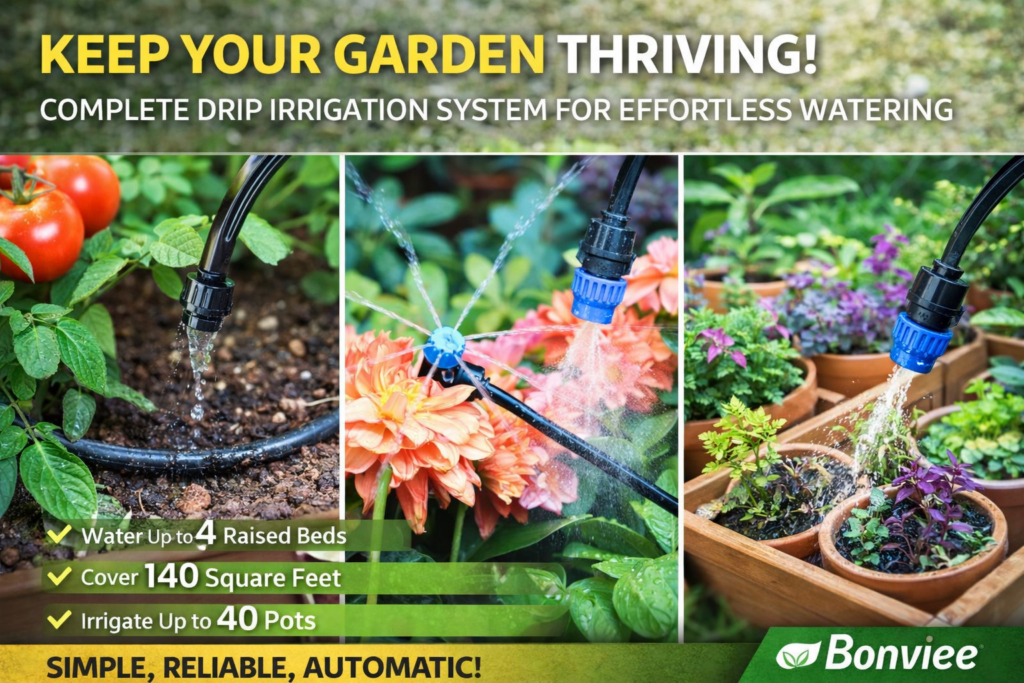
A drip irrigation system delivers water directly to the root zone of each plant on a timer, eliminating the daily decision about when and how much to water. It also keeps foliage dry — surface watering that splashes onto leaves is one of the primary ways fungal disease spreads through a garden. Drip irrigation removes that vector entirely.
For gardeners who prefer hand watering, a quality 100-foot garden hose that does not kink, tangle, or burst under pressure makes the daily routine fast and frustration-free. A hose that fights you every time you use it is a hose that eventually leads to skipped waterings — and skipped waterings lead to problems.
Protect Plants From Pests All Season
Every productive tomato garden attracts pests. The goal is not a pest-free garden — that is not realistic — but catching problems early and having the right tools ready when they appear.
The pest you cannot afford to ignore: The tomato hornworm. A single hornworm can strip significant foliage from a plant in 24 hours. They are large, they eat fast, and their green coloring makes them genuinely difficult to spot until the damage is already done.
Spinosad insecticide is the most effective organic option for hornworms and a wide range of other tomato pests. It is derived from naturally occurring soil bacteria, approved for organic gardening, and highly effective at controlling caterpillars, thrips, and other damaging insects without the broad toxicity of synthetic alternatives. Apply at first signs of damage and repeat every 7–10 days until the infestation is controlled.
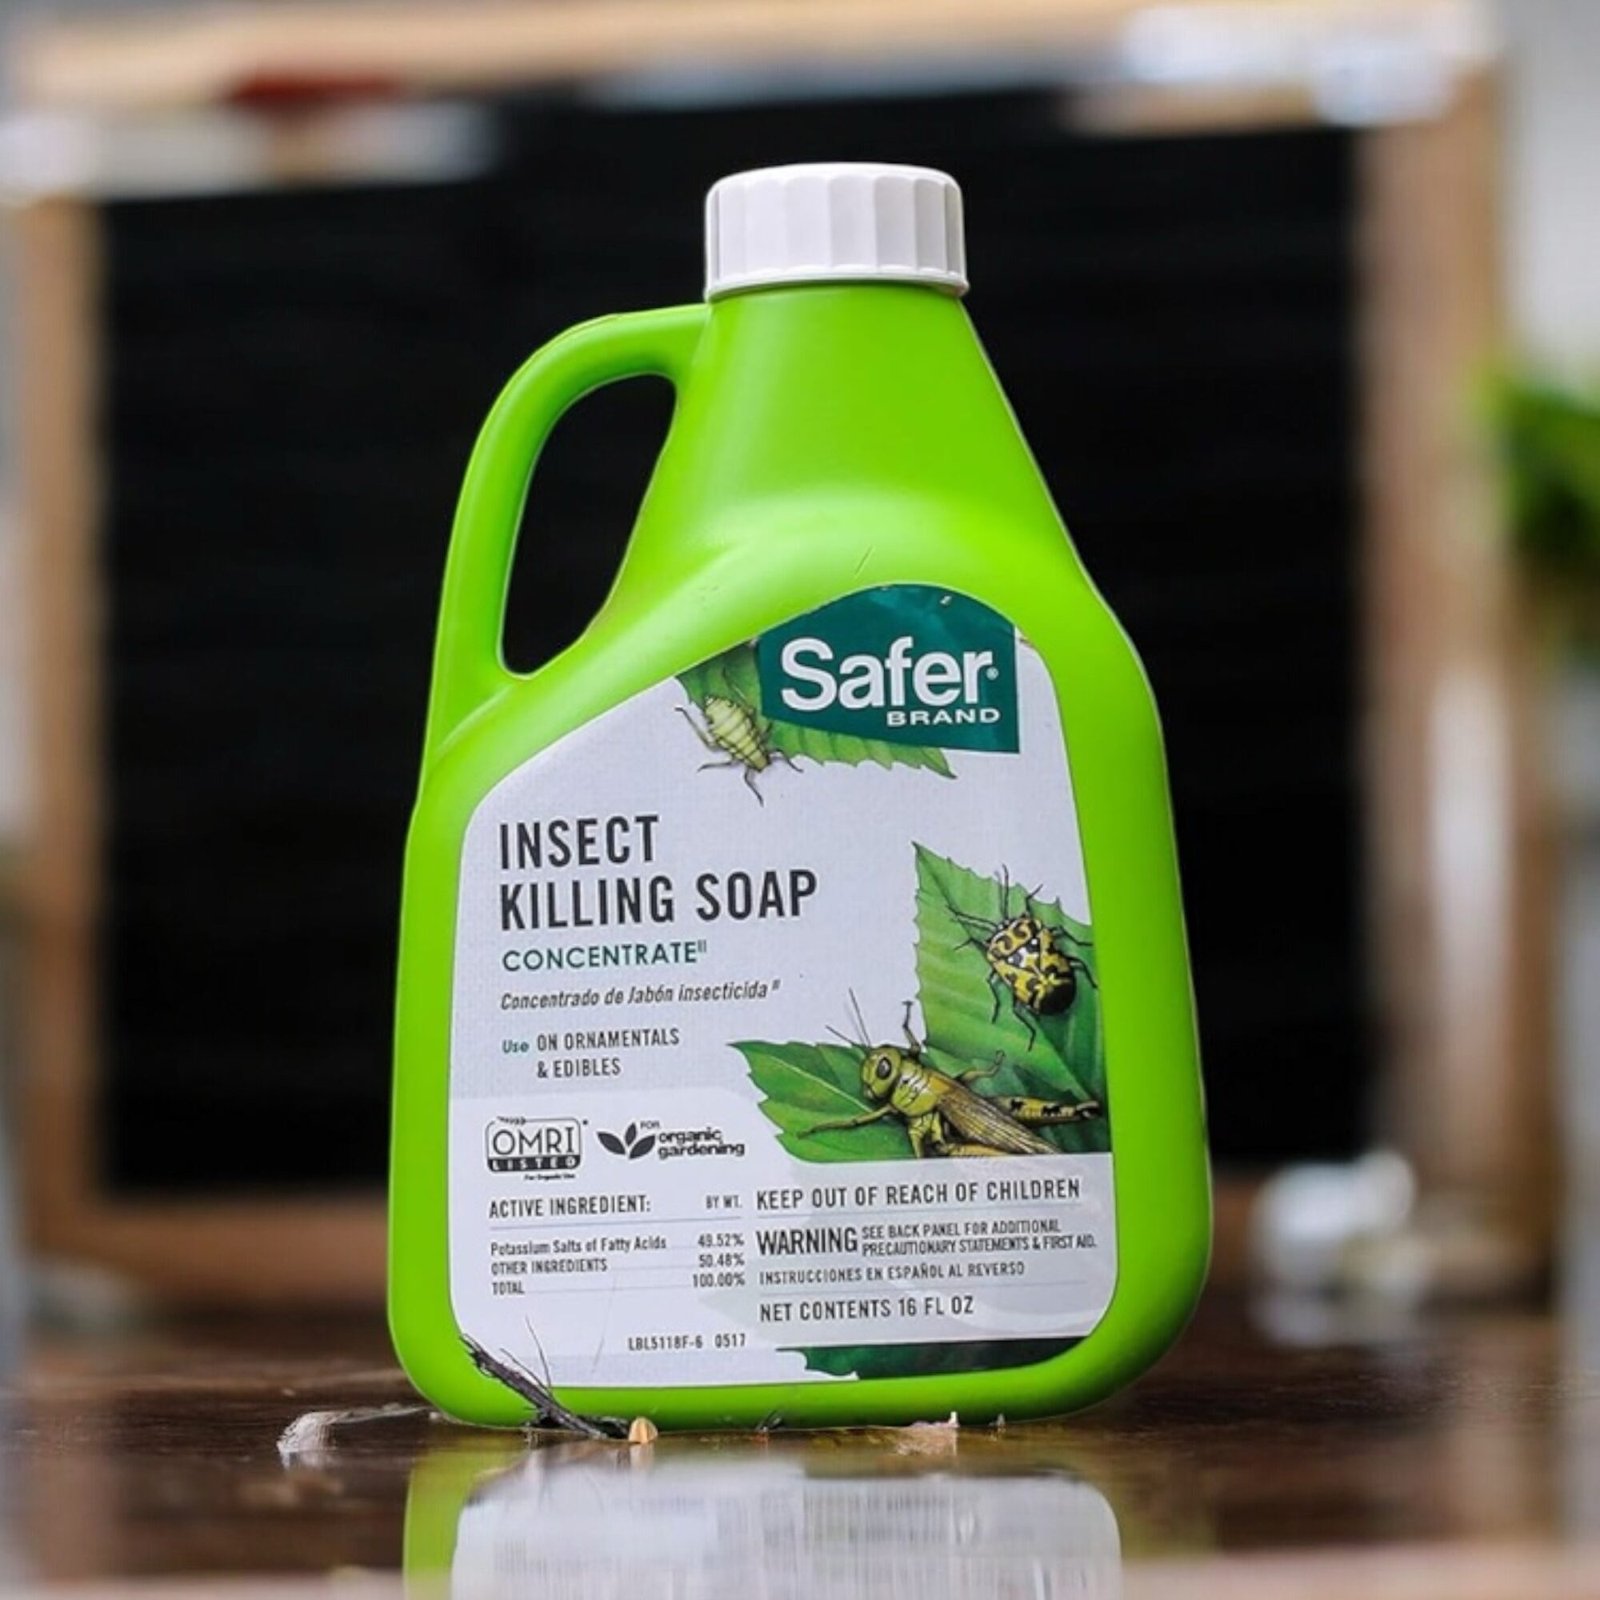
For softer-bodied pests — aphids, whiteflies, spider mites — Sevin insect killer handles heavy infestations when organic options are not moving fast enough. Use it as a targeted intervention rather than a routine spray.
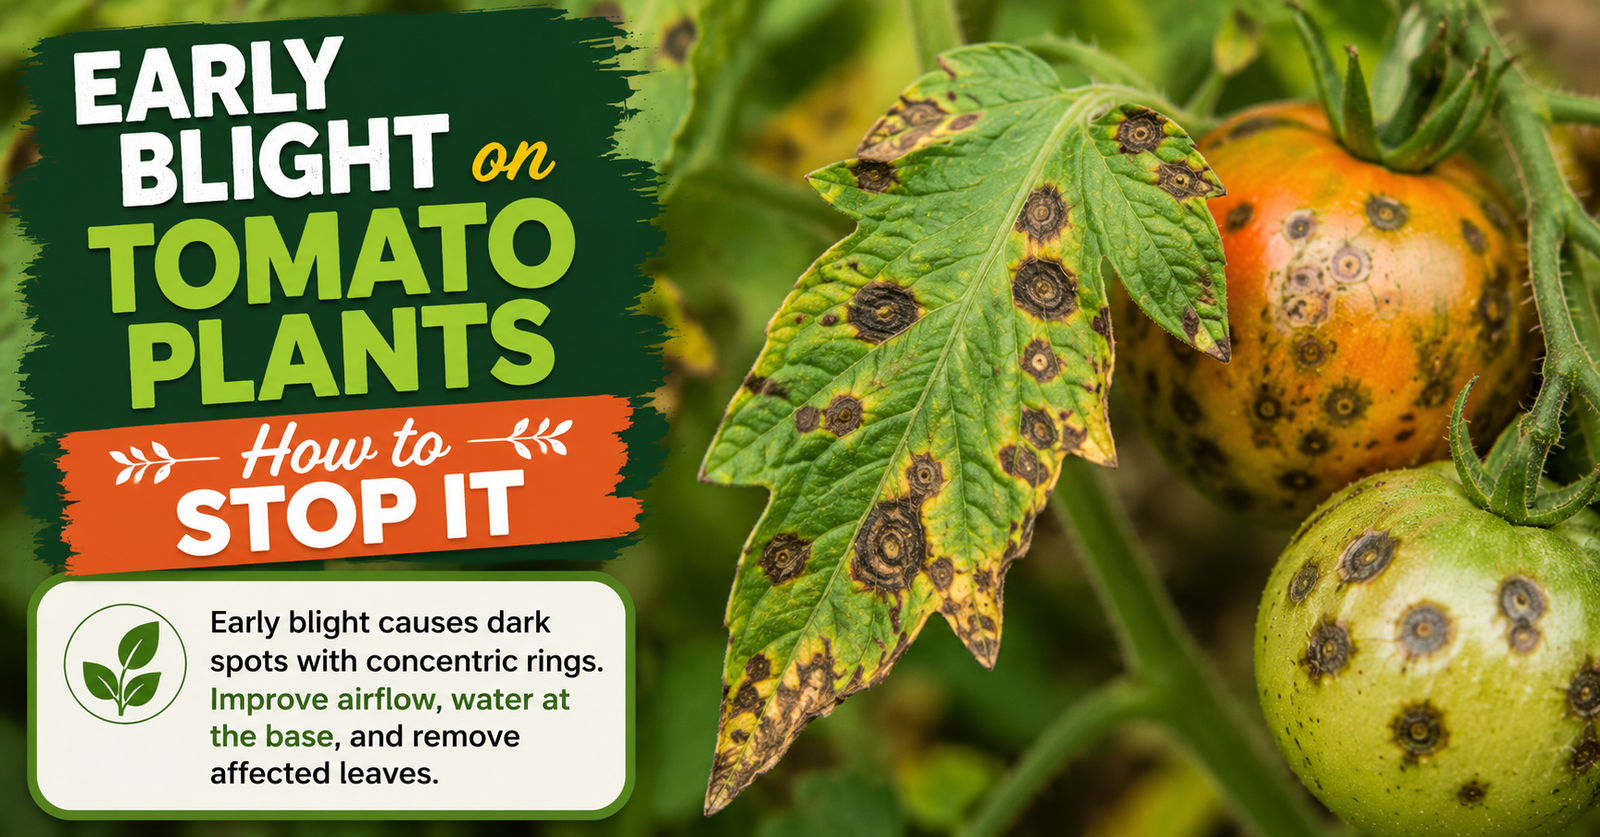
For disease prevention, copper fungicide applied preventively at the start of the season and after rain events dramatically reduces early blight, late blight, and other fungal diseases that spread rapidly in wet conditions. Prevention is far more effective than treatment — once blight is established it is extremely difficult to stop, but preventive copper applications interrupt the spore cycle before infection takes hold.
Extend Your Season at Both Ends
One of the most underused strategies in home tomato growing is season extension — using simple structures to start earlier in spring and continue harvesting later in fall.
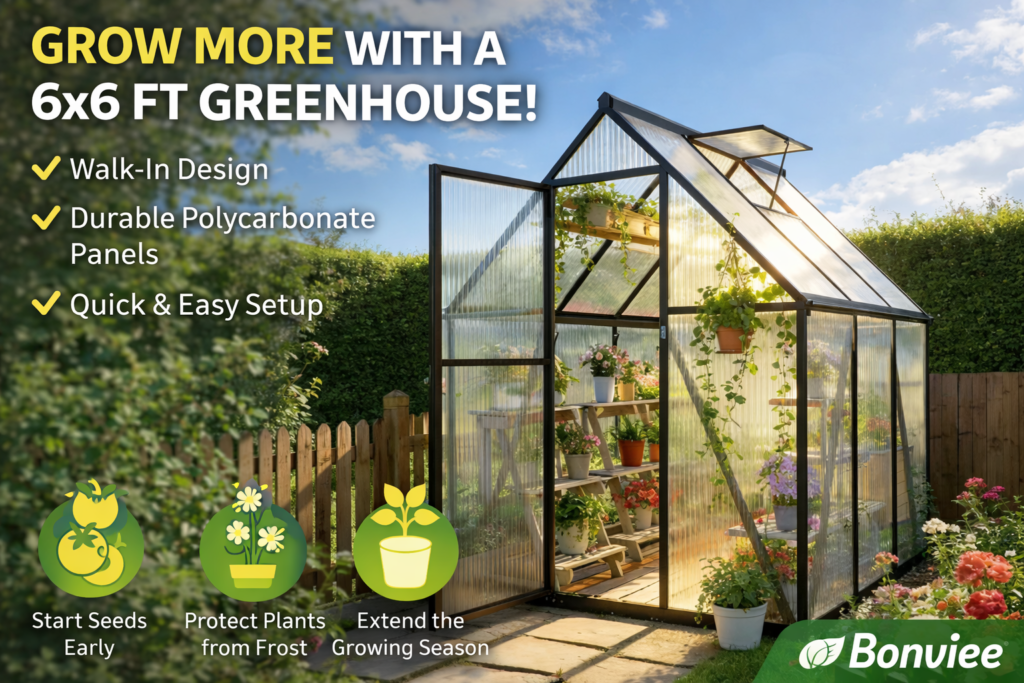
A 6×6 polycarbonate greenhouse is the entry point for serious season extension. It provides frost protection in spring and fall, maintains warmer temperatures than the surrounding air, and gives you a controlled environment for starting seedlings weeks earlier than outdoor conditions allow. For most home growers, a small greenhouse extends the effective tomato season by 4–8 weeks — 2–4 weeks in spring and 2–4 weeks in fall.
For larger operations or gardeners who want a more substantial setup, a 6×10 wooden greenhouse provides more growing space and a more permanent structure. The wood frame handles weather better than aluminum over time and provides better insulation in colder climates.
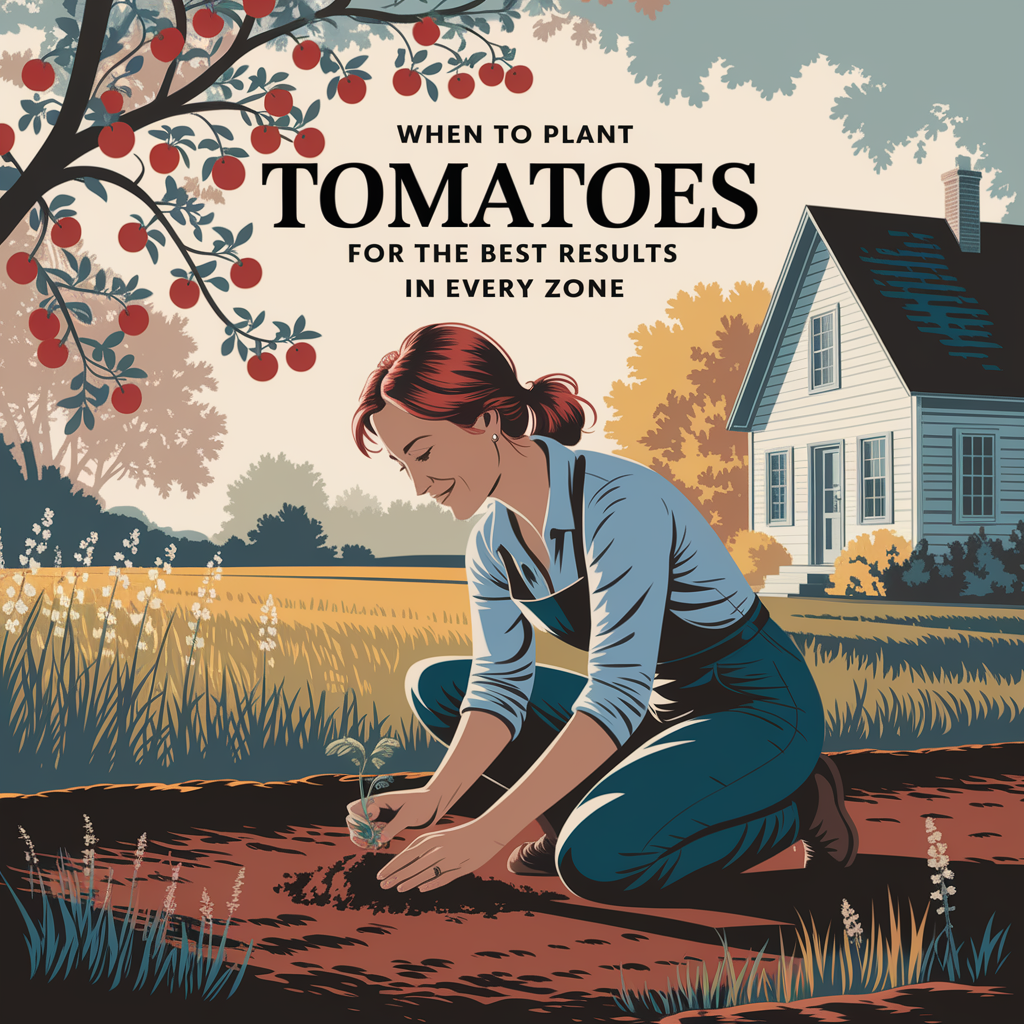
Even without a greenhouse, knowing exactly when to plant in your specific zone is the first step in getting the most out of your season. The zone-by-zone guide in when to plant tomatoes for the best results in every zone gives you exact transplant windows for every growing region.
Monitor Your Microclimate With a Weather Station
Experienced tomato growers know something most beginners do not: the weather conditions at ground level in your specific garden location can be meaningfully different from the regional forecast. A low-lying garden may frost two weeks after the official last frost date for your area. A south-facing raised bed may be 10 degrees warmer than surrounding soil. A sheltered corner may experience higher humidity than open garden sections.
An Ambient Weather WiFi station monitors temperature, humidity, wind speed, and rainfall at your actual growing location and feeds the data to your phone in real time. It tells you the actual conditions your plants are experiencing — not the regional average. For timing transplants, predicting frost, managing irrigation, and understanding why different parts of your garden behave differently, this kind of hyperlocal data is genuinely valuable.
Preserve the Harvest You Work All Season For
A well-set-up tomato garden in a good year produces more tomatoes than any household can eat fresh. Preserving the surplus is where the season’s work pays the biggest dividend.
A vacuum sealer is the fastest way to preserve fresh tomatoes with minimal effort. Blanch, peel if desired, vacuum seal in bags, and freeze. Vacuum-sealed tomatoes maintain quality in the freezer for 12–18 months — far longer than tomatoes frozen in regular zip bags, which develop freezer burn within a few months.
Quart-sized mason jars are the other essential preservation tool. For canning, fermenting, or storing fresh tomatoes in the refrigerator for short-term use, wide-mouth quart jars handle everything. A case of jars is a one-time investment that lasts for decades.
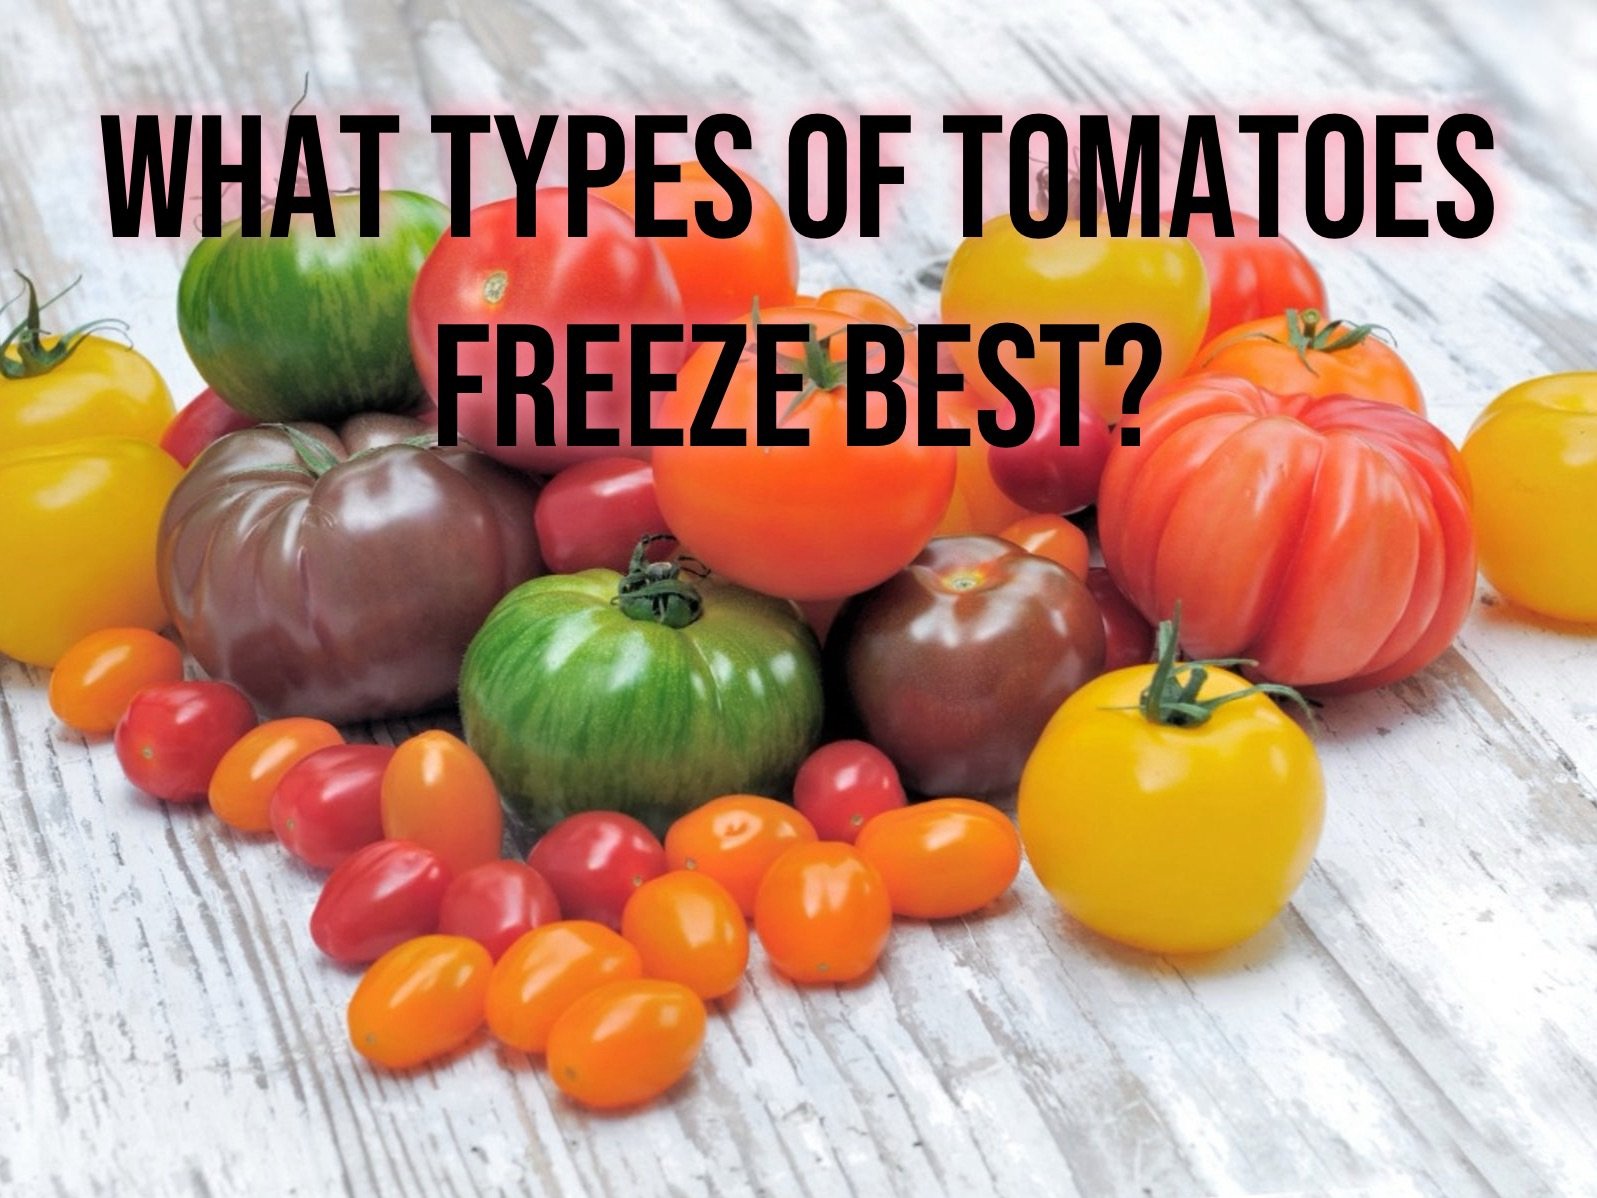
For the best varieties to freeze and preserve, the guides on what are the best tomatoes for freezing and how to freeze tomatoes for winter cooking cover exactly what works best and why.
The Complete Setup Checklist
Here is everything in one place. You do not need all of it to grow tomatoes — but the more of this you have in place, the more your garden produces and the fewer problems you deal with along the way.
Seeds and starting:
- Quality organic tomato seeds
- Seedling heat mats
- Peat pellets for seed starting
- LED grow light for indoor seedlings
Soil and feeding:
- 4-in-1 soil meter
- Worm castings for soil building
- Espoma Tomato-Tone granular fertilizer
- Dr. Earth liquid fertilizer for containers and quick feeding
Planting:
- Soil thermometer for transplant timing
Containers:
- Fabric grow bags or raised metal garden bed
Support:
- Adjustable tomato cages
- Heavy duty garden stakes
- Garden twist ties
Watering:
- Drip irrigation system or quality garden hose
Pest and disease:
- Spinosad insecticide
- Sevin insect killer
- Copper fungicide
Season extension:
- Polycarbonate or wooden greenhouse
Monitoring:
- WiFi weather station
Harvest and preservation:
- Vacuum sealer
- Wide-mouth mason jars
Where to Start if You Are Setting Up for the First Time
You do not need to buy everything at once. If you are starting from scratch, here is the order that makes the most difference:
First, get the soil right — meter, worm castings, and a good fertilizer. Bad soil undermines everything else regardless of what else you do correctly.
Second, solve watering — either a drip system or a quality hose. Inconsistent watering is the most common cause of mid-season problems.
Third, get support in place before you plant — cages or stakes are cheap insurance against a lot of heartbreak.
Everything else is an upgrade that improves on a functional baseline. Add the grow light when you start seeds indoors. Add the greenhouse when you want to extend your season. Add the weather station when you want to understand your garden at a deeper level.
The tomato garden that produces more than you can eat is not complicated. It is just set up right.
Related Articles
- How to prepare soil for tomatoes the right way
- Tomato plant stages week by week — what to expect and what to do
- How to grow tomatoes faster — 10 proven tricks that work
- The best fertilizer for tomatoes that actually works
- Best containers for tomatoes that actually help them thrive
- Growing tomatoes in 5 gallon buckets — everything you need to know
- Signs of overwatering tomato plants and what to do next
- 9 tomato growing tips that actually work
- Things I wish I knew before growing tomato plants
About the Author Mike Callahan has spent over a decade building and refining his tomato growing setup — starting with two plants in buckets on a rented patio and scaling up to a full raised bed and greenhouse system. He writes practical equipment and setup guides for home gardeners who want to stop guessing and start producing.