Growing tomatoes can feel intimidating when you are just getting started. I know because I used to watch gardening videos and think, “That’s too much for me.” Then I got my hands in the dirt and made a few mistakes. Okay, more than a few. Eventually, I learned that starting a tomato garden is less about doing everything perfectly and more about making a few good decisions before the plants go into the ground.
If you want juicy, flavorful tomatoes without turning your first season into a full-time job, this is the approach I wish I had taken. Choose plants for the way you actually plan to eat them, give them a sensible home, prepare the soil, water consistently, and support them before they become a tangled mess. The details matter, but they do not have to be overwhelming.
Choose tomatoes for the way you will use them
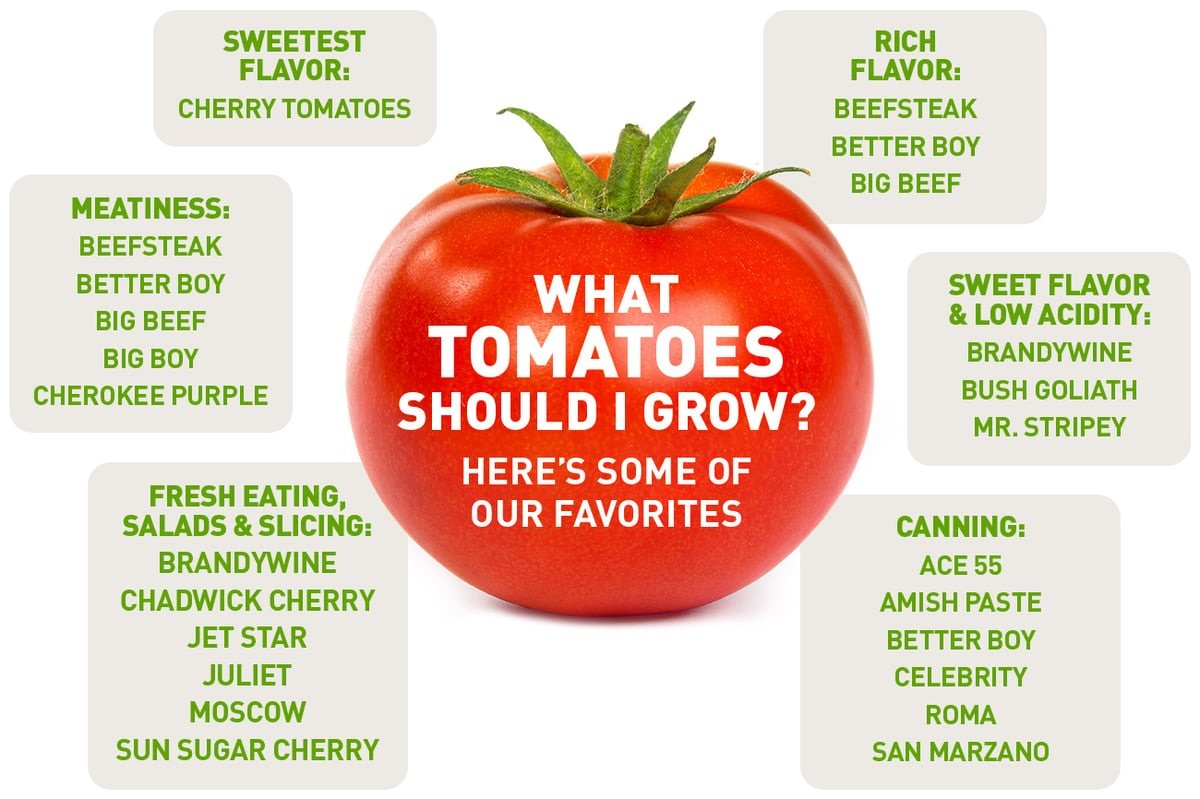
Do not grab the first seed packet or nursery plant you see. Start with a more useful question: what do you want to do with the tomatoes? A plant that produces enormous slicers may not be the best choice if your real goal is quick salads or homemade sauce.
- Beefsteak, Better Boy, and Big Beef give you the rich, classic flavor and large slices that work well on sandwiches and burgers.
- Sun Sugar, Juliet, and Chadwick Cherry produce sweet, juicy fruit, and these types can be a good fit for containers.
- Roma, Amish Paste, and San Marzano are meaty varieties with less juice, making them useful for sauces and canning.
Also think about how much space you have and how much attention you realistically want to give the plants. A small garden does not need six varieties. One cherry tomato, one slicer, and one paste tomato can give you a useful mix without creating more work than you can keep up with.
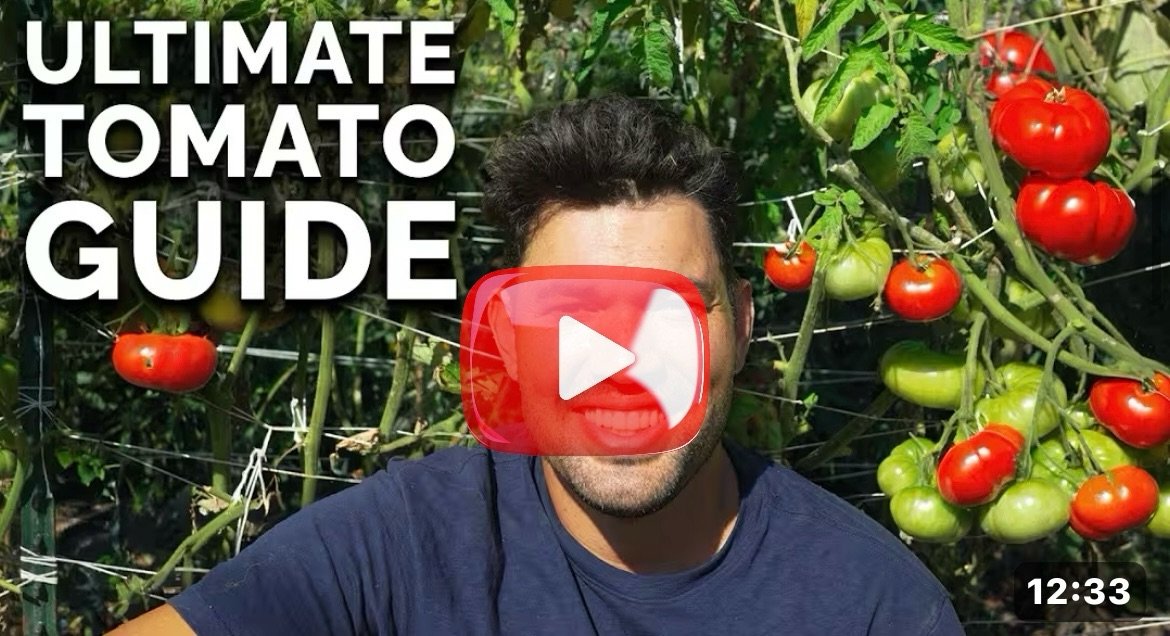
If you are unsure where to start, I listed out some of my favorite varieties here. It will help you compare varieties by sweetness, acidity, intended use, and other traits instead of relying on a pretty picture on the packet.
Pick the right growing space
Your available space and existing soil will usually decide whether you grow in a container, raised bed, or directly in the ground. None of these is automatically best. The best choice is the one that gives the roots enough room, drains well, and is easy for you to reach with water and a harvest basket.
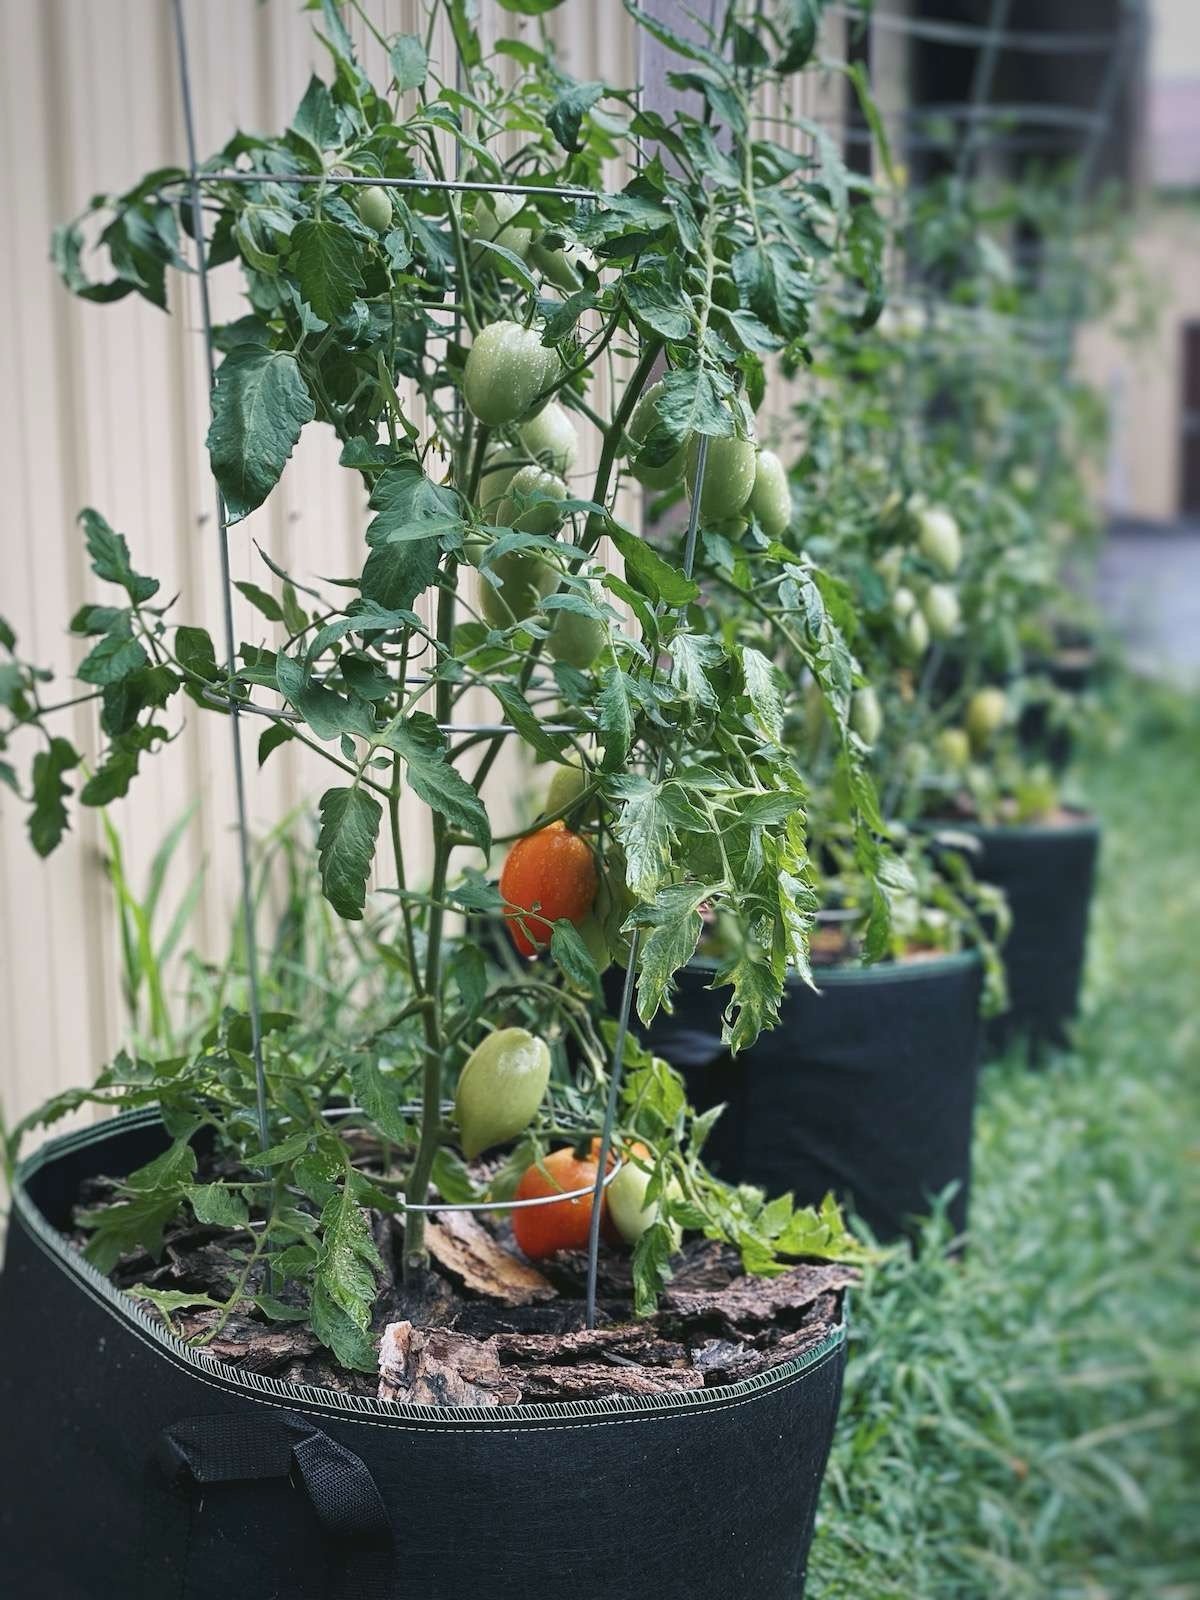
- Containers work well on patios, balconies, and anywhere the ground is unavailable or unsuitable. I have grown huge tomatoes in 10-gallon grow bags like these, but the container still needs enough room for the roots and must have drainage holes.
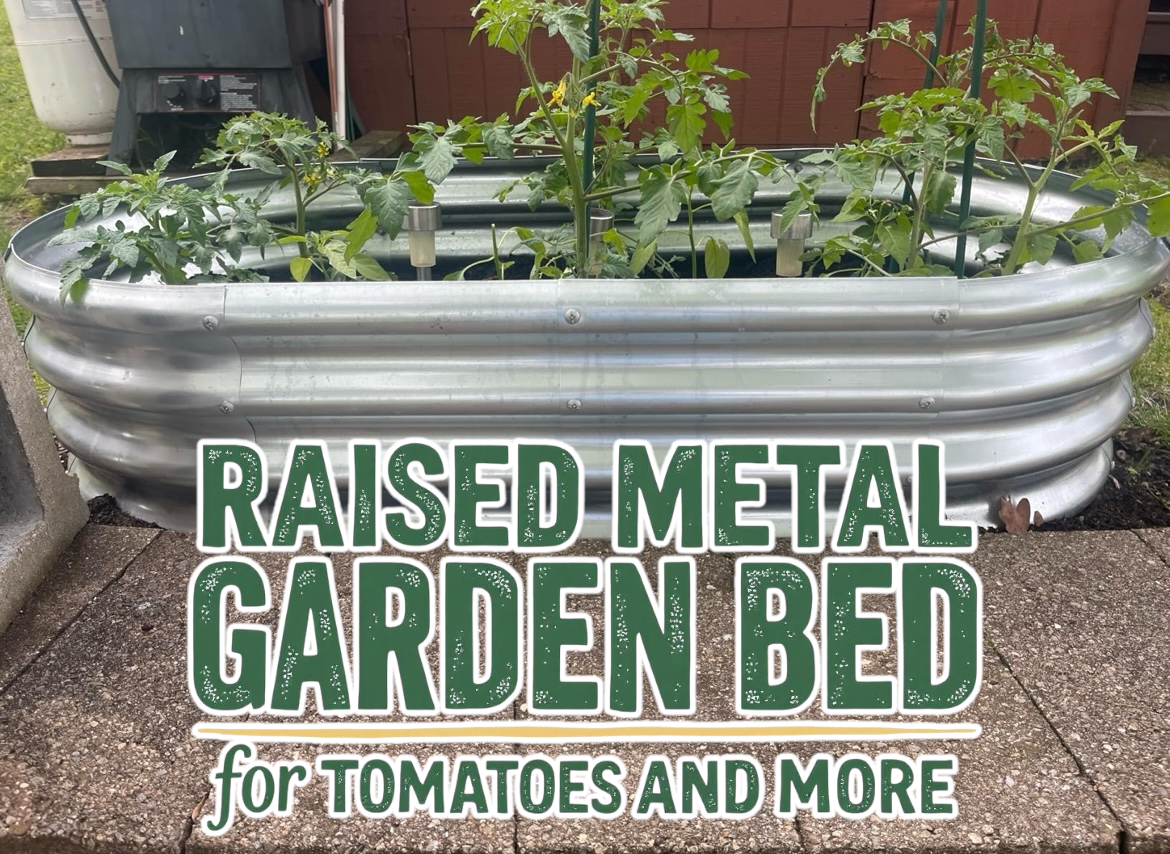
- Raised beds make it easier to control the soil and drainage. I use a metal raised bed like this one and love it because the growing area is easier to organize and improve.
- In-ground beds are a practical option when you already have rich, well-drained soil. If water sits in the area after rain, improve the soil and drainage before planting rather than hoping the problem disappears.
Place the garden where you can check it often. A tomato bed that is technically perfect but hidden behind the shed is easy to neglect. You want a spot with strong sunlight, convenient access to water, and enough room to walk around the plants without stepping on the soil or breaking branches.
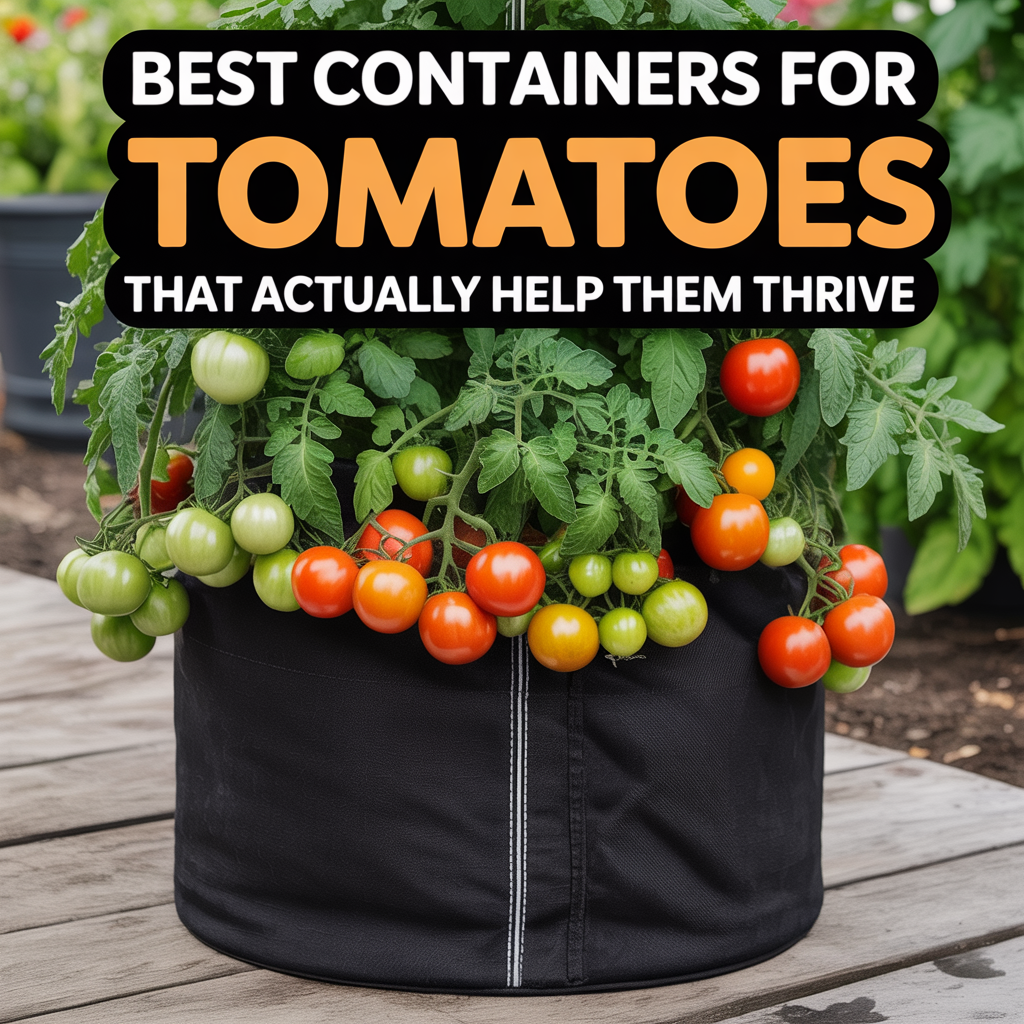
Not sure which direction makes sense? This guide on the best containers for tomatoes compares the options, including what pot sizes actually work. Making this decision early prevents one of the most frustrating beginner problems: buying a plant first and discovering later that its home is too small.
Prepare soil that drains and feeds the plants
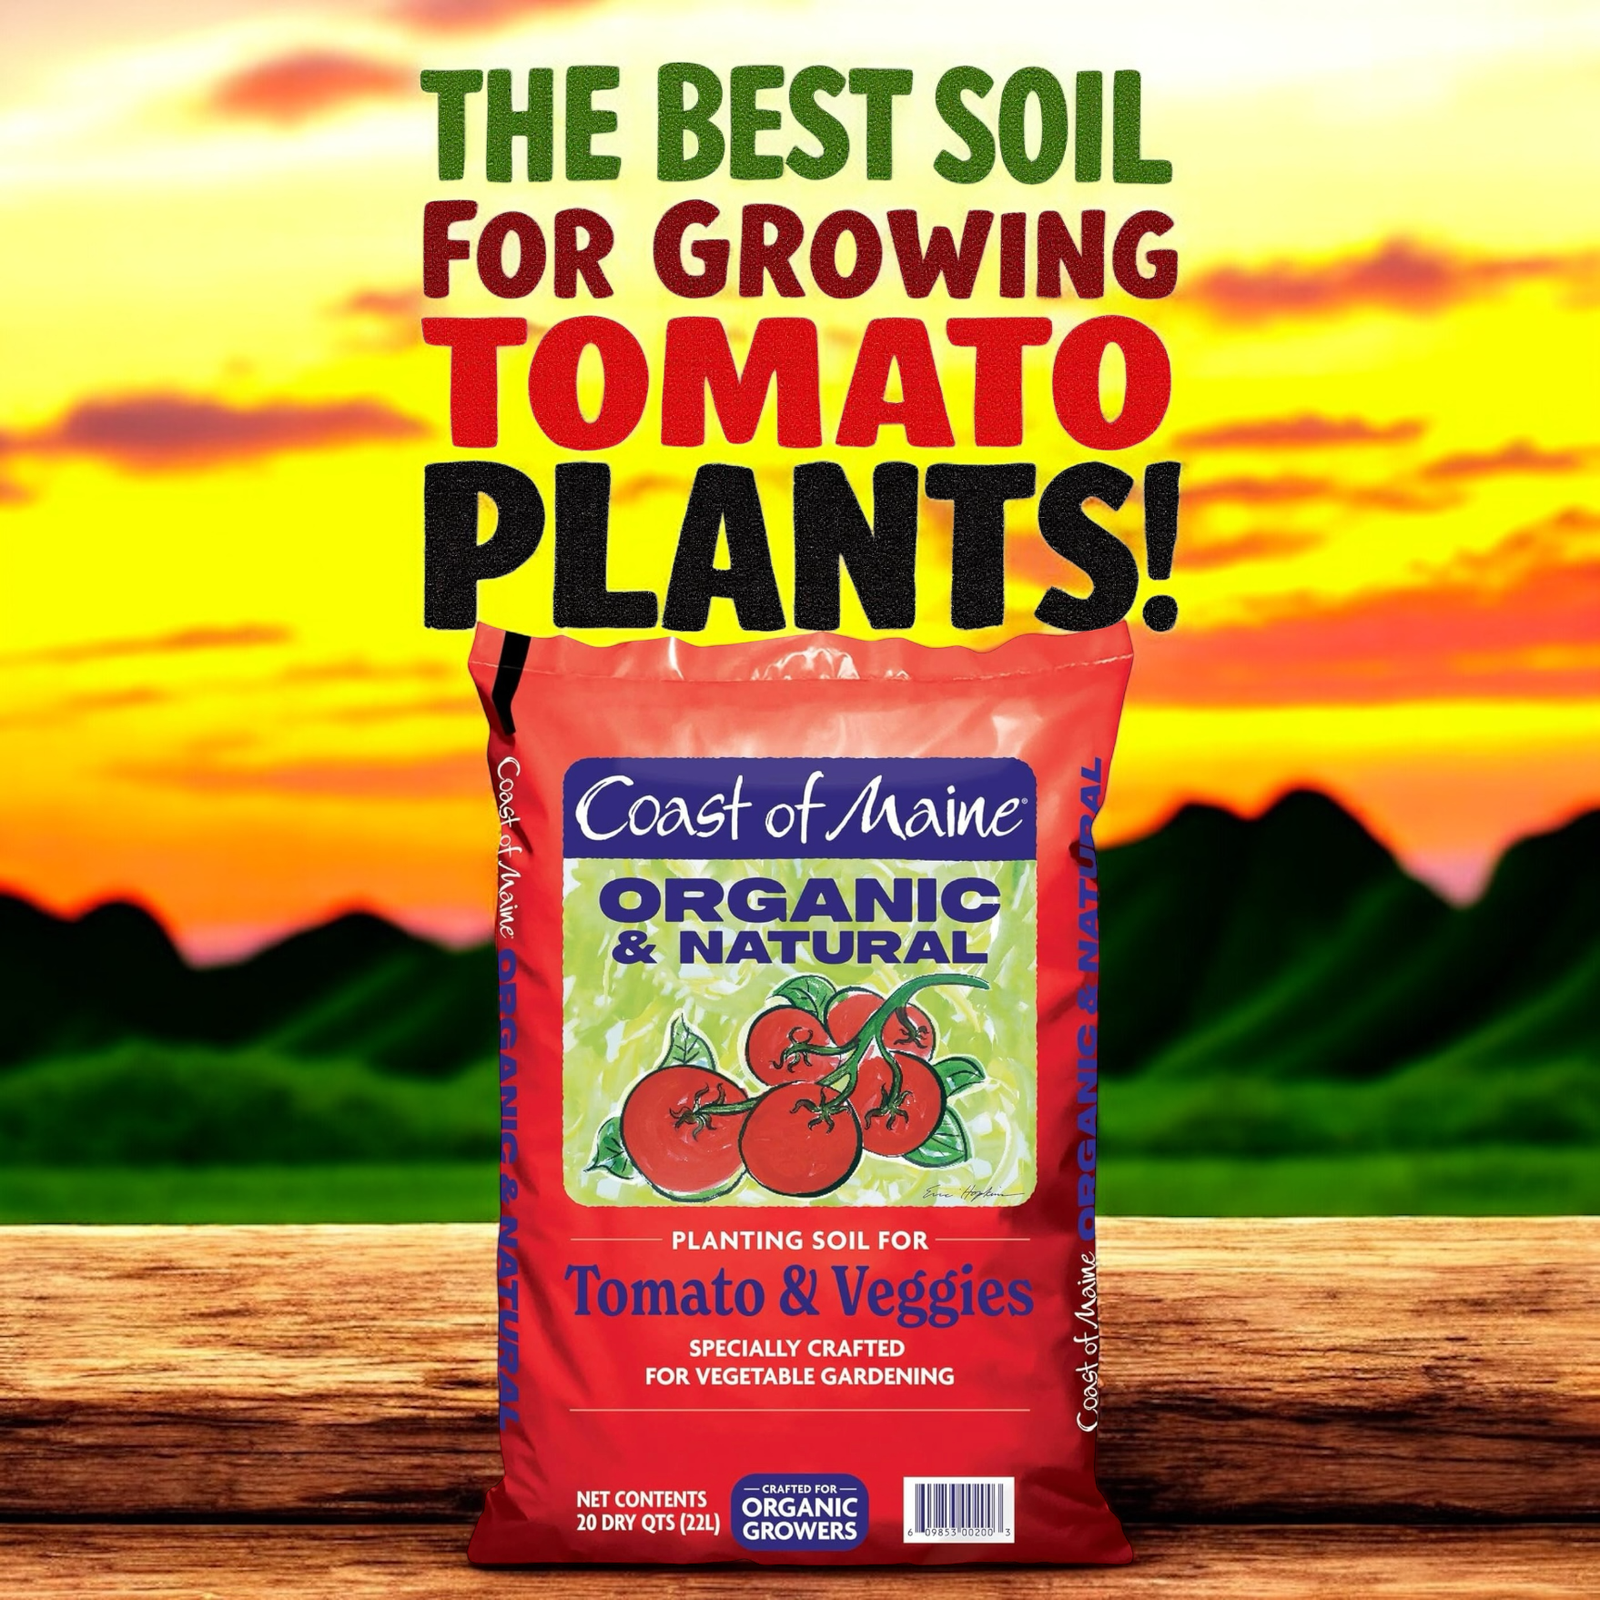
Tomatoes are heavy feeders, so poor soil can make the season harder than it needs to be. They need nutrients, but they also need air around the roots. Rich soil that stays soggy is not an upgrade. Soggy roots create unhappy plants, especially in containers. If you are growing in a container, well-draining tomato soil is one option to compare when preparing a growing medium with both nutrients and drainage in mind.
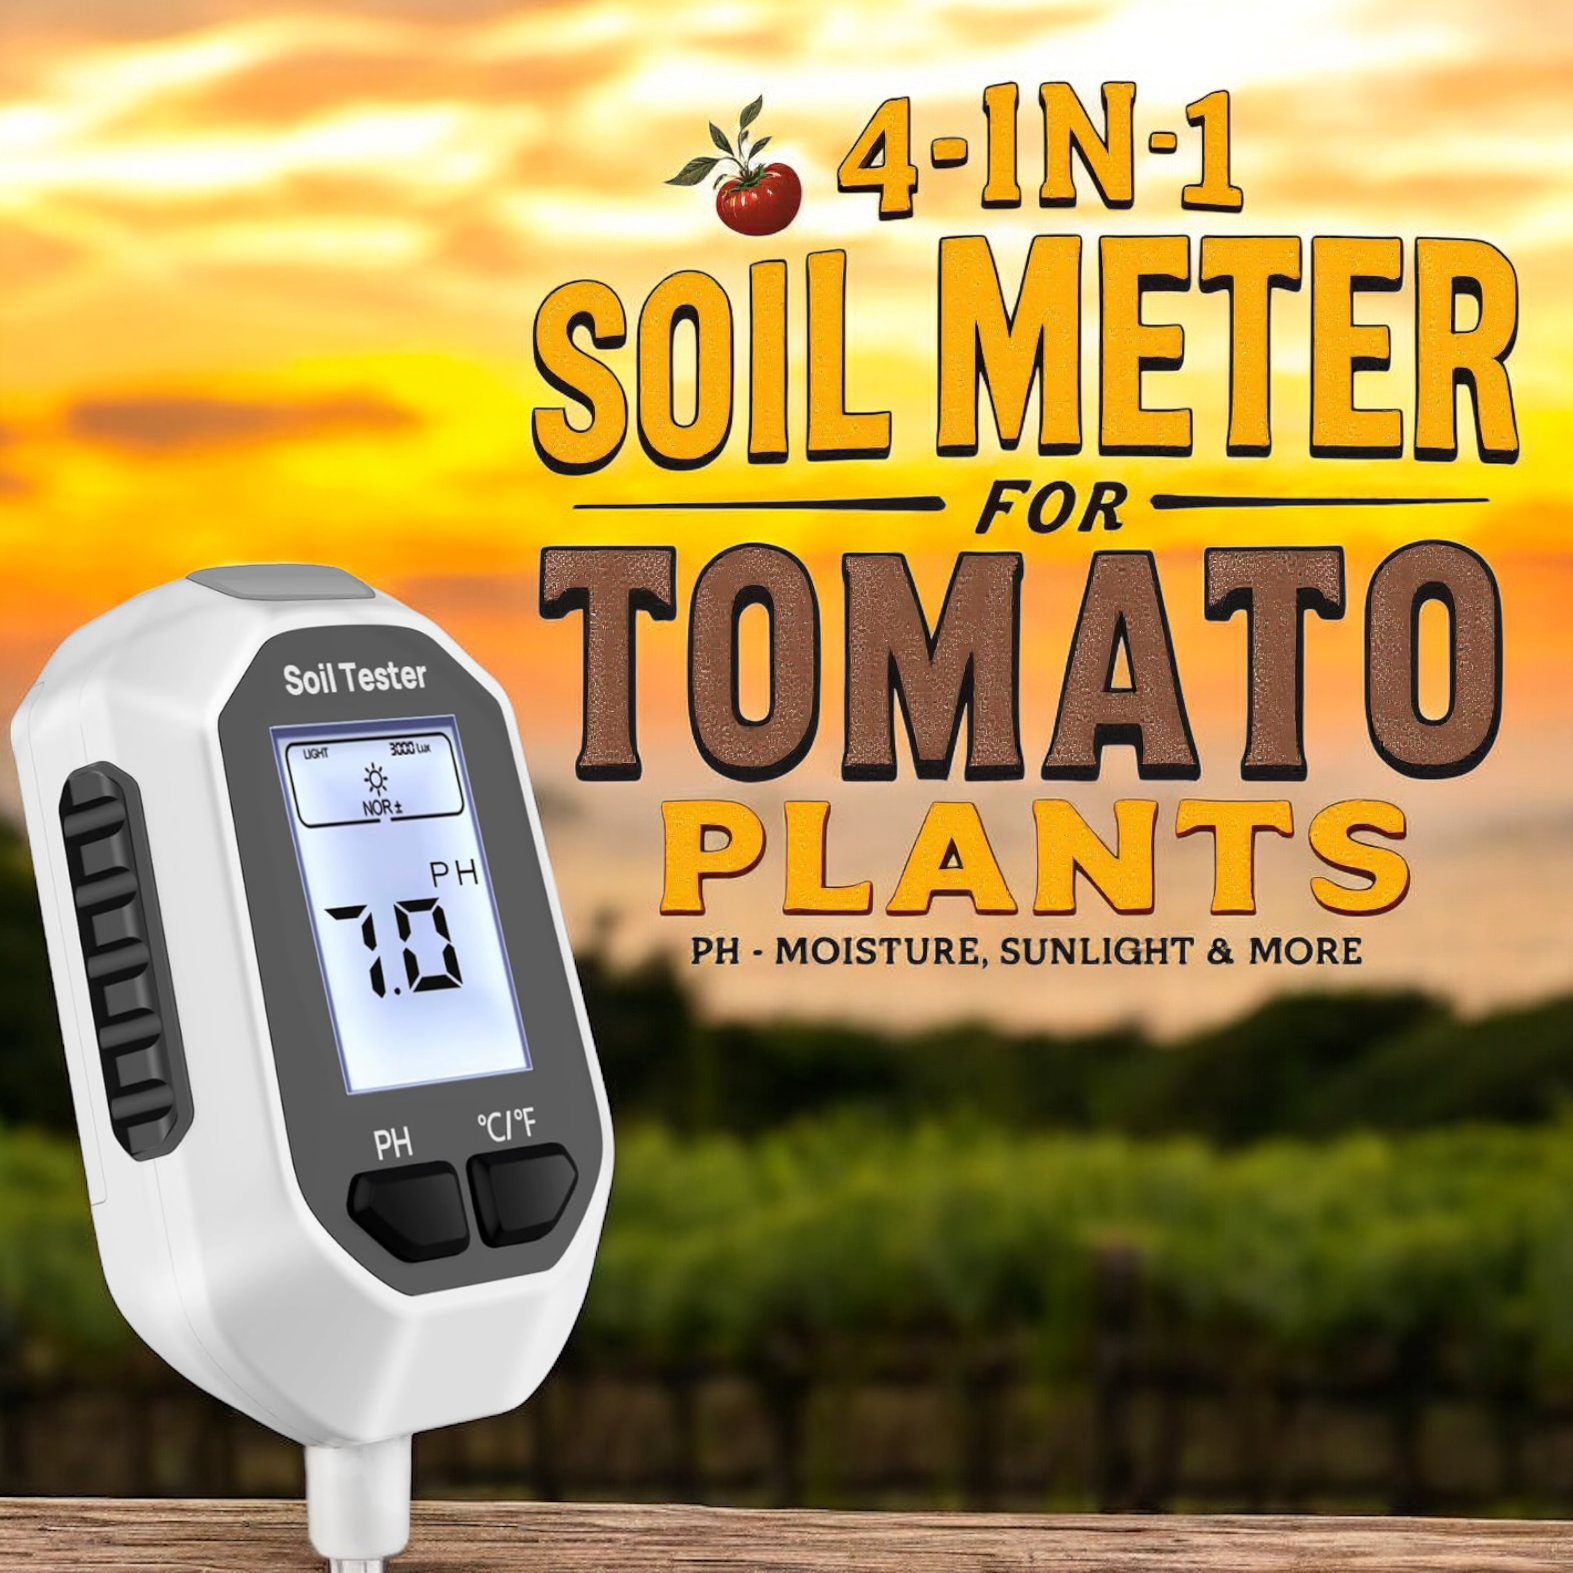
- Test the pH. Tomatoes prefer slightly acidic soil, around 6.0 to 6.8. A test gives you information before you start adding amendments at random. I explain exactly how to test and adjust tomato soil pH here.
- Add organic matter. Before planting, I mix in compost, worm castings, and a loamy, rich soil. These materials help create a better root environment, but they are not a reason to pile amendments endlessly into the bed.
- Check drainage. Water should move through the growing medium rather than forming a permanent puddle. Containers need open drainage holes, and a raised bed should not sit in a place where water collects.
For containers, use a quality potting mix rather than heavy garden soil dug from the yard. Garden soil can compact in a pot and leave roots with too little air. If you are building your own mix, compost, peat moss, and perlite can be useful components. If you want a simpler option, this Coast of Maine planting soil has worked well for me in containers.
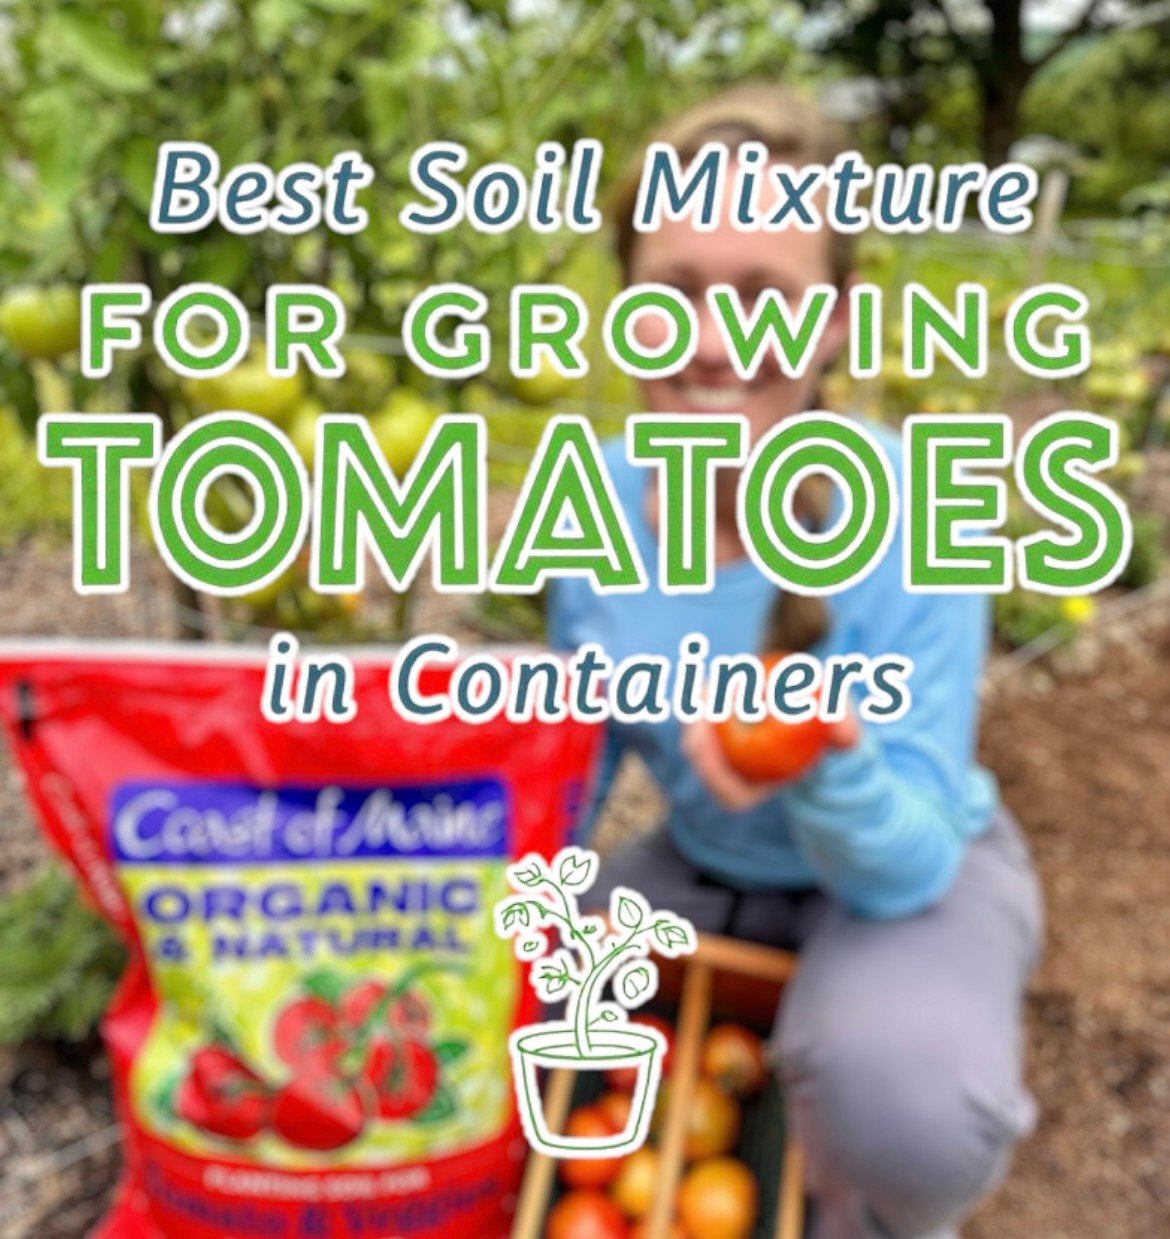
If you are unsure how to build the mix, here is a full guide on the best soil mixture for growing tomatoes in containers. The main thing is to prepare the growing space before the plants arrive. Once a tomato is large and planted, changing the soil around its roots becomes much more difficult.
Plant seedlings deeper than you expect
This was one of the first tomato tips I learned that sounded strange. It also made a noticeable difference. Tomato plants can form roots along the buried portion of their stem, which helps create a stronger root system and sturdier growth.
When I plant a seedling, I remove the lower leaves and bury the stem deeply, sometimes halfway up the plant. Do not bury leaves beneath the soil, since they can rot. The remaining leaves should stay above the surface with enough space around the stem for air to move.
A tall, leggy seedling does not have to be thrown away. Dig a shallow trench, lay the plant sideways, and gently turn the leafy top upward. Roots can form along the buried stem. This method also lets you plant a stretched seedling without leaving most of its bare stem unsupported above the soil.
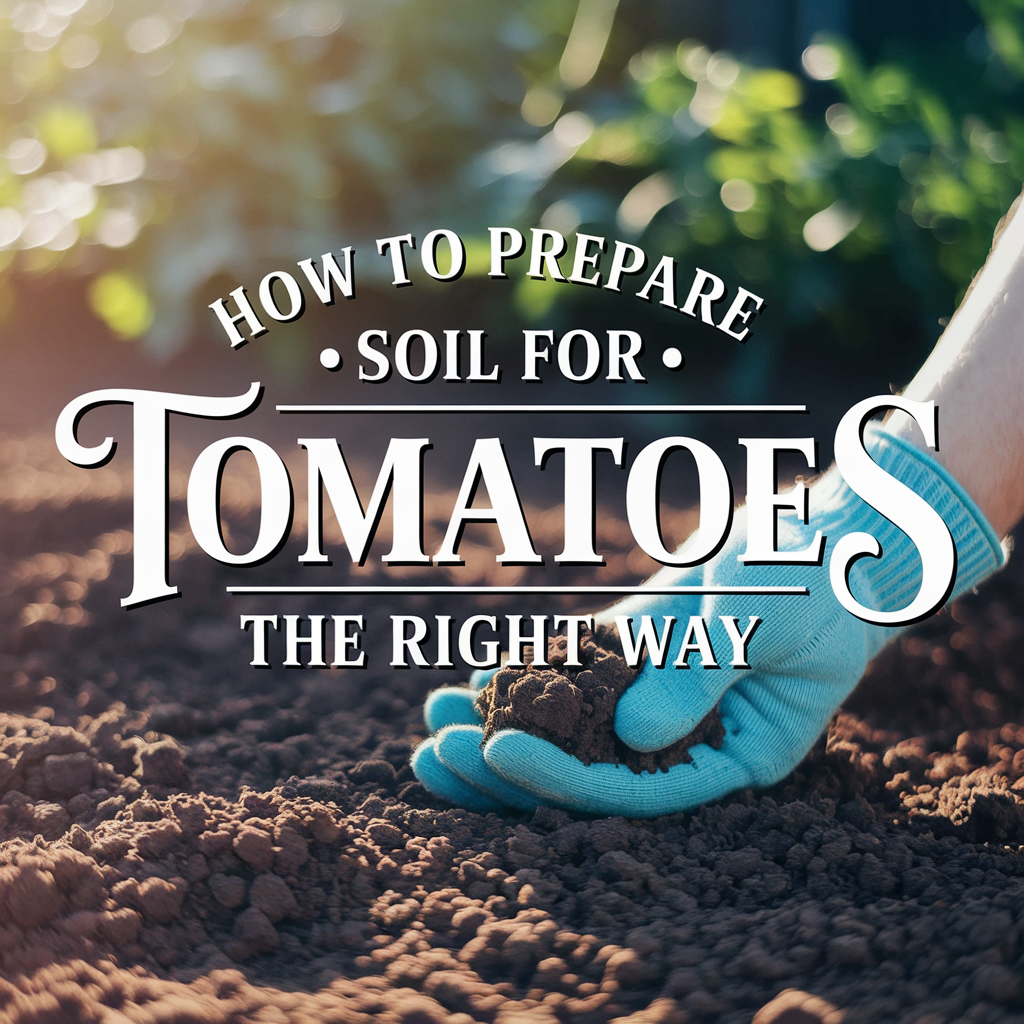
Handle the root ball gently and water after planting so the soil settles around it. Avoid packing the soil down like concrete. The goal is firm contact around the roots, not a compressed planting hole. I walk through the deeper planting method with photos in how to prepare your soil for tomatoes.
Water deeply and watch the soil
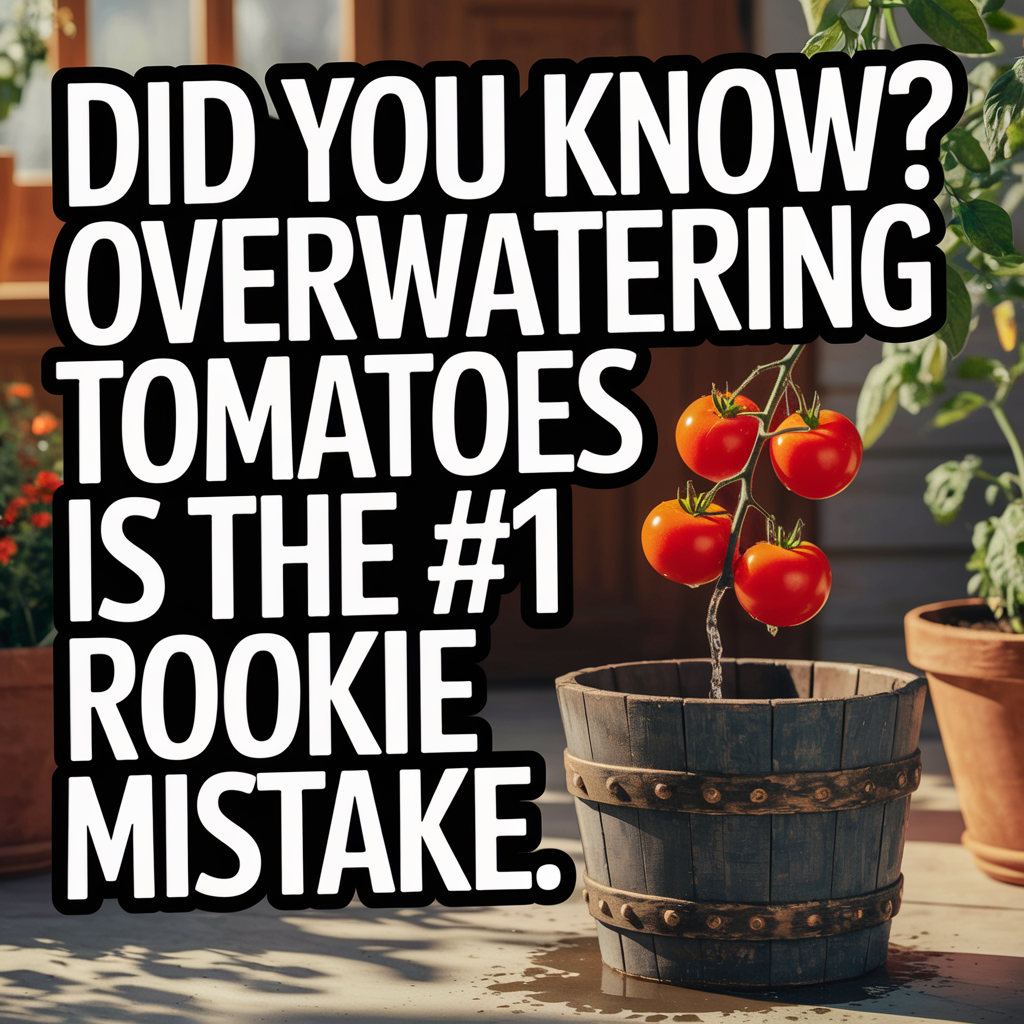
Overwatering is one of the most common mistakes new tomato growers make, particularly with container plants. The answer is not to let the plant become bone dry and then flood it. Aim for consistent moisture and pay attention to what the soil is telling you.
- Water deeply rather than shallowly. A thorough watering encourages roots to grow down through the available soil. Light sprinkles that only wet the surface can leave the deeper root zone dry.
- Water in the morning when possible. Morning watering gives foliage time to dry and helps the plant face the heat of the day with moisture available at the roots.
- Use mulch. Straw, shredded leaves, or compost can slow evaporation and reduce soil splashing onto the lower leaves. Keep mulch slightly away from the main stem rather than piling it directly against the plant.
Check the soil before watering instead of following a rigid daily schedule. Weather, plant size, soil type, and container size all change how quickly moisture disappears. A small container in hot weather may need attention much more often than a plant in a deep bed. That does not mean every plant in the garden needs the same amount of water.
Containers dry out faster, especially during hot or windy weather. This tip-packed post on watering tomatoes the right way goes into the warning signs and watering adjustments in more detail. If leaves look wilted, check the soil first rather than immediately adding fertilizer or assuming the plant has a disease.
Install support before the plants flop
Do not wait until a tomato plant is lying across the path to decide how you will support it. By then, branches may be tangled, fruit may be resting on the soil, and trying to fit in a cage can become an awkward wrestling match.
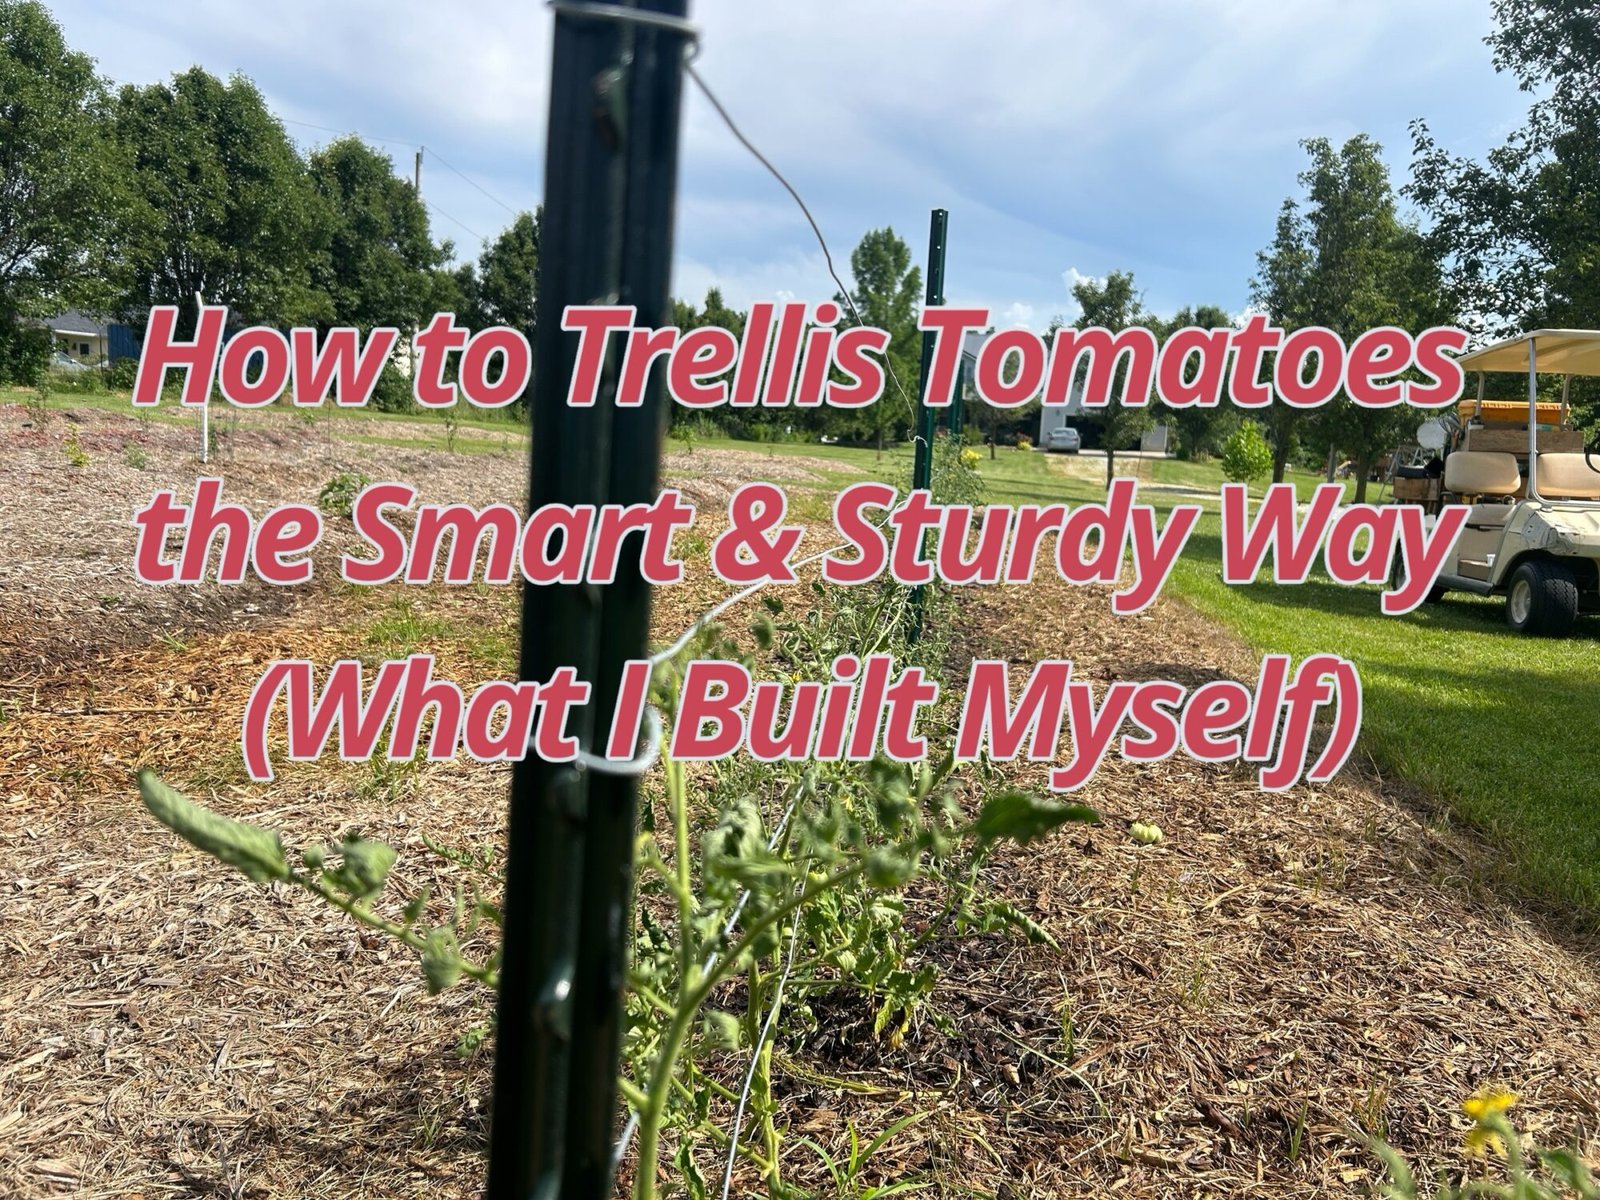
I have used cages, stakes, and complete DIY trellis systems. The right setup depends on the variety, the number of plants, and the space available. Whatever you choose, put it in place while the plant is still small. Supporting the main stems as they grow is much easier than trying to lift a mature plant all at once. Compare practical DIY tomato trellis options in DIY tomato trellis options.
One of the smartest setups I ever built was my own sturdy wire-based trellis using T-posts and wire. It supported over 20 tomato plants, made harvesting easier, and looked great too. That kind of system makes sense when you are growing a long row and want a single structure rather than a separate cage for every plant.
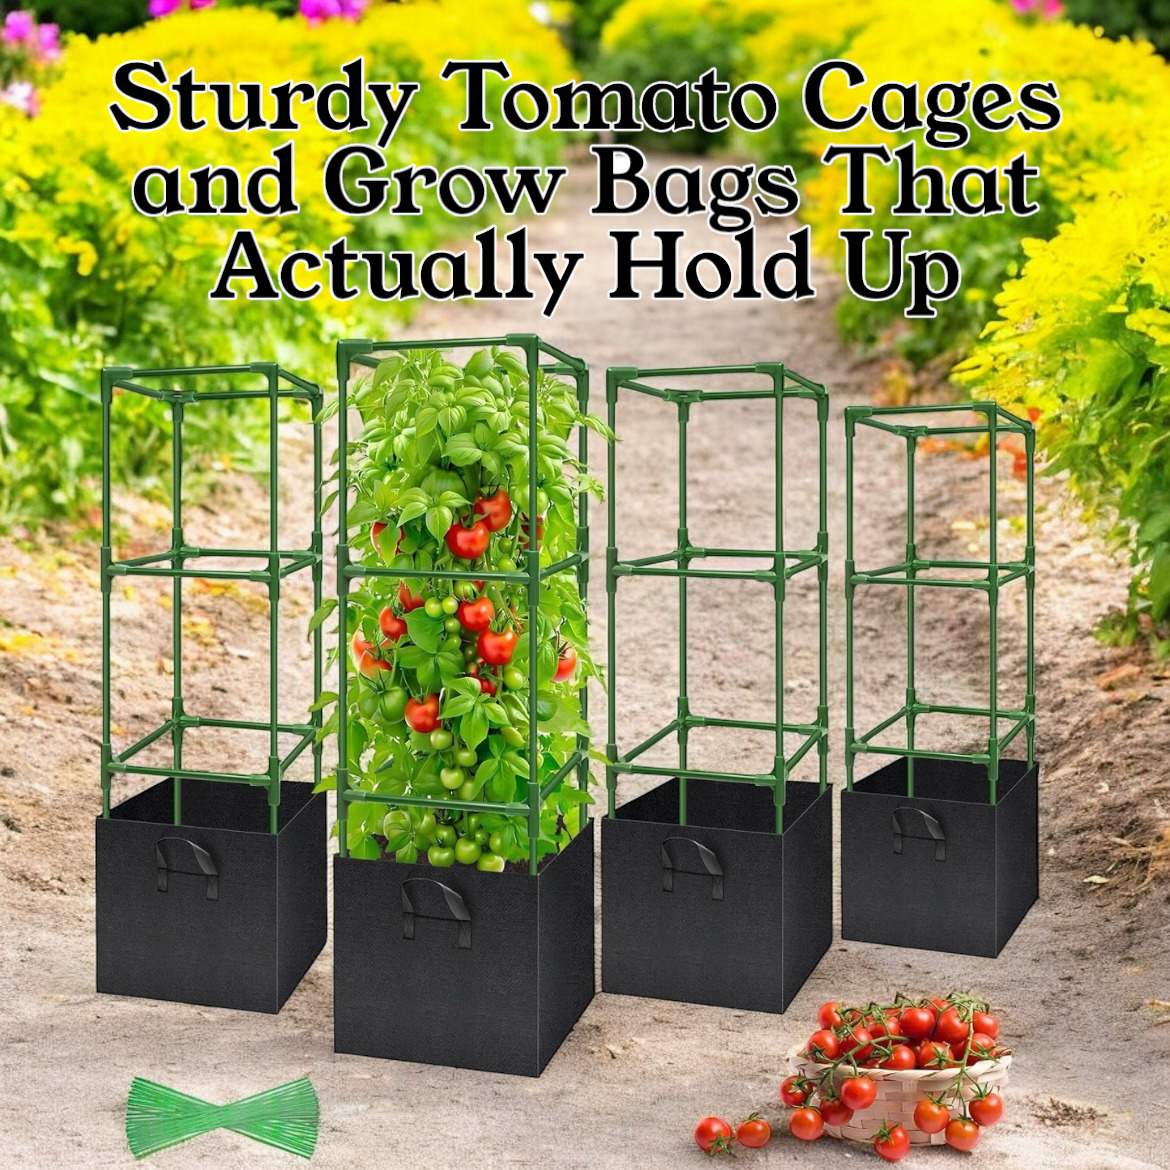
For a smaller garden, check out the tomato cages and grow bags I recommend. They have held up in wind and through heavy growth without collapsing on me. Whichever support you use, tie stems loosely. A tie that is snug today can cut into the stem as it thickens.

Feed carefully instead of chasing fast growth
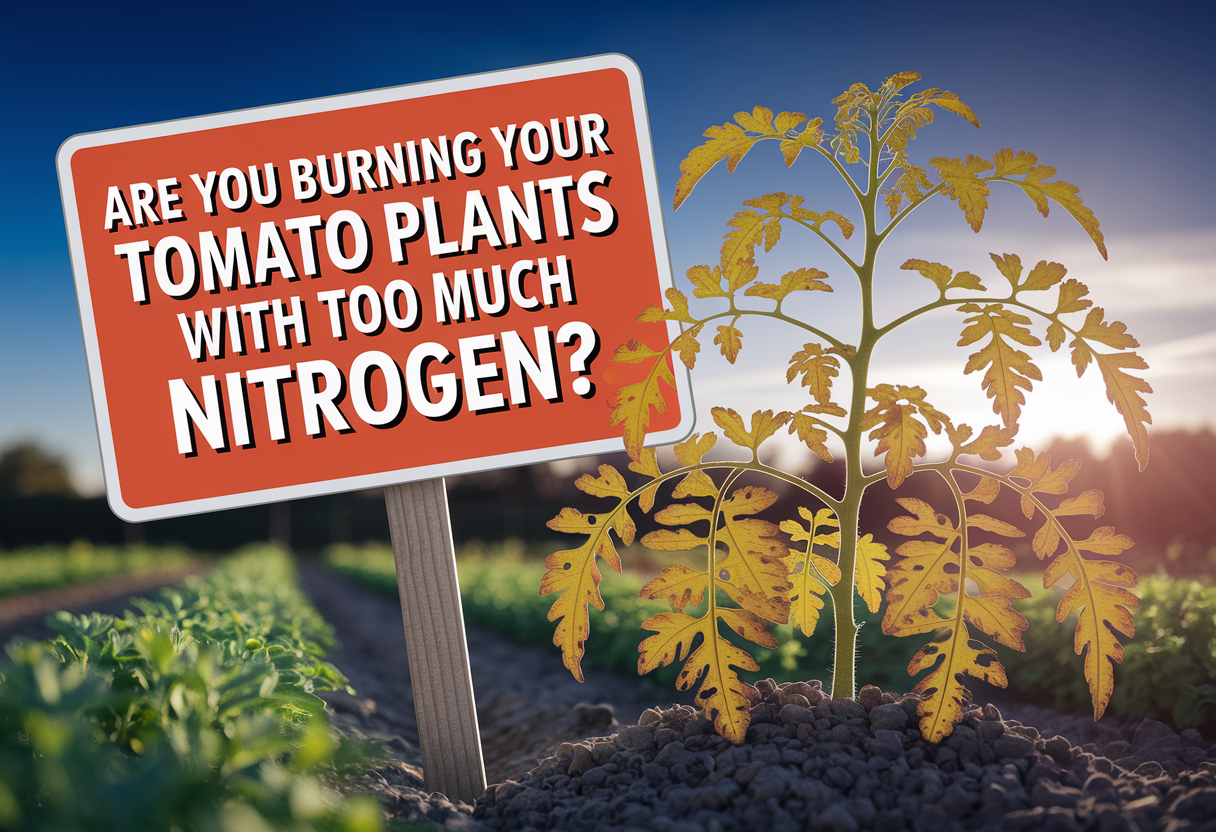
When I first started, I made the rookie mistake of dumping too much fertilizer on my tomato plants because I thought more food would mean faster growth. It did speed up the leaves. The fruit, however, was barely there.
Too much nitrogen early in the season can push a plant toward lush foliage instead of balanced fruit production. I now use a balanced or lower-nitrogen fertilizer while the plants are getting established, then adjust once flowering begins. A tomato-specific mix with more emphasis on phosphorus and potassium can be useful at that stage, provided it is applied according to the product directions.
More fertilizer is not a substitute for sunlight, healthy roots, or consistent water. It is also not a good idea to keep adding products because a plant looks slow for a few days. First check whether the soil is cold, the plant is getting enough light, or the roots are staying too wet.
For a closer look at what to avoid and how to correct an overly heavy application, see nitrogen burn in tomato plants. A measured approach is much easier on the plants than trying to force them into production.
Learn the early signs of trouble
Tomatoes are tough until they are not. Small changes are worth noticing, but a single yellow leaf does not automatically mean the entire plant is doomed. Look at the pattern, the newest growth, the soil moisture, and the recent weather before deciding what to do.
- Yellowing leaves can be connected to nutrient imbalance or overwatering. Check the root-zone moisture and the overall growth before adding fertilizer.
- Blossom end rot is commonly associated with calcium availability and inconsistent watering. Keeping moisture more even is an important first step.
- White patches on leaves may result from sunscald or could indicate powdery mildew. The location, texture, and spread of the patches matter.
Walk through the garden regularly and look under leaves as well as across the top of the plant. Early observation gives you more choices than discovering a problem after the plant has stopped growing. Avoid treating every symptom with the same spray or amendment. The wrong response can create another problem.
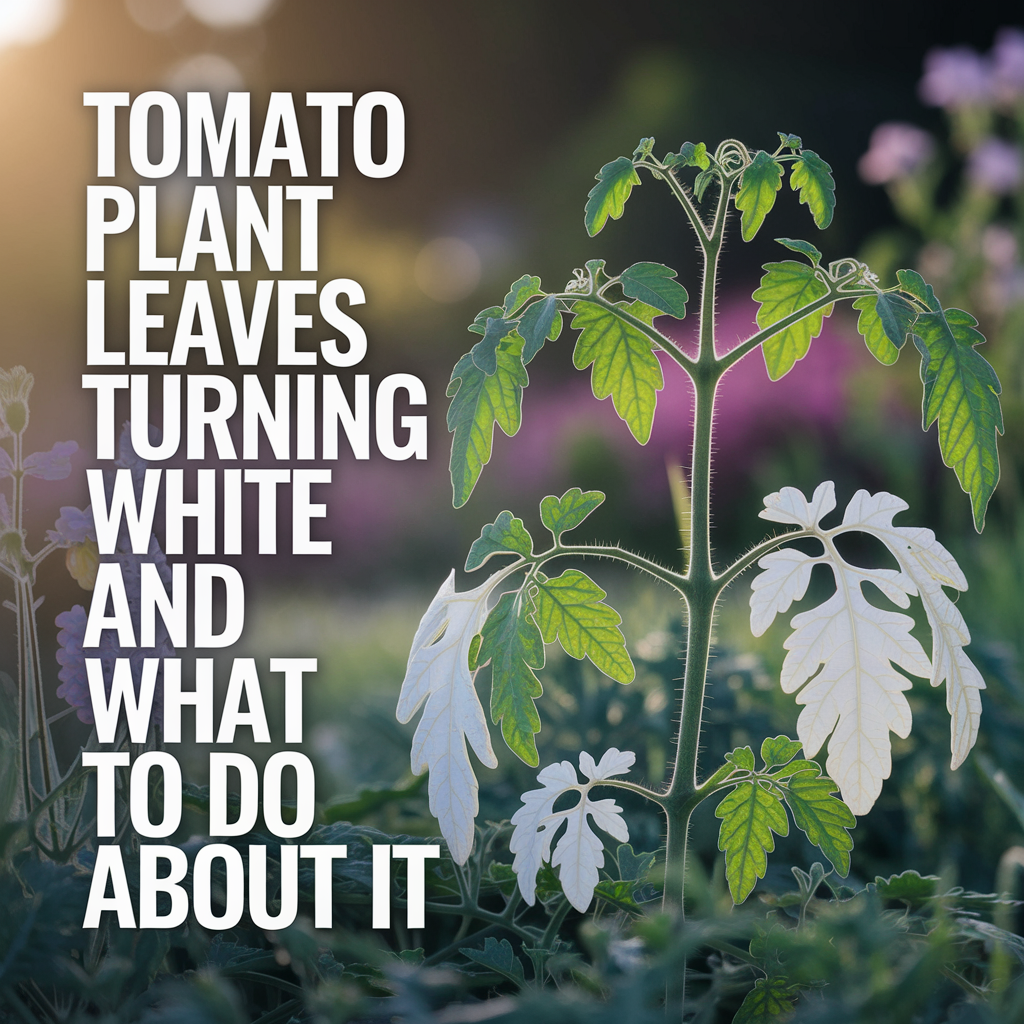
We cover many of these warning signs in what to do when tomato leaves turn white, which is helpful when you need to diagnose plant stress quickly. If you are growing in containers, also check out the best soil mix for containers so you can reduce common problems before they begin.

Harvest at the right stage
You would think picking a tomato would be the easy part. I learned that timing matters more than I expected. Picking during the heat of the day can leave you with fruit that tastes soft and flat, while picking late at night means dealing with more internal moisture.
Early morning is the sweet spot in my routine. The fruit is cool and hydrated, and the plant is easier to handle before the day becomes hot. Use a gentle twist or clean snip rather than pulling hard on the branch.
You do not always have to wait for a tomato to become fully red on the vine. Fruit that has begun to change color can finish ripening indoors, which can be useful when weather, animals, or cracking becomes a concern. The exact best stage depends on how you plan to use it and whether you want the softest possible texture or a firmer tomato for transport.
For the full breakdown of the best time to pick tomatoes, see Best Time to Pick Tomatoes for Juicy Flavor and Firmness. Harvesting often is also worthwhile because it keeps ripe fruit from lingering on the plant while more tomatoes are developing.
Store ripe tomatoes away from the refrigerator
Here is a mistake I did not make just once. I made it for a whole season: storing fresh-picked tomatoes in the fridge. I thought I was preserving them. Instead, I damaged the flavor and texture.
Cold temperatures below 55°F can affect texture and interfere with the sugars that give a ripe tomato its flavor. The result can be a mealy, bland tomato that tastes nothing like the one that came off the vine.
Now I store tomatoes at room temperature in a single layer, out of direct sunlight. Keeping them from piling on top of one another reduces bruising. I place very ripe tomatoes in a paper bag in a cool part of the house if I will not use them for a few days, but I avoid the refrigerator unless I have already cut the tomato and need to keep it safe for later use.
Check stored fruit daily. Use the ripest tomatoes first, and separate any that are cracked or beginning to spoil. Picking and storing go hand in hand, so pair these habits with the guidance in when to pick tomatoes for flavor and firmness.
Keep the first season manageable
When I first started growing tomatoes, I thought it would be as simple as tossing seeds into dirt and watering them. I was in for a ride. Choosing the variety, preparing the soil, deciding how deep to plant, arranging support, managing water, and learning when to harvest all made a difference.
That does not mean you need to master every tomato-growing technique before planting one seedling. Start with a manageable number of plants. Choose a spot you can reach easily. Prepare the soil and support first, then make a habit of checking moisture and new growth a few times a week. Those small routines prevent many of the dramatic rescue missions that make gardening feel impossible.
Every mistake I made became a lesson. Now I actually enjoy the trial and error, because nothing beats the first bite of a sun-warmed, vine-ripened tomato you grew yourself. If you are starting your first garden, give yourself room to learn rather than expecting a perfect harvest immediately.
As you continue, these related guides can help with the next decisions:
- How to prepare soil for tomatoes the right way
- Best soil mixture for tomatoes in containers
- How to trellis tomatoes the smart, sturdy way
You have got this. Just do not be afraid to dig in, literally.