A 5 gallon bucket is one of the most underrated tomato containers available. Here is the complete setup guide — varieties, soil, watering, feeding, and the mistakes that kill bucket tomatoes fast.

A 5 gallon bucket sitting on a patio or driveway is not most people’s idea of a serious tomato garden. But walk through the backyard of any experienced container gardener and you will likely find buckets — plain, simple, inexpensive buckets — producing more tomatoes per square foot than most in-ground gardens.
Container tomato growing has exploded in popularity for good reason. It works for renters who cannot dig up a yard. It works for gardeners with poor native soil. It works for anyone who wants to grow on a deck, balcony, driveway, or rooftop. And the 5 gallon bucket, despite its humble appearance, is genuinely one of the best containers available for growing tomatoes — if you set it up correctly.
This guide covers everything you need to know about growing tomatoes in 5 gallon buckets — from setup and soil to variety selection, watering, fertilizing, and getting the most out of a small growing space.
Can You Really Grow Tomatoes in a 5 Gallon Bucket?
Yes — with important caveats.
A 5 gallon bucket holds approximately 0.67 cubic feet of soil. That is enough root space for compact determinate varieties and most cherry tomatoes to grow productively. It is on the small side for large indeterminate varieties like Beefsteak or Brandywine, which have extensive root systems that benefit from more space.
The key is matching the right variety to the container size and then managing water and nutrients accordingly. A 5 gallon bucket planted with Roma tomatoes, properly watered and fed, will produce a genuine harvest. A 5 gallon bucket planted with a full-sized indeterminate heirloom and neglected will produce disappointment.
Understand the limitations going in and work within them, and bucket tomatoes deliver results that regularly surprise first-time container growers.


Why 5 Gallon Buckets Work Well for Tomatoes
They are inexpensive. Food-grade 5 gallon buckets cost a few dollars each and last for years. For a gardener setting up multiple containers, the cost difference between buckets and decorative planters is significant.
They drain well when set up correctly. A bucket with drainage holes and the right soil mix drains faster and more completely than many decorative planters with limited drainage.
They are portable. A 5 gallon bucket with moist soil weighs 40–50 pounds — heavy, but moveable. You can chase the sun, bring plants in ahead of an early frost, or rearrange your growing space as the season progresses.
They warm up quickly. Dark-colored buckets absorb heat and warm the soil faster than in-ground planting in early spring. This can give bucket tomatoes a growth advantage early in the season.
They are disease-resistant by default. Container growing eliminates soil-borne diseases that build up in garden beds over years of growing the same crop. Each season starts with fresh soil.
Setting Up Your 5 Gallon Bucket
Step 1: Drill Drainage Holes
This is the most critical setup step and the one most commonly skipped.
A bucket with no drainage holes will waterlog the soil within a few waterings, suffocate the roots, and kill the plant. You need drainage.
Drill 4–6 holes in the bottom of the bucket using a 1/2 inch drill bit. Space them evenly across the base. If you want additional drainage, drill a few holes around the lower sides of the bucket about an inch up from the bottom.
Elevating the bucket slightly off the ground — on blocks, bricks, or a pot riser — allows water to drain freely and prevents the drainage holes from sitting in standing water.
Step 2: Choose the Right Soil Mix
Do not use garden soil or topsoil in containers. Garden soil compacts in containers, drains poorly, and becomes dense and airless within a few weeks of regular watering. Roots cannot penetrate it effectively and the plant stalls.
Use a quality potting mix specifically formulated for containers. The best mixes for tomatoes are light, well-draining, and moisture-retentive without becoming waterlogged. Look for a mix that contains perlite or vermiculite for drainage and aeration.
Adding amendments improves performance significantly:
- Mix in a generous handful of worm castings per bucket — they improve soil structure and provide a gentle, long-lasting nutrient base
- Add a handful of perlite if the base mix does not already contain it
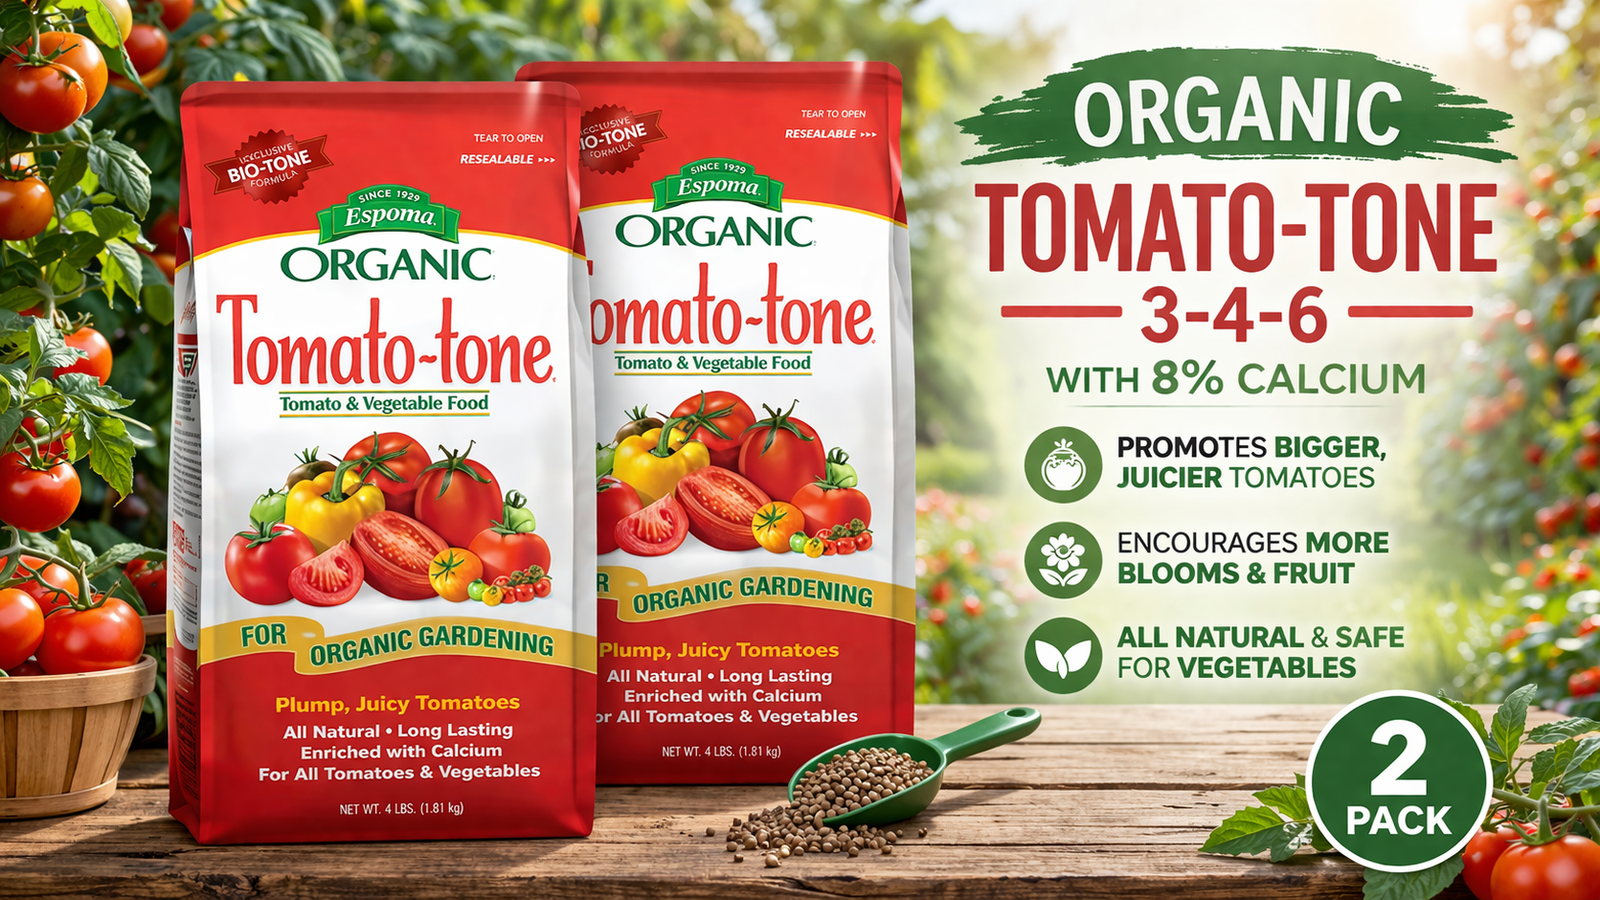
- Mix in a small amount of slow-release granular fertilizer at planting time to provide background nutrition throughout the season
The full breakdown of what to use and why is in the guide on best soil mixture for growing tomatoes in containers.
Step 3: Plant Deep
The deep planting technique that works so well in the ground works equally well in buckets. Bury two-thirds of the transplant stem, removing all leaves that will be underground first. The buried stem develops adventitious roots that significantly expand the effective root system within the limited container space.
For a standard 12-inch transplant in a 5 gallon bucket, you are burying roughly 8 inches of stem and leaving 4 inches above the soil surface. For taller transplants, coil the stem horizontally in the bottom of the bucket and angle the top upward — the trench method adapted for containers.
The full explanation of why deep planting works and exactly how to do it is in how deep to plant tomatoes — the two-thirds rule that changes everything.
Step 4: Set Up Support Before You Need It
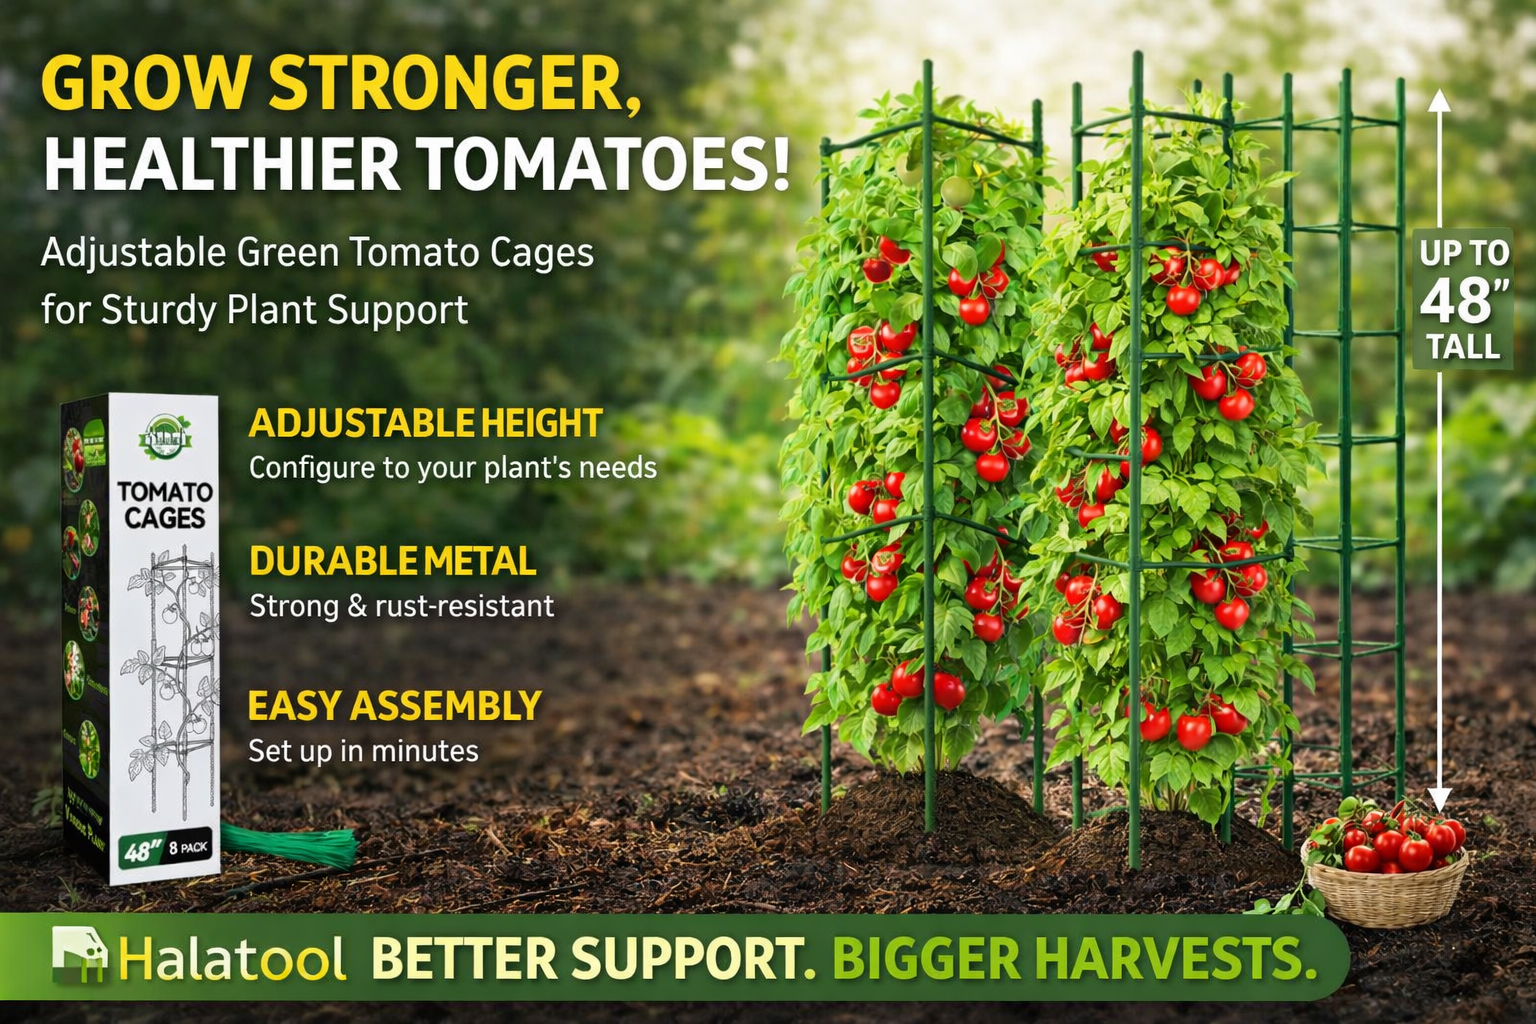
Do not wait until your plant is flopping over to think about support. Set up your stake or cage at planting time, when you can position it without disturbing roots.
For bucket tomatoes, a single sturdy garden stake pushed firmly into the bucket and tied to the plant with garden twist ties is usually the most practical approach. Cages work too but can make the bucket top-heavy and difficult to move.
For compact determinate varieties, a single stake is usually sufficient. For more vigorous varieties, plan to tie the plant every 6–8 inches as it grows.
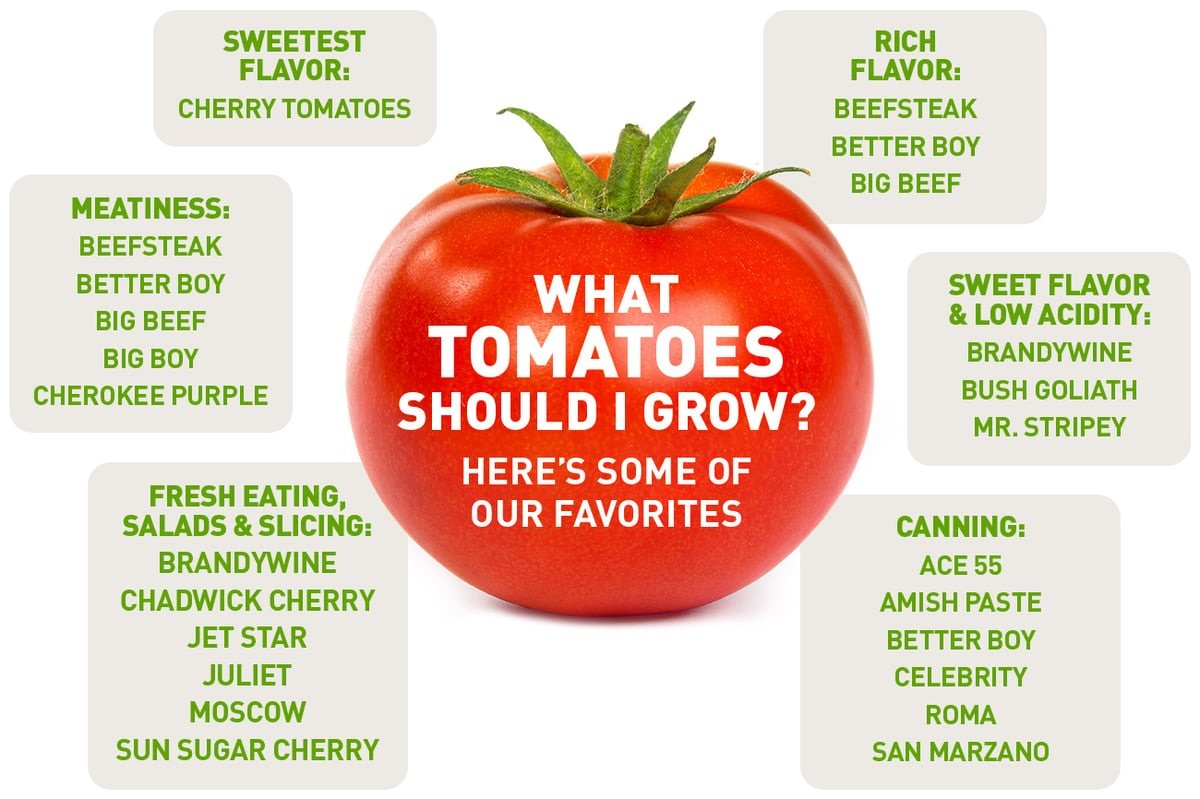
Best Tomato Varieties for 5 Gallon Buckets
Variety selection matters more in containers than in the ground. Match the plant to the space.
Best Choices for 5 Gallon Buckets
Patio — Bred specifically for containers. Compact, determinate, productive. One of the best pure bucket varieties available.
Tumbling Tom — A cascading cherry tomato that works beautifully in buckets and hanging containers. Red and yellow varieties available, both productive.
Bush Early Girl — Determinate version of the classic Early Girl. Compact plant, early producer, good flavor for a determinate type.
Roma — The classic paste tomato. Determinate, manageable size, produces a concentrated crop excellent for sauce and canning. Handles container growing well.
Celebrity — Reliable, disease-resistant, consistently productive. One of the most forgiving determinate varieties for container growing.
Rutgers — Old-school slicing tomato with genuine flavor. Compact enough for 5 gallon buckets with good management.
Sweet 100 — A cherry tomato that produces prolifically even in containers. Indeterminate but manageable with regular pruning. Highly recommended for bucket growing.
Sun Gold — Arguably the best-tasting cherry tomato available. Indeterminate and vigorous — needs consistent pruning in a 5 gallon bucket but rewards the effort with extraordinary flavor.
Tumbler — A hybrid specifically developed for hanging baskets and containers. Determinate, compact, and one of the easiest container varieties to manage.
Varieties to Avoid in 5 Gallon Buckets
Large indeterminate heirlooms — Brandywine, Cherokee Purple, Mortgage Lifter — are not ideal for 5 gallon buckets. Their extensive root systems and vigorous growth push the limits of this container size. They will grow and produce, but they will be consistently stressed by limited root space and will require more intensive watering and feeding than compact varieties. If you want to grow these varieties in containers, step up to a 10 or 15 gallon container.
Watering Tomatoes in 5 Gallon Buckets
Watering is where most bucket tomato growers struggle, and it is the area that makes the biggest difference in results.
The core problem: Small containers dry out fast. A 5 gallon bucket in full summer sun can go from adequately moist to bone dry in 24 hours. Miss one watering on a hot day and the plant experiences significant drought stress. Miss two in a row and you will see blossom drop and leaf curl within days.
The core solution: Water deeply and frequently. Check moisture daily during hot weather. Water when the top inch of soil is dry — not when the bucket looks dry on the outside, and not on a fixed schedule that ignores actual soil conditions.
How to water correctly:
- Water slowly until water drains freely from the bottom drainage holes. This confirms the entire root zone is saturated, not just the surface.
- Allow the excess to drain completely — do not let the bucket sit in standing water for more than 30 minutes
- Check moisture by pushing your finger an inch into the soil or using a soil moisture meter for a more accurate reading
- In peak summer heat, large plants in 5 gallon buckets may need water every day — sometimes twice a day
Reducing watering frequency:
- Add water-retaining crystals or gel to the potting mix at planting time — these absorb water and release it slowly between waterings
- Mulch the top of the bucket with an inch of straw or compost to reduce surface evaporation
- Move buckets to a spot with afternoon shade during heat waves — this dramatically slows moisture loss
- Group buckets together — clustered containers create a microclimate with slightly higher humidity that reduces water loss from each individual bucket
If daily checking and watering is not practical for your schedule, a simple drip irrigation system with individual emitters per bucket on a timer is the most reliable solution. Set it up once and the watering problem is essentially solved for the season.
Fertilizing Tomatoes in 5 Gallon Buckets
Container tomatoes need more frequent feeding than in-ground plants for a simple reason — every time you water, nutrients leach out through the drainage holes along with the water. The same drainage that prevents root rot also steadily depletes the soil’s nutrient supply.
The feeding approach that works:
- Use a balanced liquid fertilizer every 7–10 days throughout the growing season
- Start feeding about 2 weeks after transplanting once the plant has settled in
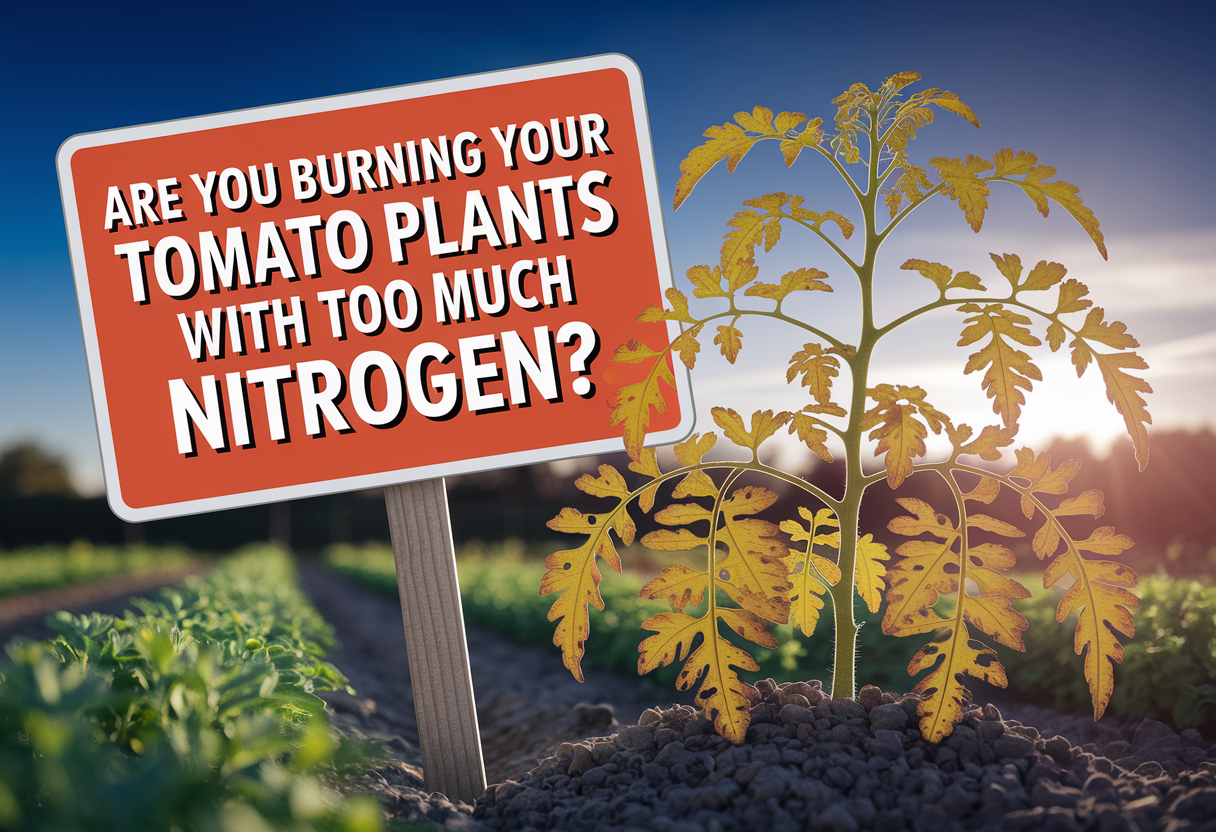
- Shift to a lower-nitrogen, higher-phosphorus and potassium formula once flowers appear — this supports fruit development rather than continued vegetative growth
- Do not skip feedings during the fruiting stage — this is when bucket tomatoes most commonly underperform, because gardeners ease off feeding just when the plant needs it most
The complete fertilizer schedule including what to use at each growth stage is in the best fertilizer for tomatoes that actually works and when to fertilize tomato plants for juicy big results.

Pruning Bucket Tomatoes
Pruning is more important for bucket tomatoes than for in-ground plants, not less. A limited root zone means limited energy input — and an unpruned plant in a bucket spreads that limited energy across far too many stems and leaves.
For determinate varieties in buckets: Minimal pruning. Remove clearly dead or diseased material and any leaves touching the bucket or soil surface. Leave the plant structure otherwise intact.
For indeterminate cherry varieties in buckets: Regular pruning is essential. Remove suckers weekly. For a 5 gallon bucket, single-stem training — removing all suckers and growing the plant as one main vine — produces the best results. It concentrates all available resources into one fruiting stem and keeps the plant manageable on a stake.
The complete guide to sucker identification and removal is in how to prune tomato plants for more fruit — the right way to do it.

Common Problems With Bucket Tomatoes and How to Fix Them
Plant wilts every afternoon despite regular watering
The plant has outgrown the container’s water-holding capacity. Move to a larger container if possible, or increase watering frequency. Afternoon shade helps significantly during heat waves.
Yellowing leaves despite regular feeding
Check soil pH — nutrient lockout from incorrect pH is extremely common in containers where repeated watering and fertilizing can shift pH over time. A quick reading with a soil meter tells you immediately if pH is the issue.
Blossom end rot on developing fruit
The flat black spot on the bottom of tomatoes is caused by calcium deficiency or inconsistent watering that prevents calcium uptake. In containers, this is almost always a watering consistency issue rather than a soil calcium deficiency. Maintain even moisture and the problem typically resolves on its own in new fruit.
Slow growth and pale leaves despite good watering and feeding
Insufficient light is the most common cause in container settings. Tomatoes need 6–8 hours of direct sun minimum. Move the bucket to a sunnier location. The relationship between sunlight and production is explained in the article on how much sun do tomato plants need.
Roots coming out of drainage holes
The plant is root-bound and has filled the container. Either transplant into a larger container immediately, or accept that the plant will require more frequent watering and feeding for the remainder of the season. Cutting off the visible roots is not a solution — they will continue growing and re-emerge.
Extending the Season With Bucket Tomatoes
One of the genuine advantages of container growing is the ability to extend your growing season at both ends.
In spring: Bucket tomatoes can go outside earlier than in-ground plants because you can bring them in on cold nights. Start hardening off bucket plants 2–3 weeks before your last frost date, bringing them in whenever temperatures drop below 50°F overnight. This can give you 2–4 weeks of head start on the season.
In fall: When first frost threatens, move buckets inside overnight or into a protected area like a garage or covered porch. A few degrees of frost protection can extend your harvest by weeks in some climates.
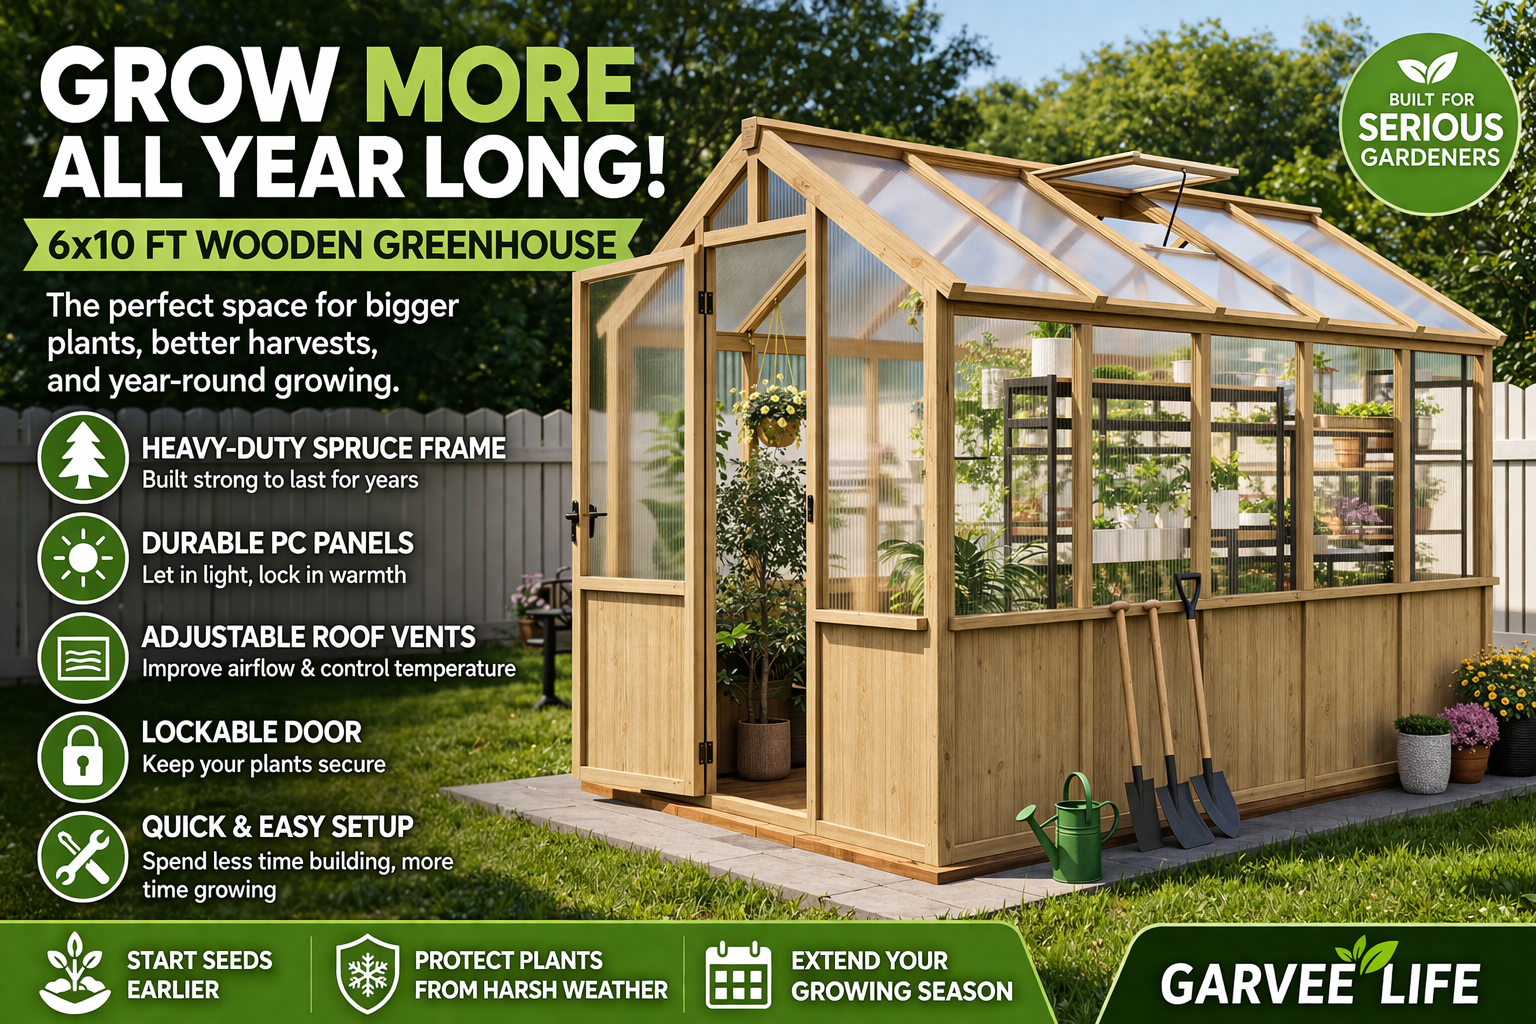
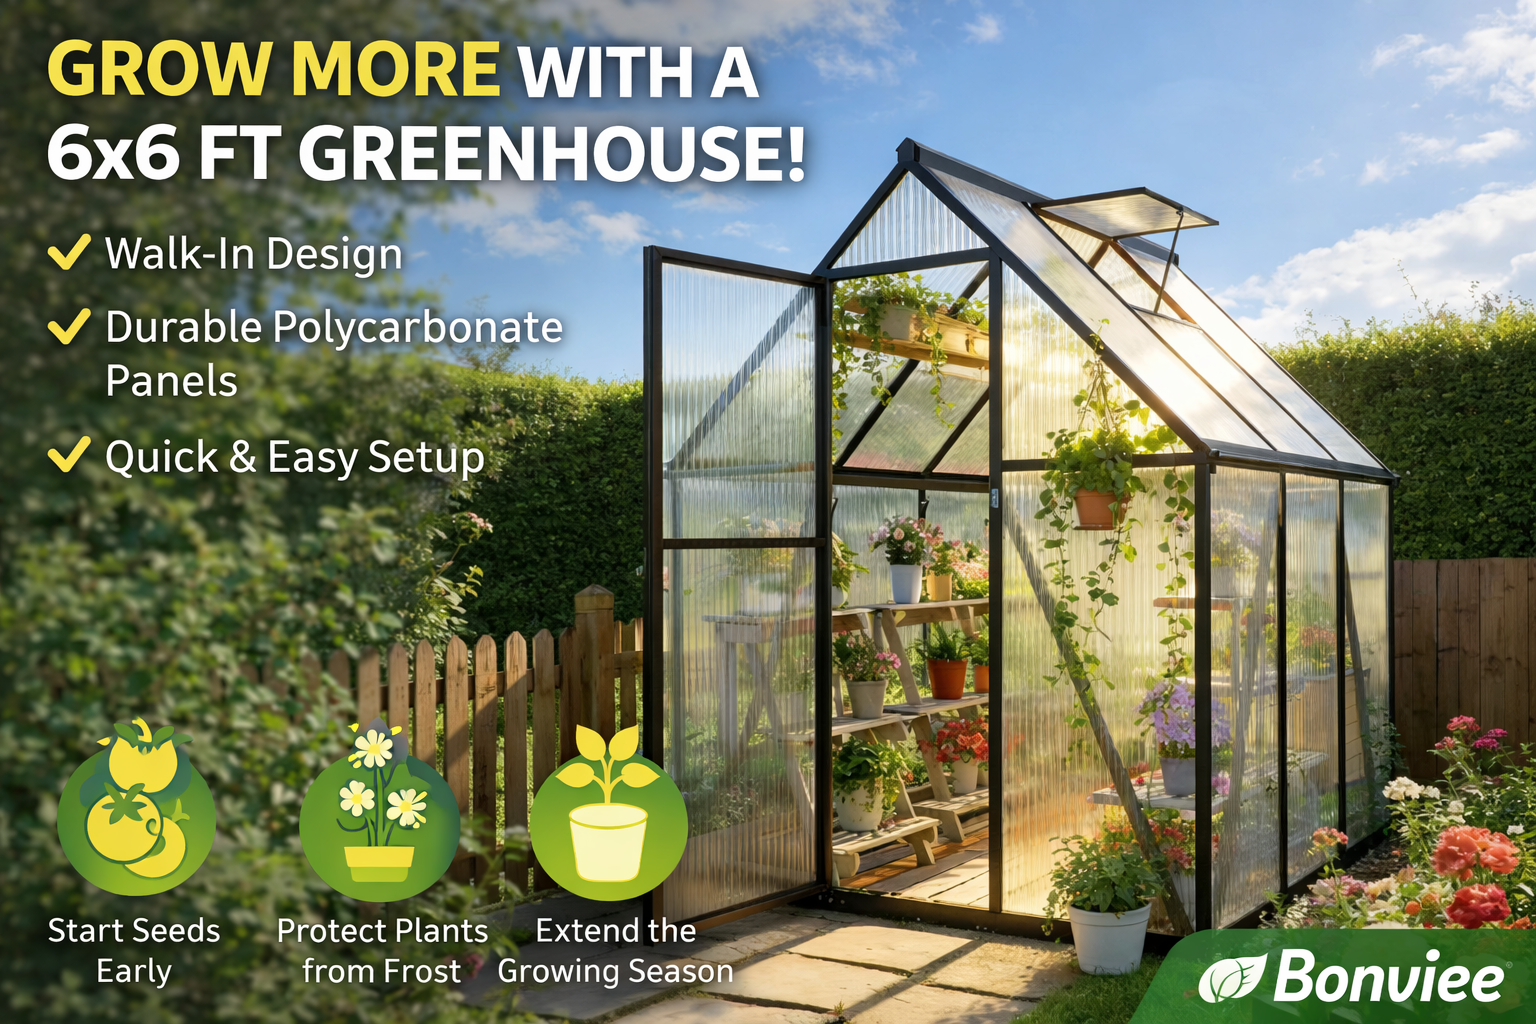
Greenhouses: For the most serious season extension, moving buckets into a walk-in greenhouse in early spring and late fall gives you control over growing conditions that is simply not possible with in-ground planting. This is especially valuable in short-season Zone 3–5 gardens where every week of growing time matters.


Can You Reuse Bucket Soil the Next Season?
Technically yes — practically, with modifications.
Used potting mix is depleted of nutrients and may harbor pathogens or pest eggs from the previous season. Reusing it without amendment produces noticeably weaker plants than fresh mix.
If you want to reuse container soil, do the following:
- Remove all plant roots and debris thoroughly
- Mix in a generous amount of fresh compost and worm castings — at least 25–30% new material by volume
- Replenish with fresh perlite if the mix has compacted
- Consider a soil drench with diluted hydrogen peroxide to address potential pathogen buildup
For disease-prone gardens or if you had significant problems the previous season, starting with fresh potting mix each year is the safer choice. The cost of fresh potting mix per bucket is small relative to the investment in seeds, transplants, and the entire growing season.
Frequently Asked Questions
Is 5 gallons big enough for tomatoes?
For compact determinate varieties and most cherry tomatoes, yes. For large indeterminate varieties, 5 gallons is on the small side — a 10–15 gallon container produces noticeably better results for big plants. But many gardeners produce excellent harvests from 5 gallon buckets with the right variety and consistent care.
Do I need to line the bucket with anything?
No. A clean food-grade bucket with drainage holes and good potting mix does not need lining. Lining the bottom with landscape fabric to retain soil while allowing drainage is optional but not necessary.
How many tomato plants per 5 gallon bucket?
One. Always one plant per 5 gallon bucket. Two plants compete for root space, water, and nutrients and both underperform compared to a single plant given the full container.
What color bucket is best?
Dark colors absorb heat and warm soil faster — beneficial in cool climates and early spring. In hot climates, dark buckets can overheat root zones during summer. Light-colored or white buckets stay cooler in heat. In most climates, either works fine.
Do I need to fertilize if I used good potting mix?
Yes. Good potting mix provides an initial nutrient supply, but in a container with regular watering, those nutrients deplete within 3–4 weeks. Regular liquid fertilizing throughout the season is essential for productive bucket tomatoes.

Related Articles
- Best containers for tomatoes that actually help them thrive
- Best soil mixture for growing tomatoes in containers
- How deep to plant tomatoes — the two-thirds rule that changes everything
- 10 gallon grow bags for tomatoes that actually work
- How to grow dwarf tomato plants indoors or outside
- Signs of overwatering tomato plants and what to do next
- When to plant tomatoes for the best results in every zone
- Determinate vs indeterminate tomatoes — what the difference actually means for your garden
About the Author
Mike Callahan started growing tomatoes in 5 gallon buckets on a rented apartment patio before he ever had a garden bed to dig. More than a decade later he still grows several bucket plants every season alongside his raised beds. He writes practical container growing guides for home gardeners working with limited space.
As an Amazon Associate we earn from qualifying purchases through some links in our articles.