Learn exactly how to prune tomato plants for bigger harvests — what suckers are, when to remove them, the determinate vs indeterminate rule, and the mistakes that cost you fruit.
Most tomato plants are never pruned at all. The gardener puts them in the ground, maybe throws a cage around them, and lets them do whatever they want. By midsummer there is a massive tangle of stems and leaves that is impressive to look at but producing far fewer tomatoes than it should.
Pruning is the single most underused skill in home tomato growing. Done right, it redirects the plant’s energy from producing an endless amount of leafy growth into producing bigger, earlier, more flavorful fruit. It also keeps the plant healthier by improving airflow and reducing disease pressure.
This guide covers exactly how to prune tomato plants, when to do it, what to remove, and what to leave alone — including the critical differences between pruning indeterminate and determinate varieties.


Why Pruning Tomato Plants Works
A tomato plant has a finite amount of energy at any given time. That energy can go into growing more stems and leaves, or it can go into developing and ripening fruit. Left to its own devices, an indeterminate tomato plant will always prioritize growth over fruit — it is hardwired to keep expanding.
Pruning changes that equation. When you remove unnecessary growth, you reduce the number of places the plant is sending energy. The energy that was going to a dozen unnecessary stems now concentrates in the fruit clusters that are already set.
The results are measurable. Pruned plants typically produce fruit earlier in the season, with larger individual fruit size, and with better flavor concentration. They are also significantly easier to manage, less prone to disease, and easier to harvest from.


The One Thing You Must Know Before You Start: Determinate vs Indeterminate
This is the most important rule in tomato pruning, and getting it wrong can cost you your entire harvest.
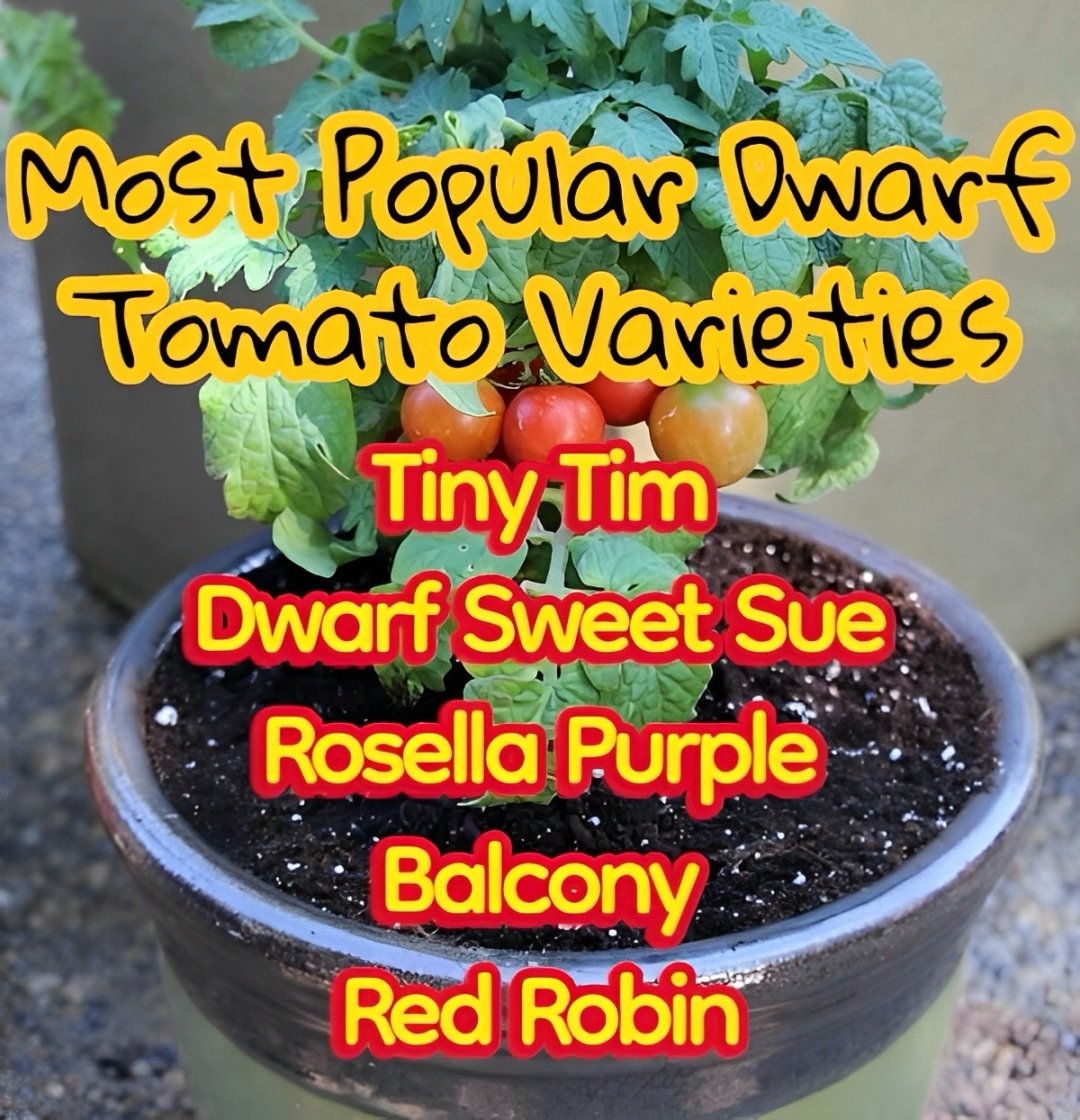
Indeterminate tomatoes keep growing all season. They produce suckers continuously, have no natural stopping point, and benefit enormously from regular pruning throughout the season. Almost all heirloom varieties are indeterminate. Common indeterminate varieties include Beefsteak, Cherokee Purple, Black Krim, Sweet 100, Sun Gold, Early Girl, and most cherry tomatoes.
Determinate tomatoes grow to a set size, flower and fruit in a concentrated window, then stop. Their suckers often carry the fruit-producing nodes for that main harvest. Removing suckers from a determinate variety removes your crop. Do not prune determinate tomatoes beyond removing clearly dead or diseased material. Common determinate varieties include Roma, Celebrity, Rutgers, and Patio.
If you are not sure which type you have, check the seed packet or plant tag. The words “indeterminate” or “vining” confirm you can prune freely. If in doubt, hold off on heavy pruning until you can confirm.
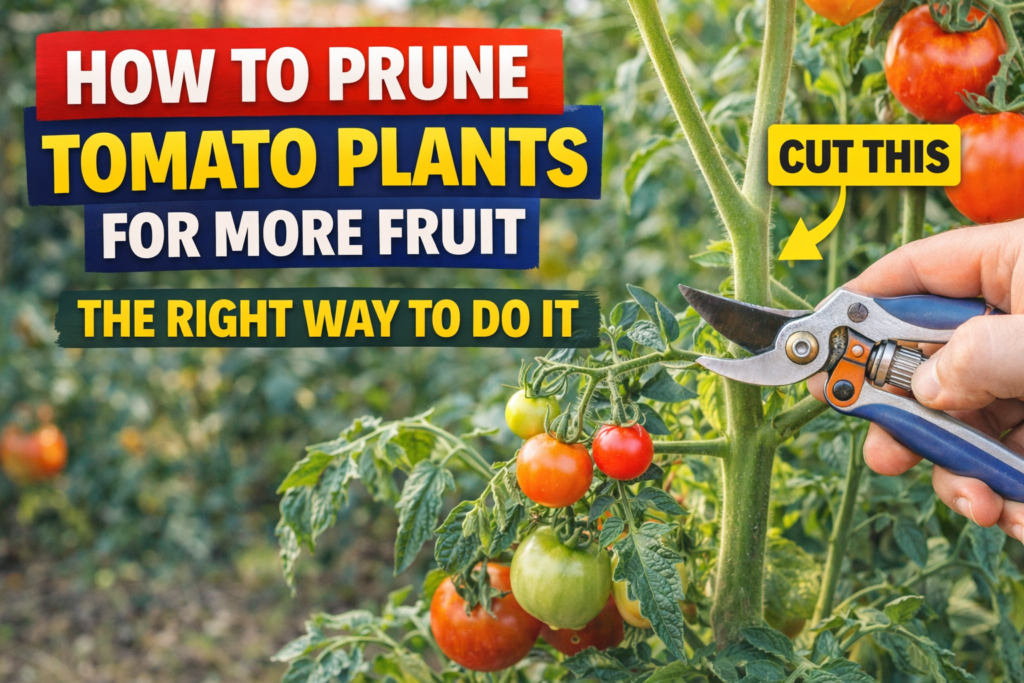
What Is a Sucker?
Every pruning conversation starts here because suckers are what you are primarily removing.
A sucker is a new shoot that grows from the axil — the V-shaped joint where a branch meets the main stem. Every single leaf node on a tomato plant has the potential to produce a sucker. Left unpruned, each sucker becomes a full branch, and each of those branches produces its own suckers, and so on. A single unpruned indeterminate tomato can develop dozens of stems by midsummer.
Suckers are not inherently bad. They are just additional growing points. The question is whether you want a plant with many stems producing smaller fruit over a longer period, or a plant with fewer stems producing larger fruit more quickly. For most home gardeners, the answer is fewer stems and bigger fruit.
How to identify a sucker: Look for the V between the main stem and any established branch. The small shoot growing from the center of that V is the sucker. It will be smaller than the surrounding growth and often has a slightly different texture at its base.

The Two Main Pruning Approaches
Single stem pruning: Remove all suckers. The plant grows as one main vine. This produces the earliest fruit, the largest individual tomatoes, and the most manageable plant. It works best for indeterminate varieties grown vertically on a stake or string. Requires the most consistent pruning attention.
Two stem (or multi-stem) pruning: Allow one or two suckers to develop into secondary stems alongside the main stem, then remove all others. This gives slightly more total production than single stem while still keeping the plant manageable. Most home gardeners find this the best balance between effort and results.
For beginners, two-stem pruning is the most forgiving starting point. You are still dramatically improving on an unpruned plant, but you have a little more flexibility if you miss a week.

When to Start Pruning
Start pruning as soon as you can identify suckers — which is usually within 2–3 weeks of transplanting. Early suckers are easy to remove by simply pinching them between your fingers. They snap off cleanly and the wound is tiny.
The longer you wait, the larger the suckers get, and the harder removal becomes. A sucker that has grown to pencil thickness or larger should be cut with clean scissors or pruners rather than snapped off. Large wounds on the main stem invite disease.
The general rule: Remove suckers when they are under 2 inches long whenever possible. Check your plants at least once a week during the growing season.
Step-by-Step: How to Prune Indeterminate Tomato Plants
Step 1: Identify your main stem
The main stem is the central growing point of the plant. It is usually the thickest and tallest stem. Everything else grows off it.
Step 2: Find the first flower cluster
On most indeterminate varieties, the first flower cluster appears after every 3 leaves from the base. Everything below the first flower cluster is the lower vegetative zone.
Step 3: Remove all suckers below the first flower cluster
These lower suckers draw energy, shade the soil, and are most prone to soil-borne disease splash. Remove all of them. This also improves airflow at the base of the plant, which is where fungal disease starts.
Step 4: Decide on your stem count
Pick one or two suckers above the first flower cluster to keep as secondary stems if you are doing two-stem pruning. Everything else gets removed as it appears.
Step 5: Remove new suckers weekly
Check the plant every 5–7 days and remove new suckers while they are still small. Pinch with fingers for anything under 2 inches. Use clean scissors or pruners for anything larger.
Step 6: Remove leaves touching the soil
Any leaves hanging down and touching the soil are a disease pathway. Remove them. Keep the bottom 12 inches of the plant clear of foliage.
Step 7: Top the plant at end of season
About 4–6 weeks before your expected first frost date, cut off the growing tip of the main stem. This stops the plant from setting new flowers it will not have time to ripen, and redirects all remaining energy into sizing and ripening the fruit that is already on the plant. This one step often means the difference between getting your late tomatoes to ripen before frost or losing them green.
How to Remove a Sucker Without Damaging the Plant
Small suckers (under 2 inches): Grip the sucker between your thumb and index finger close to its base. Bend it sharply to one side until it snaps off cleanly. This leaves a minimal wound that heals quickly.
Medium suckers (2–4 inches): Use clean, sharp scissors or pruners. Cut as close to the main stem as possible without cutting into it. Leaving a small stub is fine — cutting flush risks removing tissue from the main stem.
Large suckers (over 4 inches): These are best left in place or removed in stages if you need to remove them. Removing a large sucker creates a significant wound. If the plant is otherwise healthy and disease pressure is low, you can remove it in one cut with clean pruners. If conditions are wet or disease is present in your garden, leaving a large sucker and redirecting to a two-stem approach is often the wiser call.
Always use clean tools. Wiping pruner blades with rubbing alcohol between plants prevents spreading disease from one plant to another. This is especially important if you have had fungal issues in your garden.


Pruning Leaves vs Pruning Suckers
These are two different practices that serve different purposes.
Removing suckers is about controlling plant structure and directing energy. This is the core of tomato pruning and what most of this guide covers.
Removing leaves is about managing disease and improving light penetration to fruit. Leaves are the plant’s solar panels — removing too many reduces the energy available for fruit development. Be conservative with leaf removal compared to sucker removal.
Remove leaves when:
- They are yellowing, spotted, or clearly diseased
- They are touching the soil
- They are completely shading a fruit cluster with no sunlight reaching the tomatoes
- You are doing a late-season clearout to ripen remaining fruit
Do not remove leaves just because they are there. A healthy green leaf is working for you even if it is not directly adjacent to a fruit cluster. The plant needs a minimum leaf surface area to generate enough energy to develop fruit properly.
Common Pruning Mistakes to Avoid
Pruning determinate varieties heavily. As covered earlier, this removes the flowering nodes and costs you your harvest. Know your variety type before you start.
Waiting too long between pruning sessions. Suckers that reach 6 inches or more before removal create large wounds and represent significant energy that has already been redirected away from fruit. Weekly checks prevent this.
Removing too many leaves at once. Stripping large amounts of foliage in one session shocks the plant. If you need to do significant defoliation, spread it over several sessions a few days apart.
Not using clean tools. This is how fungal and bacterial diseases spread between plants. Clean blades every time, especially if your garden has had disease issues.
Pruning in wet conditions. Wet weather increases the risk of disease entering fresh pruning wounds. Try to prune on dry days and avoid pruning when leaves are wet from rain or morning dew.
Leaving large stubs. Stubs that extend more than a half inch from the main stem take longer to heal and can harbor disease. Cut as close to the main stem as practical without cutting into it.
Pruning Tomatoes in Containers
Container-grown tomatoes benefit from the same pruning approach as in-ground plants, but with a few additional considerations.
Container plants have a limited root zone, which means their total energy production capacity is lower than in-ground plants. This makes redirecting energy through pruning even more valuable for container growers — a pruned container tomato will significantly outperform an unpruned one in the same pot.
For containers, single-stem pruning is often the best approach. It keeps the plant compact, manageable, and focused. Pair it with a sturdy heavy duty garden stake and garden twist ties to train the plant vertically and you can grow a surprisingly productive tomato in a relatively small space.
For the best container setup overall, the guide on best containers for tomatoes that actually help them thrive covers pot size, material, and drainage considerations that work hand in hand with a good pruning approach.

Pruning and Disease Prevention
One of the underappreciated benefits of pruning is how much it reduces disease pressure.
Most tomato diseases are fungal and spread upward from the soil. Spores land on lower leaves, spread upward in wet conditions, and can defoliate a plant entirely if left unchecked. Keeping the bottom 12 inches of the plant clear of foliage creates a physical barrier that dramatically slows this process.
Good airflow through the plant also matters enormously. A densely branched unpruned tomato traps humidity between its stems and leaves, creating exactly the moist, still environment that fungal diseases prefer. An open, well-pruned plant dries out faster after rain or irrigation, which reduces the window for disease to take hold.
If you have struggled with early blight, late blight, or other fungal issues in previous seasons, a combination of regular pruning and copper fungicide applied preventively is the most effective two-part defense available to home gardeners.

How Pruning Connects to Your Overall Growing System
Pruning does not exist in isolation. It works best as part of a complete growing approach that includes healthy soil, consistent watering, appropriate fertilizing, and good pest management.
A well-pruned plant on poor soil will still underperform. And a heavily fertilized plant that is never pruned will put all that extra energy into stems and leaves rather than fruit.
The foundation of a productive tomato season starts with how to prepare soil for tomatoes the right way and a clear understanding of when to fertilize tomato plants for juicy big results. Add consistent pruning on top of that foundation and the results speak for themselves.
If your plants have been growing for a while without pruning and you are wondering whether it is too late to start, the answer is no — but be gradual. Remove the most obvious problem areas first, especially the lower leaves touching the soil and the largest suckers crowding the plant. Then keep up with weekly maintenance from there.
Pruning Schedule Quick Reference
At transplanting: Remove any lower leaves touching or near soil level. Set up support.
Weeks 1–3 after transplanting: Begin identifying and removing suckers as they appear. Keep sessions short and frequent.
Throughout the season: Check every 5–7 days. Remove new suckers while small. Remove yellowing or diseased leaves promptly.
At first flower clusters: Decide on single-stem or two-stem approach and stick with it.
Midsummer: Continue weekly sucker removal. Remove any leaves shading fruit clusters directly.
4–6 weeks before first frost: Top the plant by removing the growing tip. Remove any remaining large suckers. Begin clearing lower foliage to focus energy on ripening.


Related Articles
- Tomato plant stages week by week — what to expect and what to do
- Why are my tomato plants not producing fruit — 9 reasons and fixes
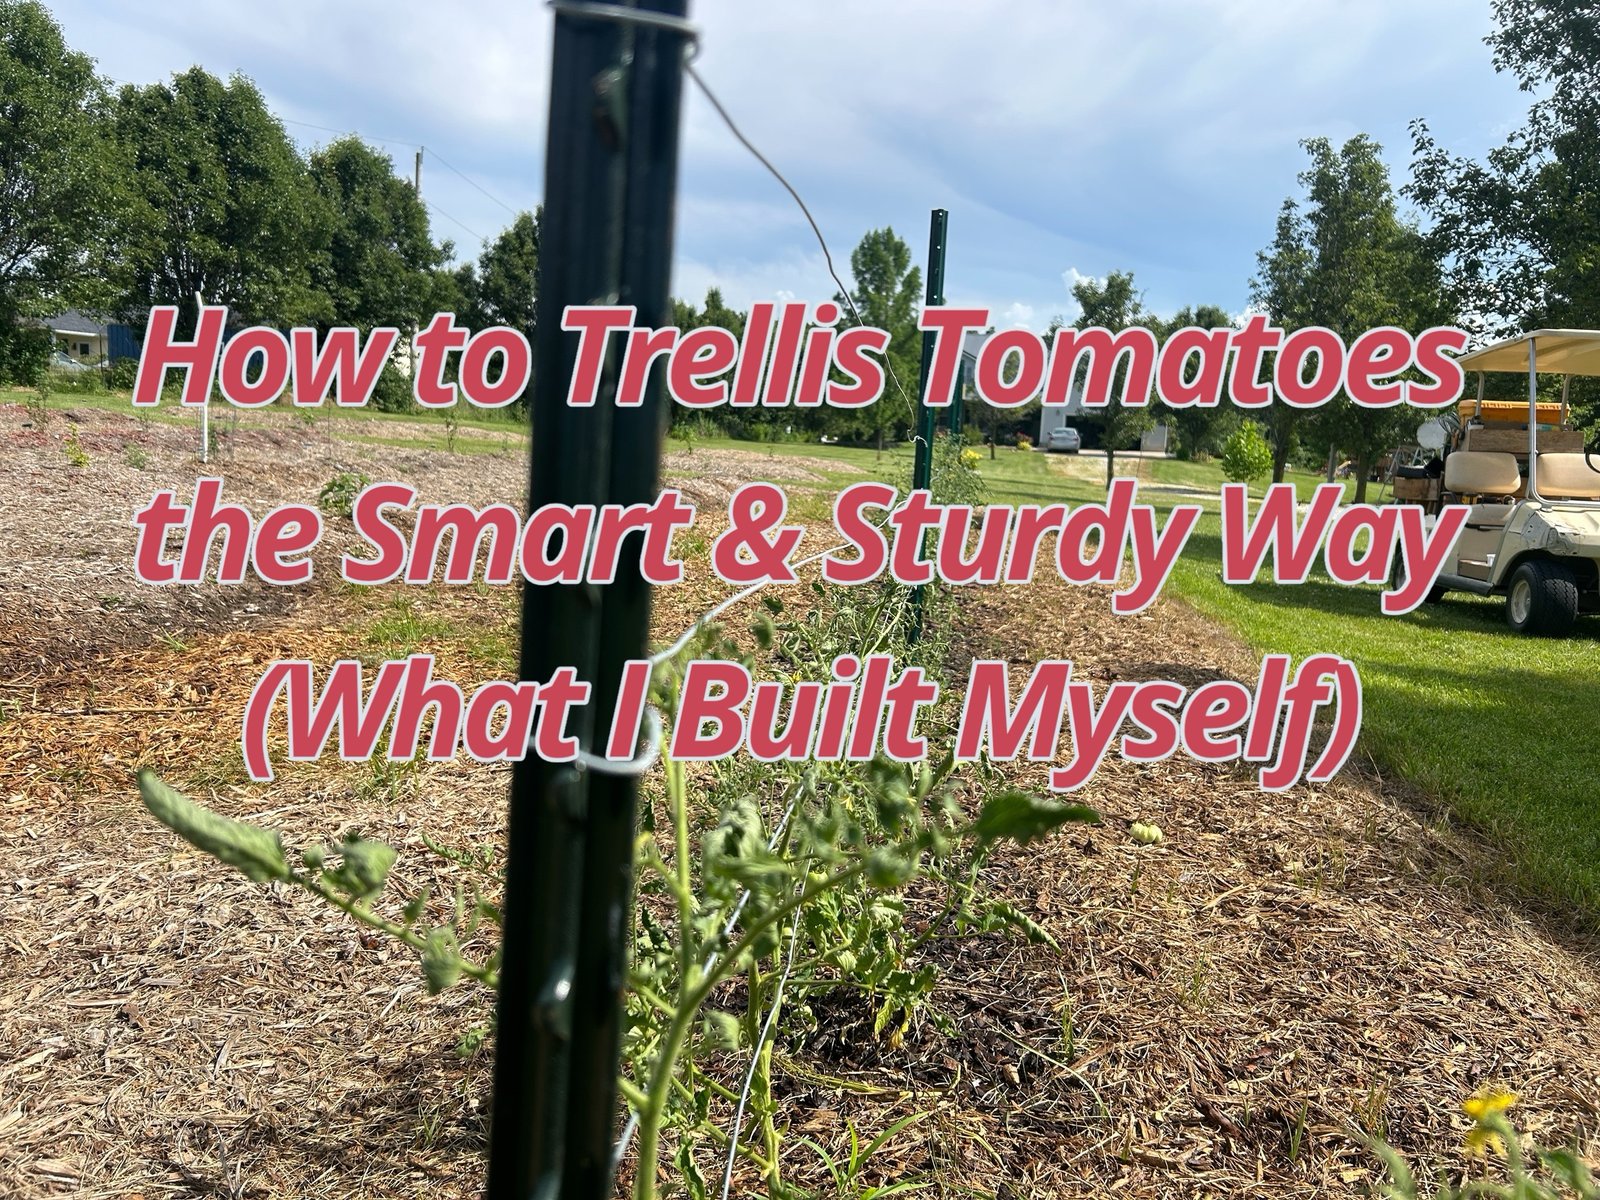
- How to trellis tomatoes the smart sturdy way
- The best fertilizer for tomatoes that actually works
- Try copper fungicide to help stop tomato diseases before they spread
- How to grow tomatoes faster — 10 proven tricks that work
- 9 tomato growing tips that actually work
About the Author
Laura Hendricks has grown indeterminate heirloom tomatoes in her Zone 6b backyard for over 15 years. She spent the first three seasons never pruning a single plant and the last twelve wondering why she waited so long. She writes practical growing guides for home gardeners who want real results without overcomplicating things.
As an Amazon Associate we earn from qualifying purchases through some links in our articles.