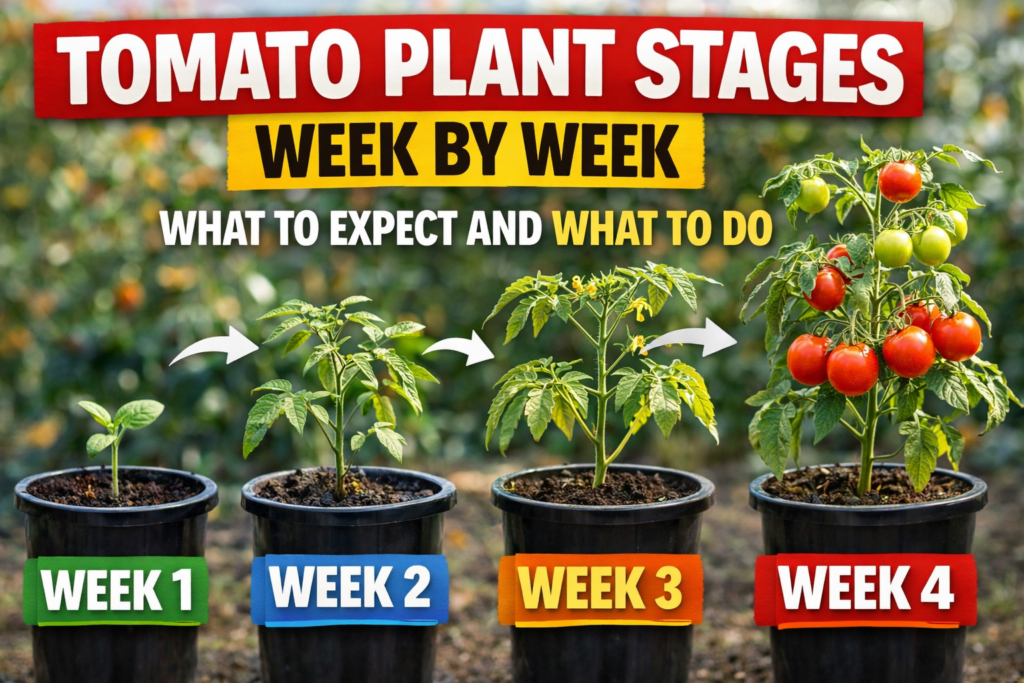
Growing tomatoes is one of those things that looks simple from the outside — drop a plant in the ground, water it, pick tomatoes. But once you have done it a season or two, you realize every single week looks different. The plant that seemed like it was doing nothing suddenly explodes with growth. Flowers appear out of nowhere. Tiny green marbles turn into full-sized fruit faster than you expected.
Understanding what your tomato plant is doing at each stage changes everything. You stop panicking when growth slows down. You know exactly when to fertilize, when to prune, when to back off, and when to push. This week-by-week guide walks you through the entire life of a tomato plant from seed to final harvest — so you always know what is happening and what to do next.
Before We Start: Two Types of Tomatoes Grow Differently
Before diving into the stages, it helps to know whether you are growing a determinate or indeterminate variety — because their growth patterns are genuinely different.
Determinate tomatoes grow to a fixed height, set all their fruit in a concentrated window of a few weeks, then slow down dramatically. They are compact and predictable. Roma, Celebrity, and Rutgers are classic examples.
Indeterminate tomatoes keep growing and producing all season long until frost kills them. They get large, need serious staking or caging, and reward you with a continuous harvest for months. Beefsteak, Cherokee Purple, Sweet 100 cherry, and most heirloom varieties are indeterminate.
The week-by-week timeline below applies to both types through the vegetative stages. Where they diverge, the differences are noted.

Weeks 1–2: Germination
Everything starts with a seed and warmth.
Tomato seeds germinate best when soil temperature sits between 70°F and 85°F. Below 60°F, germination slows dramatically or stalls completely. This is why starting seeds on a cold windowsill in early spring often produces disappointing results — the air might feel warm enough but the soil in the tray is not.
A seedling heat mat placed under your seed trays maintains the ideal soil temperature regardless of room temperature. If you have ever wondered why your seeds germinate in 5 days with a heat mat versus 14 days without one, this is exactly why.
What is happening underground: The seed absorbs moisture, the seed coat splits, and a tiny root called a radicle pushes downward. The seed uses its stored energy reserves to power this initial growth — no light needed yet.
What you will see: A small curved shoot pushing up through the soil surface, still bent like a hook. This is called the hypocotyl arch. It straightens as it reaches the light.
What to do:
- Keep soil consistently moist but not soggy
- Maintain soil temp between 70–85°F
- No fertilizer yet — the seed has everything it needs
- Start checking for sprouts around day 5
If you are starting from quality organic seeds, germination rates will be higher and seedlings will be more vigorous from the start. Cheap or old seeds often have spotty germination that throws off your whole planting schedule.
Weeks 2–3: Seedling Stage — First True Leaves
Once the shoot breaks the surface, the seedling needs light immediately. This is where most indoor growers run into their first problem.
The first two leaves you see are not true leaves — they are cotyledons, or seed leaves. They are smooth, oval-shaped, and serve as the seedling’s first solar panels. They look nothing like a mature tomato leaf.
Within a week, the first set of true leaves appears above the cotyledons. These have the jagged, slightly fuzzy texture you recognize as a tomato leaf. This is the signal that the plant has shifted from running on seed reserves to photosynthesizing on its own.
What is happening: Root system is establishing. The plant is extremely sensitive to overwatering at this stage — more seedlings are lost to soggy soil in weeks two and three than at any other point.
What you will see: Rapid upward growth if light is adequate. Leggy, stretched seedlings with long pale stems mean the light source is too far away or too weak.
What to do:
- Move seedlings under a grow light or to your sunniest window immediately after germination
- Keep lights 2–4 inches above seedling tops and raise as plants grow
- Water only when the top of the soil feels dry
- Begin a very light fertilizer feeding once the first true leaves are fully open — quarter strength is enough at this stage
Common mistake: Overwatering. Seedling roots need oxygen as much as moisture. If the soil stays wet constantly, roots suffocate and the seedling collapses at the soil line — a condition called damping off. There is no recovery from damping off.

Weeks 3–5: Early Vegetative Growth
This is when tomato seedlings start to look like real plants. Growth accelerates noticeably each day. The stem thickens, new leaf sets appear regularly, and the root system begins expanding in earnest.
If you started your seeds in small cells or pellets, weeks three to four is typically when you want to pot up into larger containers — usually 3–4 inch pots. Roots that run out of room get rootbound quickly, which stunts growth even when everything else is right.
Peat pellets make this transition extremely easy — the whole pellet goes directly into the new pot with zero root disturbance.
What is happening: The plant is building the structural framework it will need to support flowers and fruit later. Every leaf set added now is future photosynthesis capacity. Every root developed now is future water and nutrient uptake.
What you will see: New leaf sets appearing every few days. The plant may start to look slightly bushy. Stem thickness increasing noticeably.
What to do:
- Pot up if roots are emerging from the bottom of cells
- Begin feeding with a balanced fertilizer at half strength every 7–10 days
- Make sure seedlings are getting at least 14–16 hours of light per day under grow lights, or maximum available sun on a windowsill
- Check soil moisture daily — as plants get larger they drink more

Weeks 6–8: Hardening Off and Transplanting
This is one of the most critical transitions in the entire growing season. Moving a seedling that has spent its entire life in a controlled indoor environment directly into a garden is a serious shock — temperature swings, wind, intense direct sunlight, and dry air are all completely new stresses.
Hardening off is the process of gradually exposing seedlings to outdoor conditions over 7–10 days before transplanting. Skip this step and you will watch strong healthy seedlings turn pale, limp, and sulky within 24 hours of going outside.
A simple hardening off schedule:
- Days 1–2: Set plants outside in a shaded, sheltered spot for 2 hours
- Days 3–4: Increase to 4 hours, introduce some indirect sun
- Days 5–6: Full morning sun, bring in before afternoon heat
- Days 7–8: Leave outside all day, bring in overnight if temps drop below 50°F
- Days 9–10: Leave outside overnight if temperatures cooperate
Transplanting tips:
- Wait until soil temperature is consistently above 60°F. A soil thermometer removes all guesswork here
- Plant deep — tomatoes develop roots all along their buried stem. Bury up to two thirds of the plant and you will get a stronger root system
- Water in well immediately after transplanting
- Shade transplants for the first 2–3 days if the sun is intense
- Do not fertilize for the first 10–14 days after transplanting — let roots settle first
For exact timing based on where you live, the guide on when to plant tomatoes for the best results in every zone gives you zone-by-zone transplant windows.
Weeks 8–10: Rapid Vegetative Growth
Once transplanted and settled, tomato plants often seem to explode. A plant that sat still for a week after transplanting may suddenly put on several inches of growth in a few days once the root system connects with the garden soil.
This is the stage where indeterminate varieties start making their ambitions clear. They get tall fast. If you have not set up support yet, do it now — a tomato plant that has fallen over and been propped back up never quite recovers its full potential.
Staking and support options:
- Adjustable tomato cages work well for most standard varieties and are easy to set up
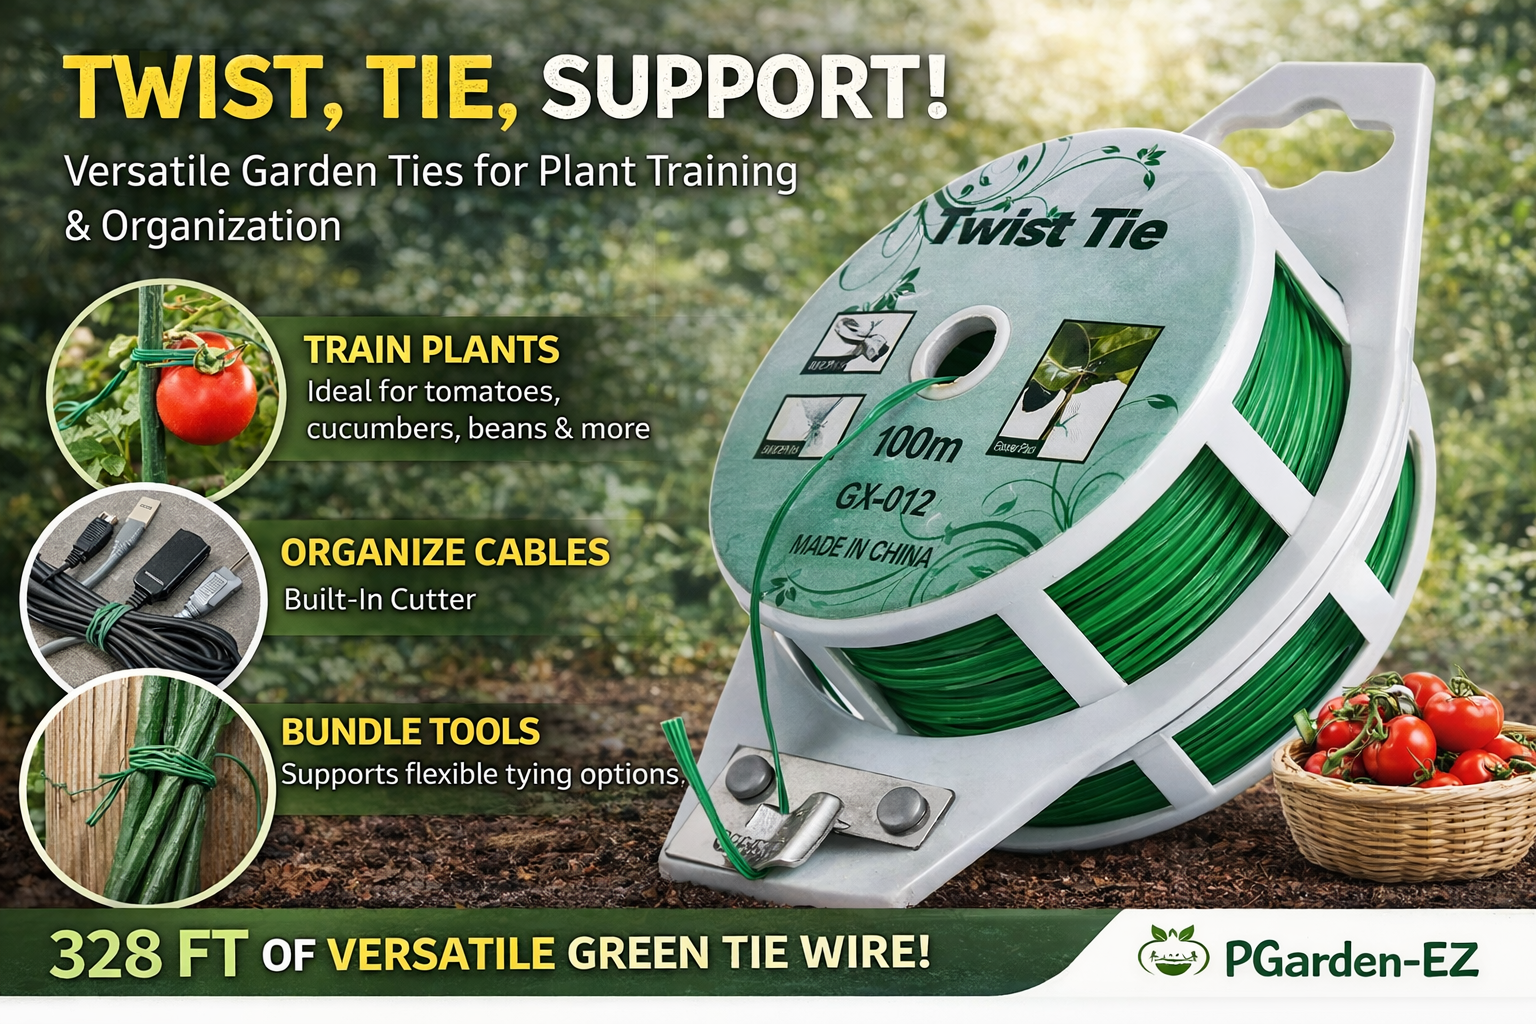
- Heavy duty garden stakes with garden twist ties give you more control for large indeterminate plants
- DIY trellis systems work extremely well for row plantings — the guide on how to trellis tomatoes walks through exactly how to build one
What to do this stage:
- Begin regular fertilizing — every 7–10 days with a balanced liquid fertilizer or every 2–3 weeks with granular
- Start watching for suckers — the shoots that grow in the V between the main stem and a branch. Pinching these on indeterminate varieties keeps the plant focused and manageable. Leaving them creates a bushier plant with more branches but later fruit
- Watch soil moisture carefully — rapidly growing plants drink a lot, and this is a common stage for uneven watering to cause problems later
- Check for early pest pressure. Tomato hornworms are the biggest threat at this stage and can strip a plant shockingly fast


Weeks 10–12: First Flowers
The first yellow flowers are one of the most exciting moments of the tomato growing season. They are small, star-shaped, and bright yellow — and each one is a potential tomato.
Tomatoes are self-pollinating, meaning each flower contains both male and female parts and can pollinate itself. Wind and vibration from bees are the main mechanisms that shake pollen loose and complete pollination. In a greenhouse or still indoor environment, you may need to gently shake flowering stems daily to simulate this.
Why flowers drop without setting fruit:
Blossom drop is one of the most frustrating problems in tomato growing, and it almost always comes down to environmental stress.
- Temperatures above 90°F during the day or below 55°F at night cause flowers to drop before setting
- Inconsistent watering — especially drought stress during flowering — triggers blossom drop as a survival mechanism
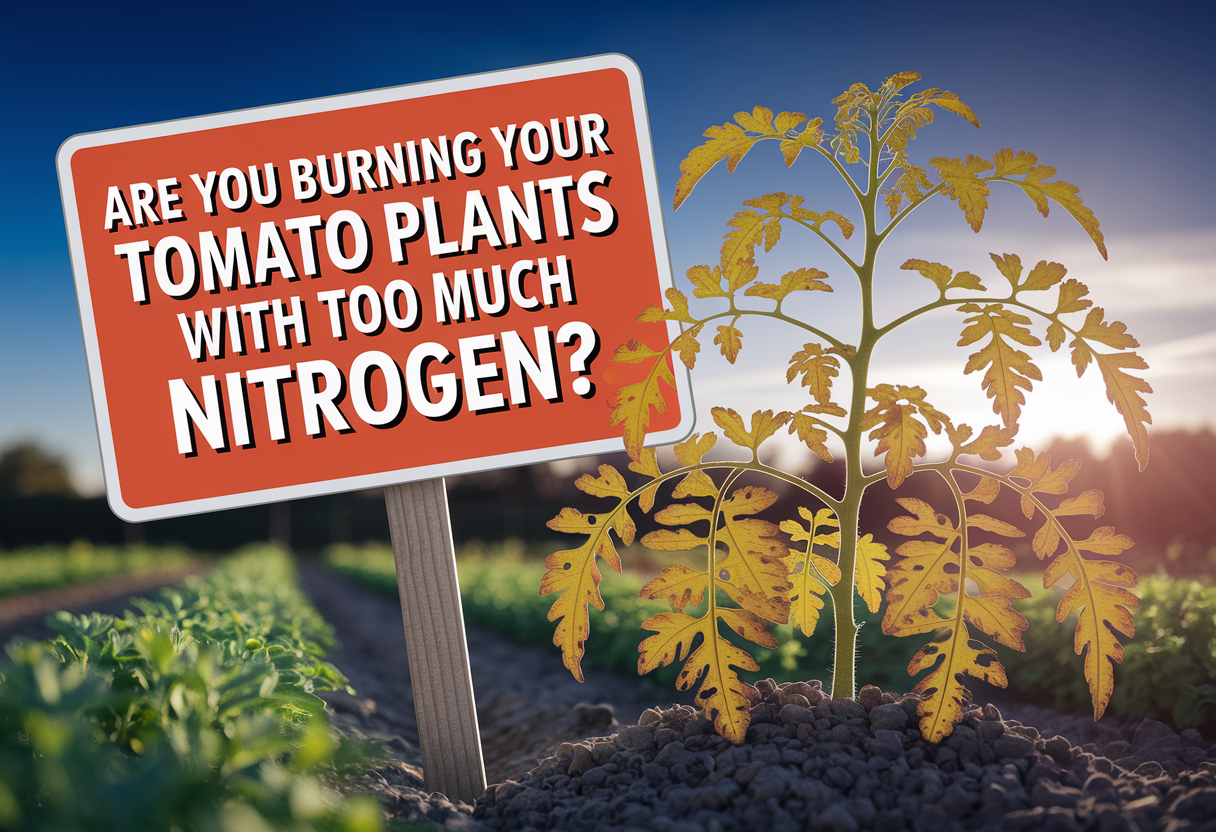
- Too much nitrogen at this stage pushes the plant back into vegetative growth instead of reproduction
- Poor pollination in still, enclosed spaces
If your tomato plants are flowering but not setting fruit, the full breakdown of causes and fixes is in the article on why tomato plants are not flowering — many of the same factors apply to flowers that drop after opening.
What to do:
- Ease back slightly on nitrogen-heavy fertilizers and shift toward formulas higher in phosphorus and potassium
- Water consistently — this stage is not the time for the soil to dry out completely between waterings
- If growing in a protected environment, shake the flowering stems gently each morning
- Avoid heavy pruning during active flowering
Weeks 12–14: Fruit Set
When pollination succeeds, the flower petals drop and a tiny green swelling remains at the base where the flower was attached. That swelling is your future tomato. It starts the size of a pea and grows from there.
Seeing the first fruit set is deeply satisfying after weeks of tending the plant. But this is also when the plant’s demands spike significantly. It is now building fruit — an energy-intensive process — while still growing vegetatively.
What is happening: The plant is prioritizing fruit development above almost everything else. Water and nutrient demands increase noticeably. Calcium uptake becomes especially critical right now — inadequate calcium at this stage is the primary cause of blossom end rot, the flat black spot that ruins the bottom of developing tomatoes.
What to do:
- Keep fertilizing on schedule — do not ease off just because fruit has set
- Water deeply and consistently. Uneven watering during fruit development causes cracking, blossom end rot, and poor flavor. Mulching heavily around the base of plants dramatically helps here
- Check that your fertilizer contains calcium, or add a foliar calcium spray separately
- Continue monitoring for pests — insecticidal soap handles most soft-bodied insects without harming developing fruit
Weeks 14–18: Fruit Development and Sizing
This is the longest stage of the season and the one that tests your patience most. The tomatoes are there, they are growing, but they seem to take forever to ripen.
Green tomatoes go through several growth phases before they start changing color. First they reach full size, then internal chemistry shifts as the fruit begins producing ethylene gas — the natural ripening hormone that triggers color change.
Factors that affect ripening speed:
- Temperature: 70–75°F daytime temps are ideal for ripening. Above 85°F and lycopene production slows, which is why tomatoes in heat waves sometimes stay orange instead of turning fully red
- Pruning: Removing foliage to improve light and airflow to developing fruit can speed ripening by several days
- Watering: Consistent moisture throughout this stage produces better flavor and prevents cracking. Sudden heavy watering after a dry spell is the most common cause of tomato cracking
What to do:
- Maintain your fertilizing and watering schedule
- Remove any leaves that are shading developing fruit clusters
- Watch for signs of disease — early blight and other fungal issues are most common during this stage when plants are large and dense
- For large indeterminate plants, consider removing the growing tip (topping the plant) 4–6 weeks before your expected first frost. This forces the plant to redirect energy into ripening existing fruit rather than setting new flowers


Weeks 18–20+: Harvest Stage
A fully ripe tomato is one of the best things a garden produces. Getting the timing right on harvest makes a significant difference in flavor, texture, and shelf life.
The common mistake is waiting for tomatoes to turn completely red on the vine before picking. In reality, tomatoes reach peak flavor at what growers call the breaker stage — when the fruit has just begun to show color change at the blossom end and is starting to soften slightly. Picked at this stage and ripened indoors at room temperature, they develop full flavor without the risk of cracking, pest damage, or over-softening on the vine.
The full reasoning behind this approach is explained in the article on why picking tomatoes at the breaker stage works every time — it is one of those small changes that makes a noticeable difference in how your harvest turns out.
Harvesting tips:
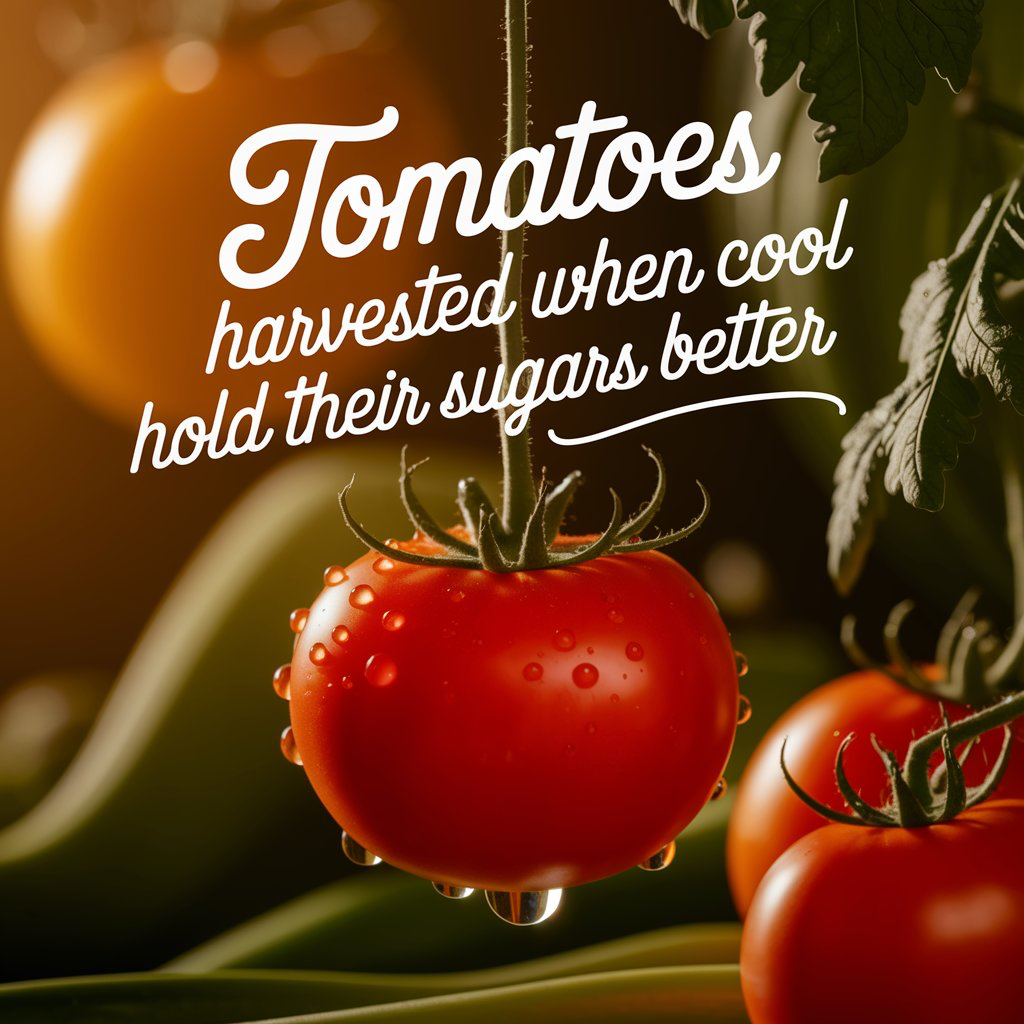
- Pick in the morning after the dew has dried — this is when tomatoes are firmest and coolest
- Twist gently or use scissors rather than pulling, which can damage the vine
- Never refrigerate fresh tomatoes — cold temperatures destroy texture and dramatically reduce flavor
- A vacuum sealer or mason jars are the best tools for preserving a large harvest
For more detail on harvest timing, the guides on the best time to pick tomatoes and when to pick green tomatoes cover every scenario including end-of-season green tomatoes before frost.


End of Season: What to Do When Production Slows
Indeterminate tomatoes will keep trying to grow until frost stops them. As days shorten and nights cool, the plant slows down but rarely stops completely on its own.
Getting the most out of late season:
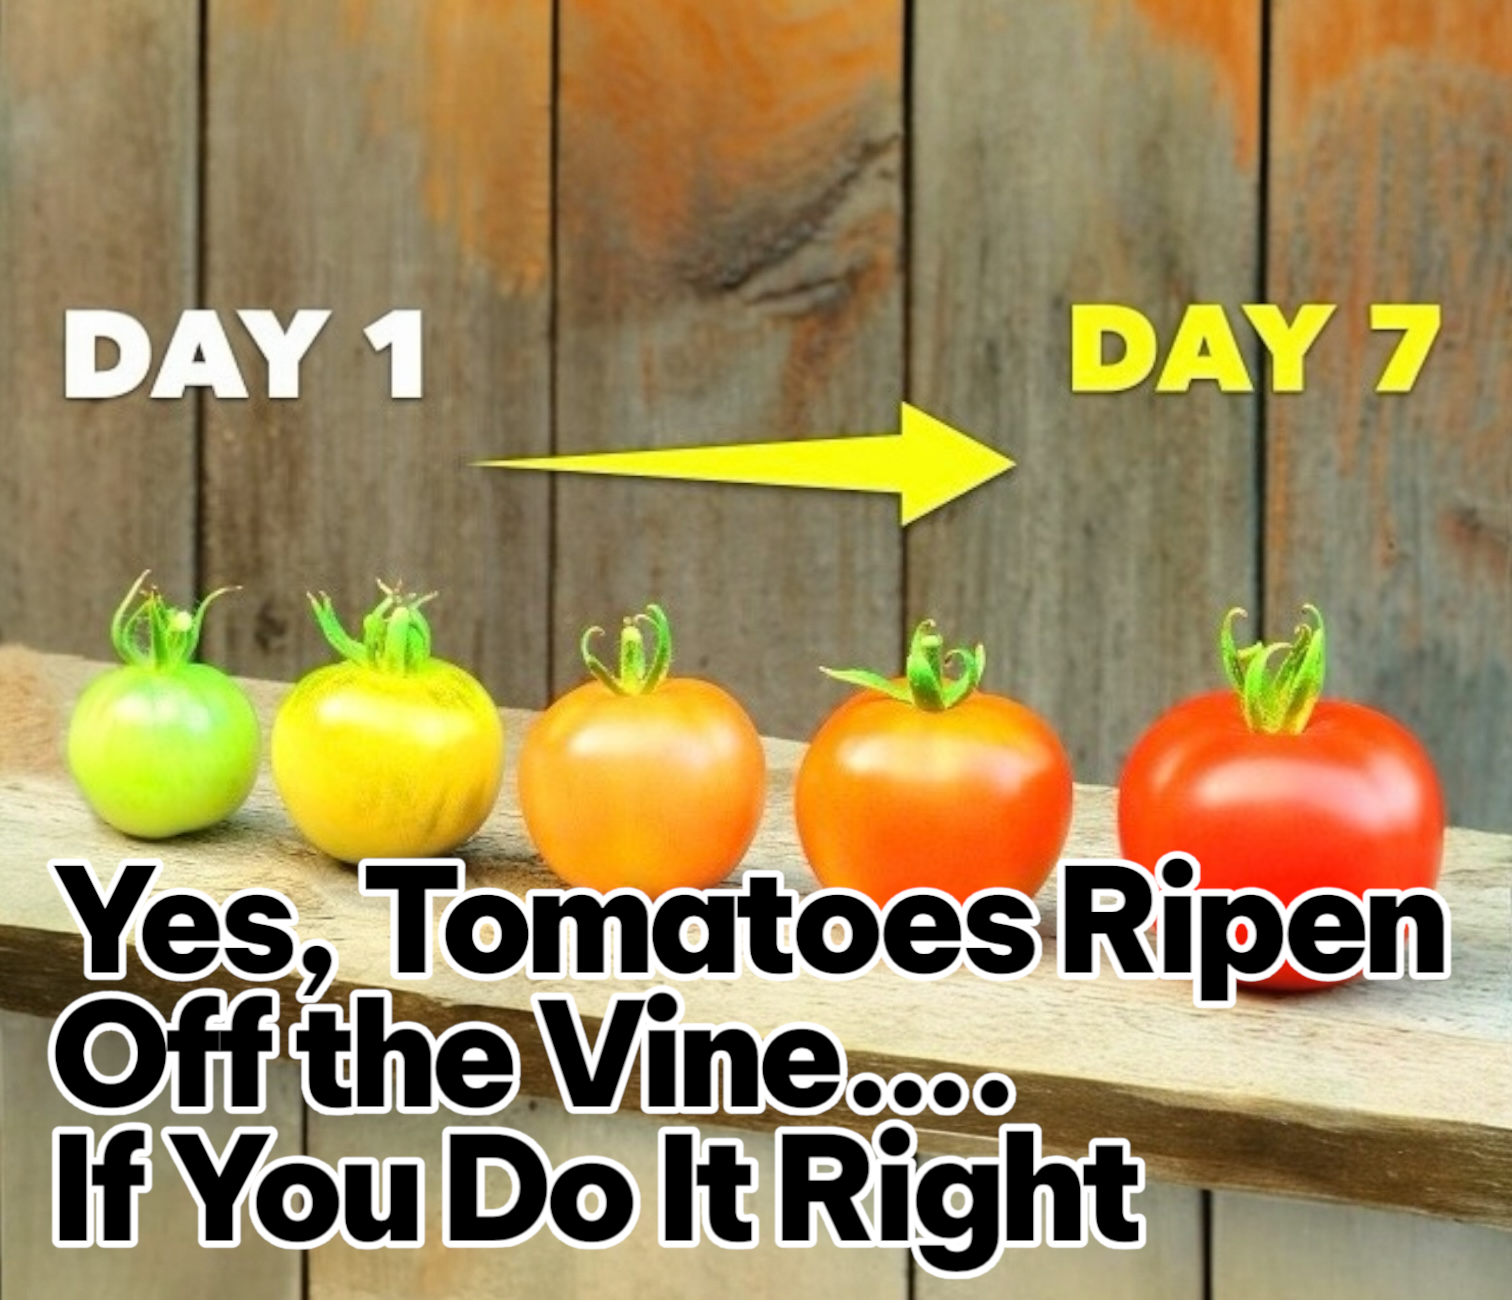
- Pick any tomato showing color and ripen indoors — they will not improve further on the vine as temperatures drop
- Green tomatoes pulled before a hard frost will ripen on a countertop over 1–3 weeks. Wrap individually in newspaper and store at room temperature — not in the refrigerator
- Once frost is forecast, harvest everything. A light frost may not kill the plant but will damage fruit still on the vine
- Pull spent plants completely rather than leaving them in the garden — overwintered plant debris carries disease spores into next season
If you want to save seeds from your best plants this season to grow again next year, the process is straightforward and rewarding — especially for heirloom varieties. It is covered in detail in the guide on how to grow a tomato plant from a tomato.

Quick Reference: Tomato Growth Stage Summary
Weeks 1–2: Germination. Keep soil 70–85°F, consistently moist, no light needed yet.
Weeks 2–3: Seedling. First true leaves appear. Move under lights immediately. Watch for overwatering.
Weeks 3–5: Early vegetative. Pot up as needed. Begin light feeding. Maximize light.
Weeks 6–8: Harden off and transplant. Plant deep. Wait for soil temps above 60°F.
Weeks 8–10: Rapid growth. Set up support now. Begin regular fertilizing. Watch for pests.
Weeks 10–12: First flowers. Shift fertilizer toward phosphorus and potassium. Water consistently.
Weeks 12–14: Fruit set. Calcium critical. Maintain feeding and watering schedule.
Weeks 14–18: Fruit development. Consistent watering prevents cracking. Monitor for disease.
Weeks 18+: Harvest. Pick at breaker stage. Ripen indoors for best flavor.
Related Articles
- 9 tomato growing tips that actually work
- How to grow tomatoes faster — 10 proven tricks that work
- The best fertilizer for tomatoes that actually works
- Signs of overwatering tomato plants and what to do next
- How to prepare soil for tomatoes the right way
- Things I wish I knew before growing tomato plants
About the Author
Laura Hendricks has been growing tomatoes in her Zone 6b backyard for over 15 years. She has worked through every stage of the tomato growing calendar more times than she can count and writes practical guides for home gardeners who want to actually understand what their plants are doing — and why.
As an Amazon Associate we earn from qualifying purchases through some links in our articles.