When brown spots begin appearing on the lowest leaves of a tomato plant, I do not ignore them. Those first blemishes may be early blight, one of the most common tomato diseases found in home gardens.
Early blight usually begins quietly. A few lower leaves develop brown spots, some yellowing appears around them, and the rest of the plant may still look healthy. If warm, damp weather continues, the damage can gradually climb the plant.
The good news is that early blight does not automatically mean the tomato plant is finished. I have seen affected plants continue growing and producing tomatoes when the disease was recognized early and managed consistently.
What Does Early Blight Look Like on Tomato Plants?
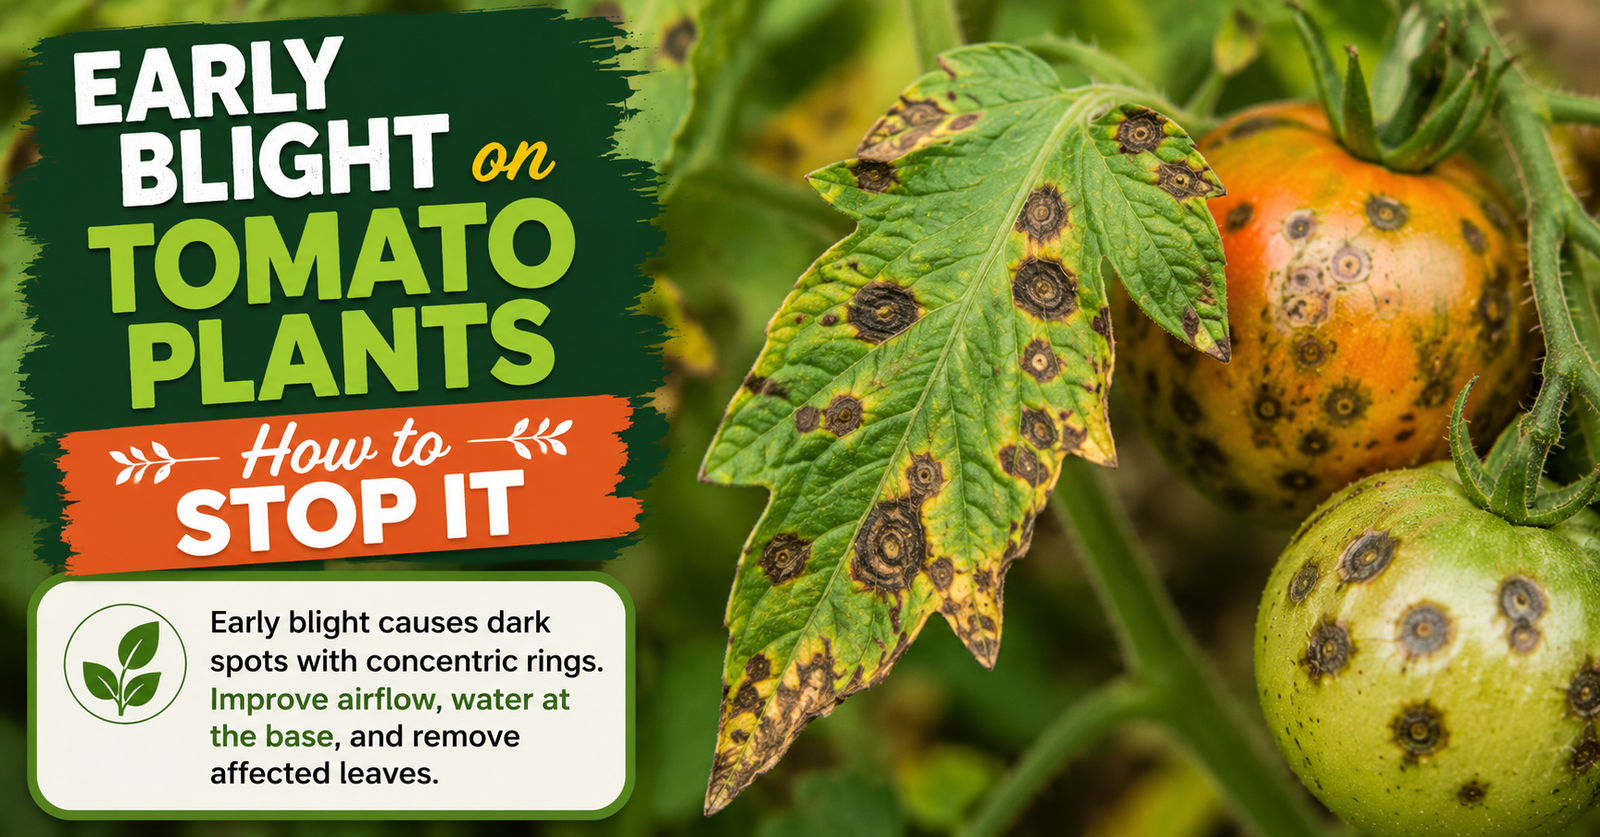
The most recognizable sign of early blight is a brown leaf spot containing rings. These rings often resemble a tiny target or bull’s-eye.
I usually look for several clues together:
- Brown or dark gray spots on older leaves
- Concentric rings inside larger spots
- Yellow tissue surrounding the affected area
- Symptoms beginning near the bottom of the plant
- Lower leaves eventually turning brown and dropping
- Dark, sunken lesions on stems in severe cases
- Leathery dark spots near the stem end of affected fruit
The spots may start small, so the ring pattern is not always immediately obvious. As the lesions enlarge, several spots can merge and kill much of the leaf.
According to the University of Maryland Extension’s early blight guidance, infections generally begin as small brown spots on older leaves. The spots enlarge, develop yellow halos and often reveal the characteristic bull’s-eye pattern.
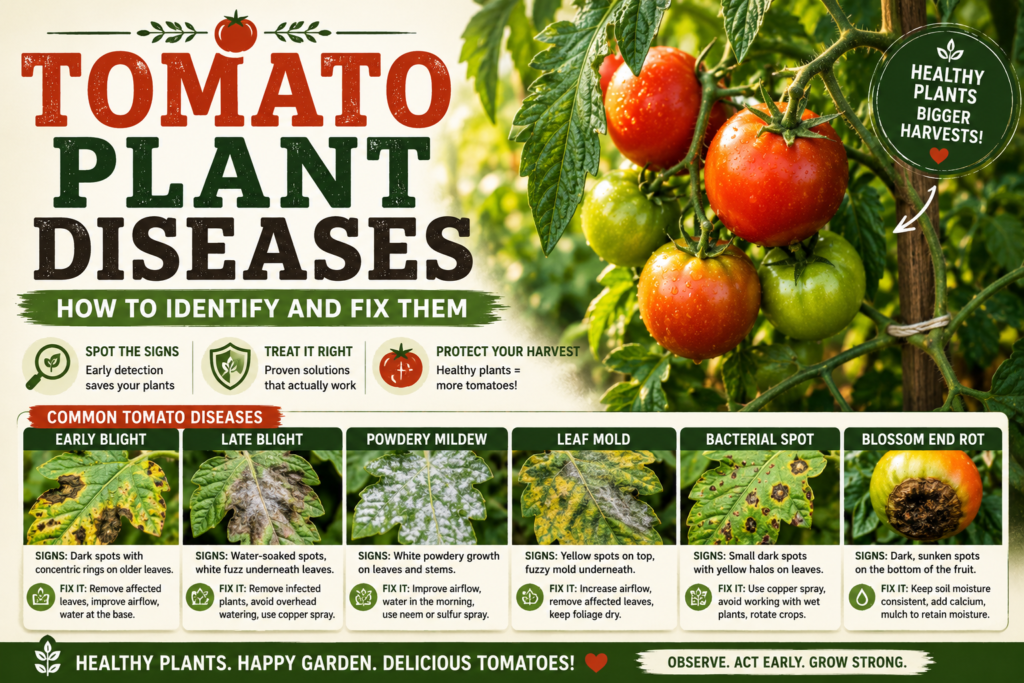
If the symptoms do not match that description, I compare them with the broader signs in my guide to identifying common tomato plant diseases.
Why Early Blight Starts on the Bottom Leaves
Early blight frequently appears on the lowest leaves because those leaves are close to contaminated soil and plant debris.
Rain and overhead watering can splash soil onto the foliage. If the pathogen is present, those droplets may carry it to the plant. Lower leaves also tend to remain damp longer because airflow is restricted near the soil.
This creates an easy pathway:
- The pathogen survives on infected plant debris, susceptible weeds or volunteer plants.
- Rain or irrigation splashes spores onto the lower foliage.
- Moisture allows an infection to develop.
- New spores move farther up the plant through wind, splashing water and garden activity.
A plant can have early blight even when the garden is well maintained. However, crowded plants, wet foliage and old tomato debris give the disease better opportunities to spread.
Early Blight Is Not the Same as Late Blight
The similar names cause plenty of confusion, but early blight and late blight are different diseases.
Early blight typically begins on older, lower foliage. Its lesions often have visible concentric rings and yellow borders. The disease can progress gradually, especially when the plant remains vigorous.
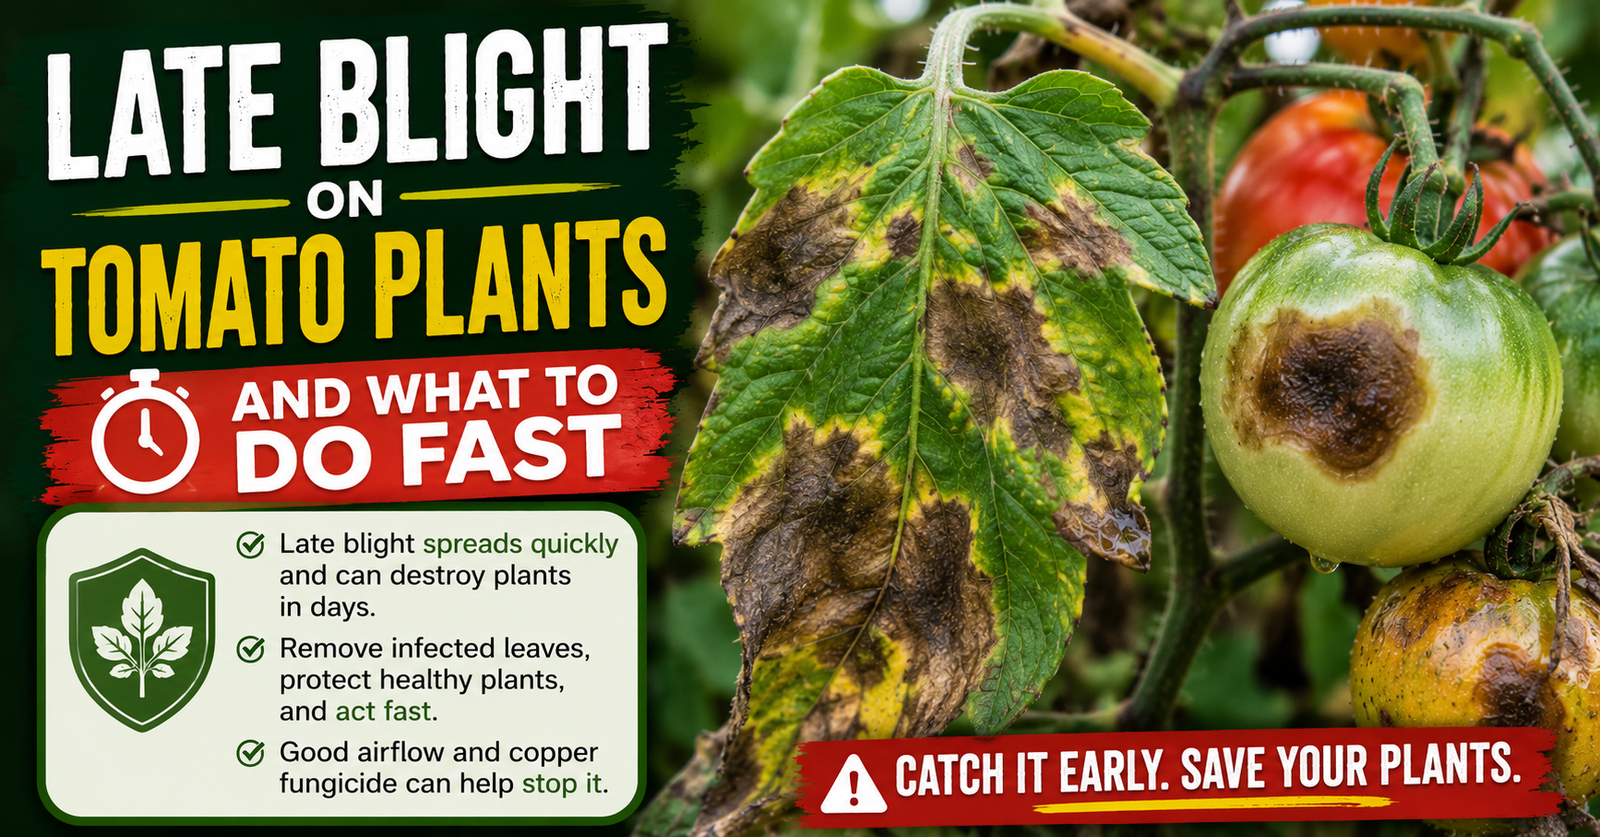
Late blight can spread much more rapidly. It often produces irregular, water-soaked-looking lesions on leaves and dark lesions on stems. In cool, wet conditions, white growth may appear on the undersides of infected leaves.
I treat a suspected case of late blight with considerably more urgency. If a plant seems to be collapsing quickly after cool, wet weather, I do not assume it is ordinary early blight.
Early Blight Versus Septoria Leaf Spot
Septoria leaf spot also tends to begin on lower tomato leaves, but its spots are usually smaller and more numerous.
A typical Septoria lesion may have a pale gray or tan center, a darker border and tiny black dots inside it. Early blight lesions are often larger, less perfectly round and marked by rings.
The two diseases can occur on the same plant. Fortunately, many of the basic control measures are similar:
- Remove badly affected lower foliage.
- Keep leaves dry.
- Improve air circulation.
- Mulch exposed soil.
- Avoid handling wet plants.
- Clean up infected debris.
If I cannot confidently identify the disease, I still begin with these low-risk steps while watching how the symptoms develop.

Does Early Blight Kill Tomato Plants?
Early blight can severely weaken a tomato plant, but a light infection is not necessarily fatal.
The main danger is continued leaf loss. A tomato plant needs healthy foliage to produce energy and shade its fruit. When too many leaves die, fruit development may slow and exposed tomatoes can suffer sunscald.
This creates a second problem. The gardener sees damaged foliage and removes too much of it at once, leaving the fruit exposed to intense sunlight.
I remove leaves selectively. I begin with foliage that is heavily spotted, yellow or already dying. Healthy upper growth stays in place unless there is a strong reason to remove it.
Can Tomatoes With Early Blight Be Eaten?
Tomatoes from a plant with early blight can often be eaten if the individual fruit is firm, normally colored and free from rot or disease lesions.
I inspect every tomato rather than judging the entire harvest by the condition of the leaves.
I discard fruit that is:
- Soft or leaking
- Moldy
- Foul-smelling
- Deeply cracked and rotting
- Marked by expanding dark, sunken lesions
- Damaged internally when cut open
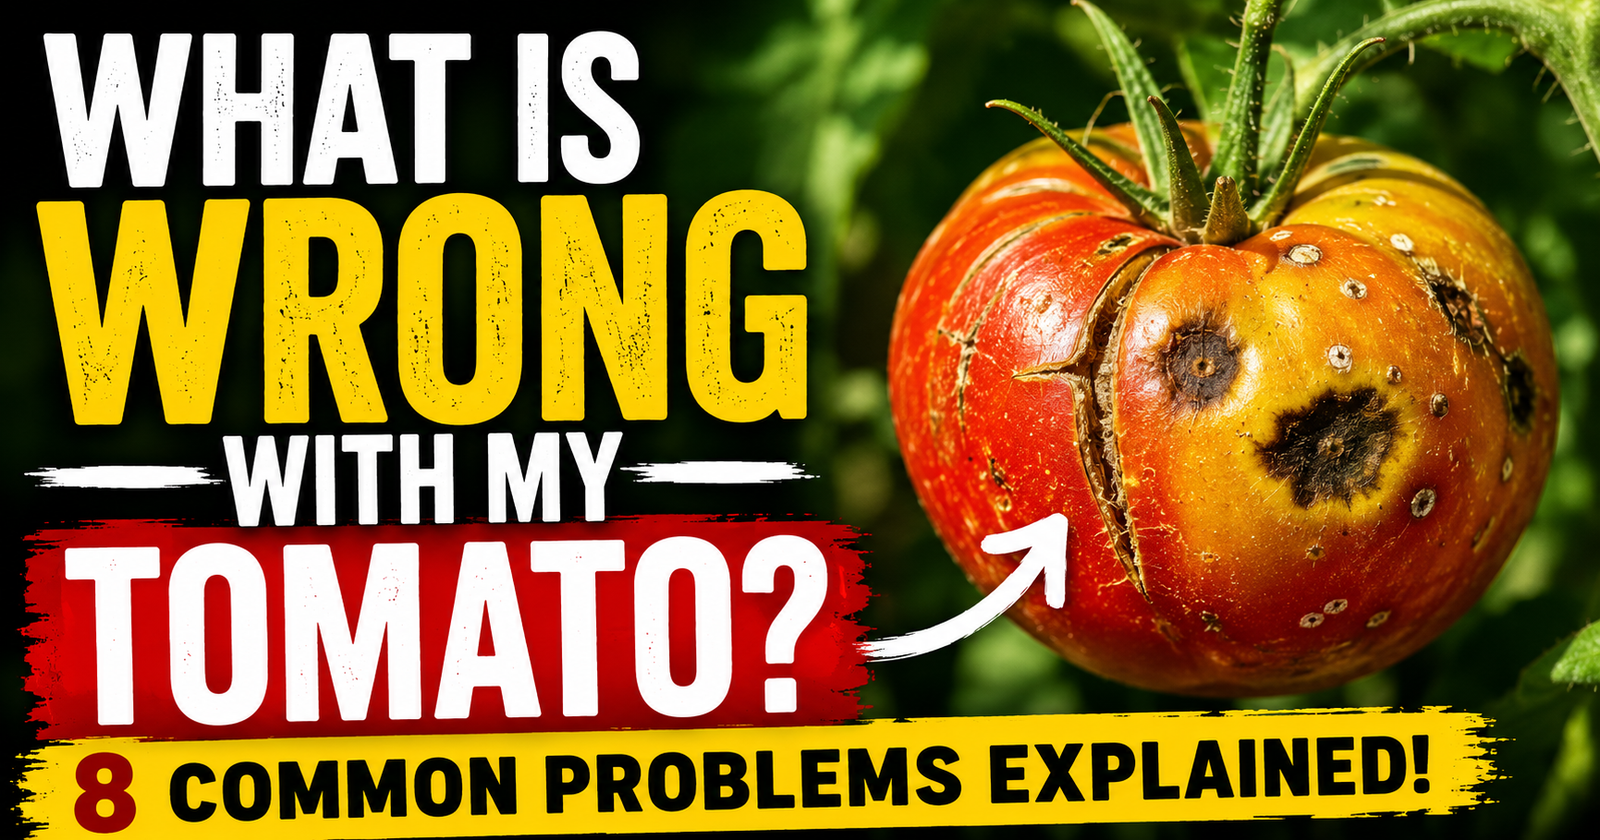
Early blight can infect tomato fruit, producing dark, leathery lesions that commonly begin near the stem. A fruit with active rot is not something I try to rescue for fresh eating or preservation.
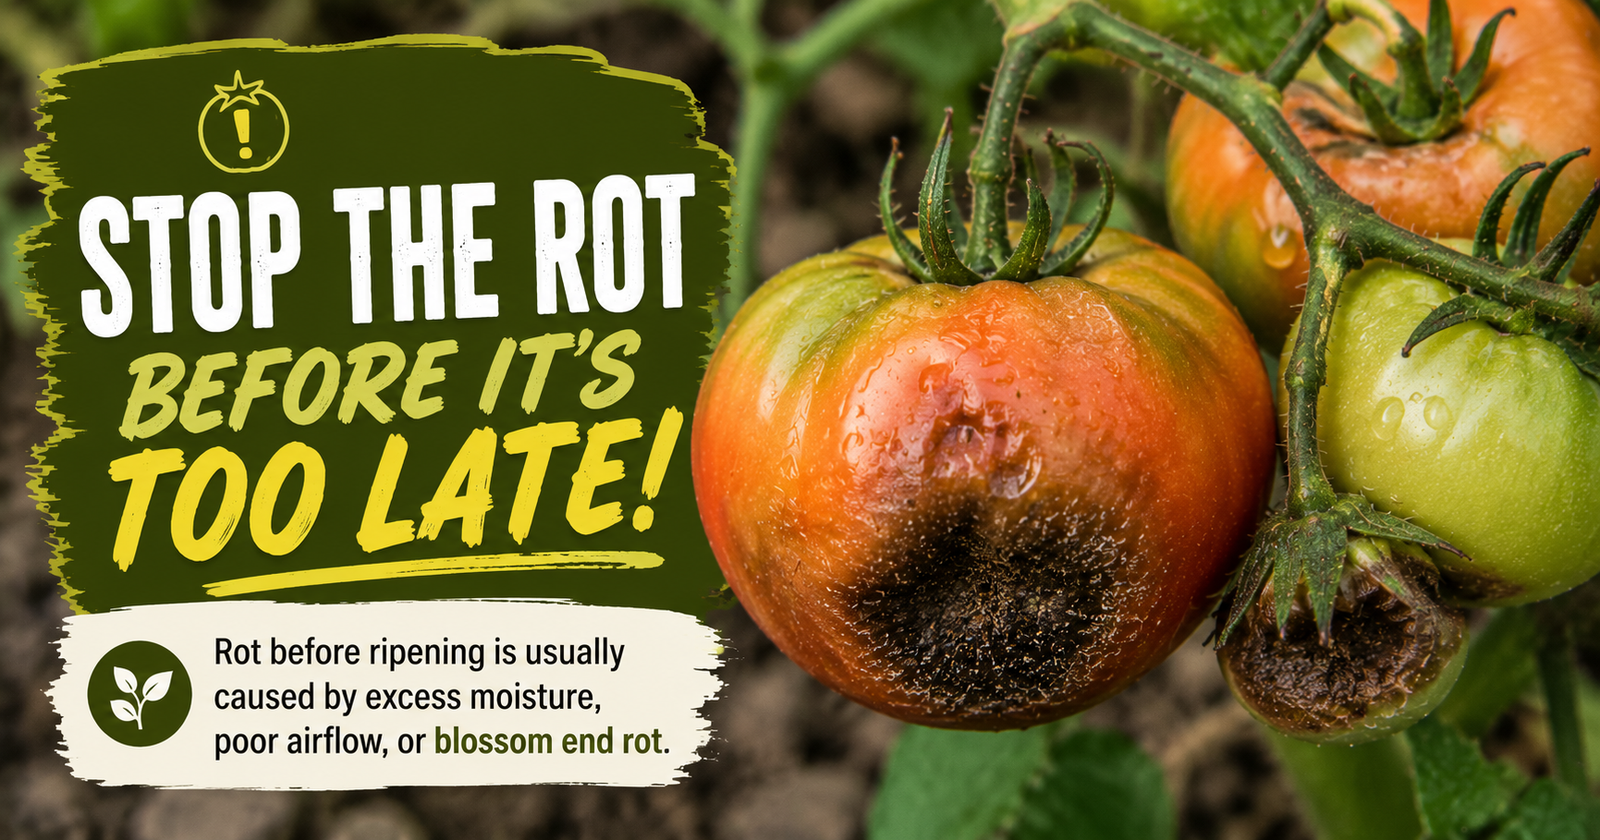
When a tomato’s damage is difficult to identify, I compare it with the symptoms in my guide to tomatoes rotting before they ripen.
What I Do When I Find Early Blight
Once I see convincing symptoms, I work through the plant methodically.
1. Remove the Most Affected Leaves
I remove leaves that are badly spotted, yellowing or dead. If a leaf has only one questionable mark, I may monitor it instead of immediately stripping the plant.
I use clean pruners and avoid touching healthy plants after handling infected foliage. If several plants are involved, I clean the blades between plants.
Diseased foliage does not go into a casual backyard compost pile unless I know the pile becomes hot enough to destroy plant pathogens. Bagging or otherwise disposing of the debris is the safer option.
2. Keep Soil From Splashing Onto the Plant
A layer of clean organic mulch forms a barrier between the soil and lower leaves. Straw, shredded leaves and untreated grass clippings can all work when used appropriately.
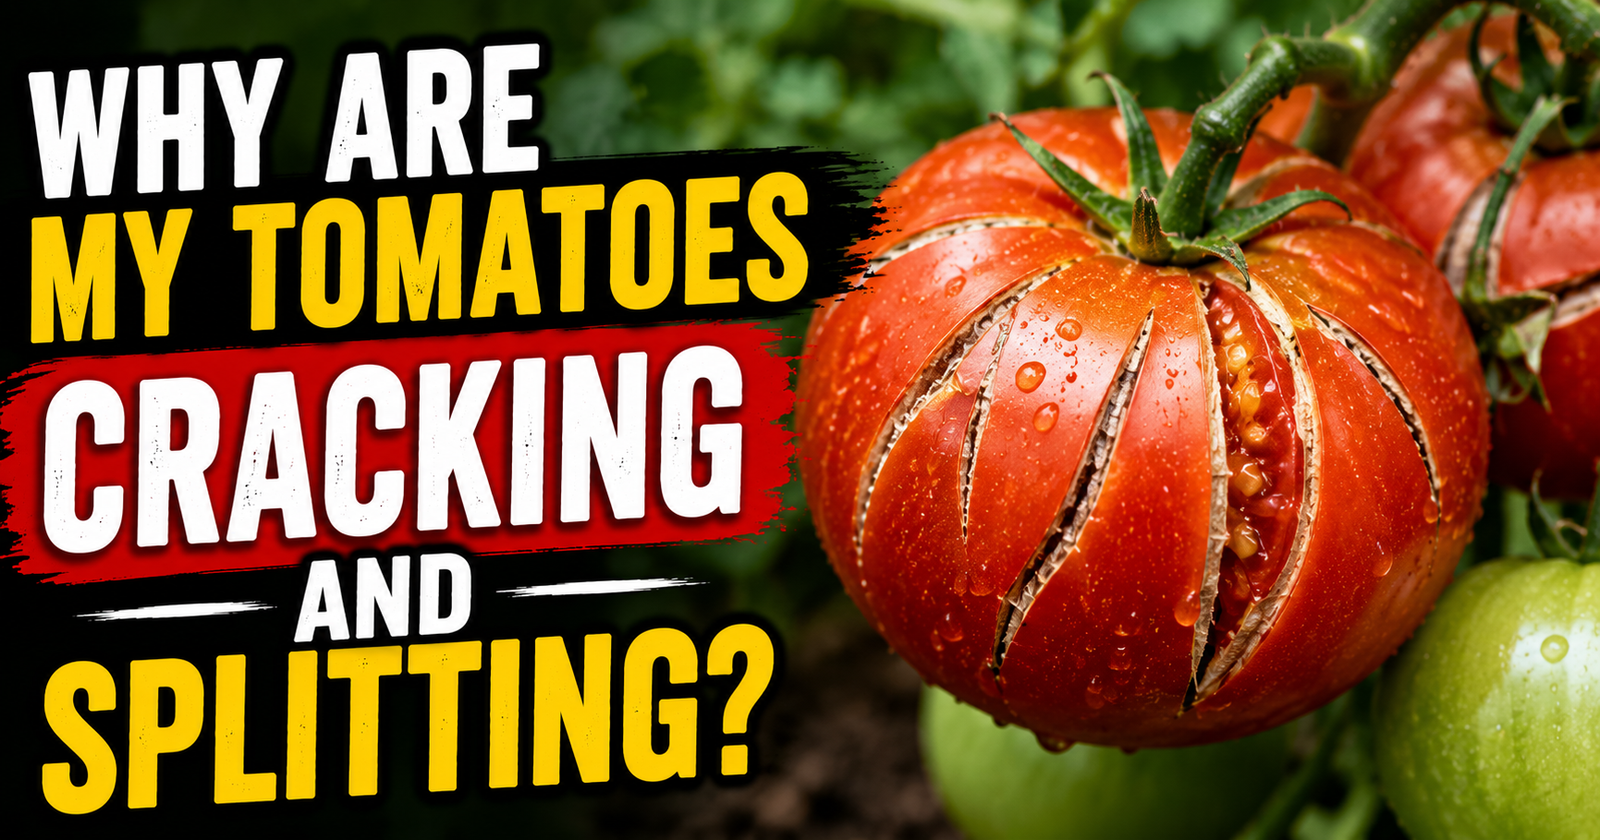
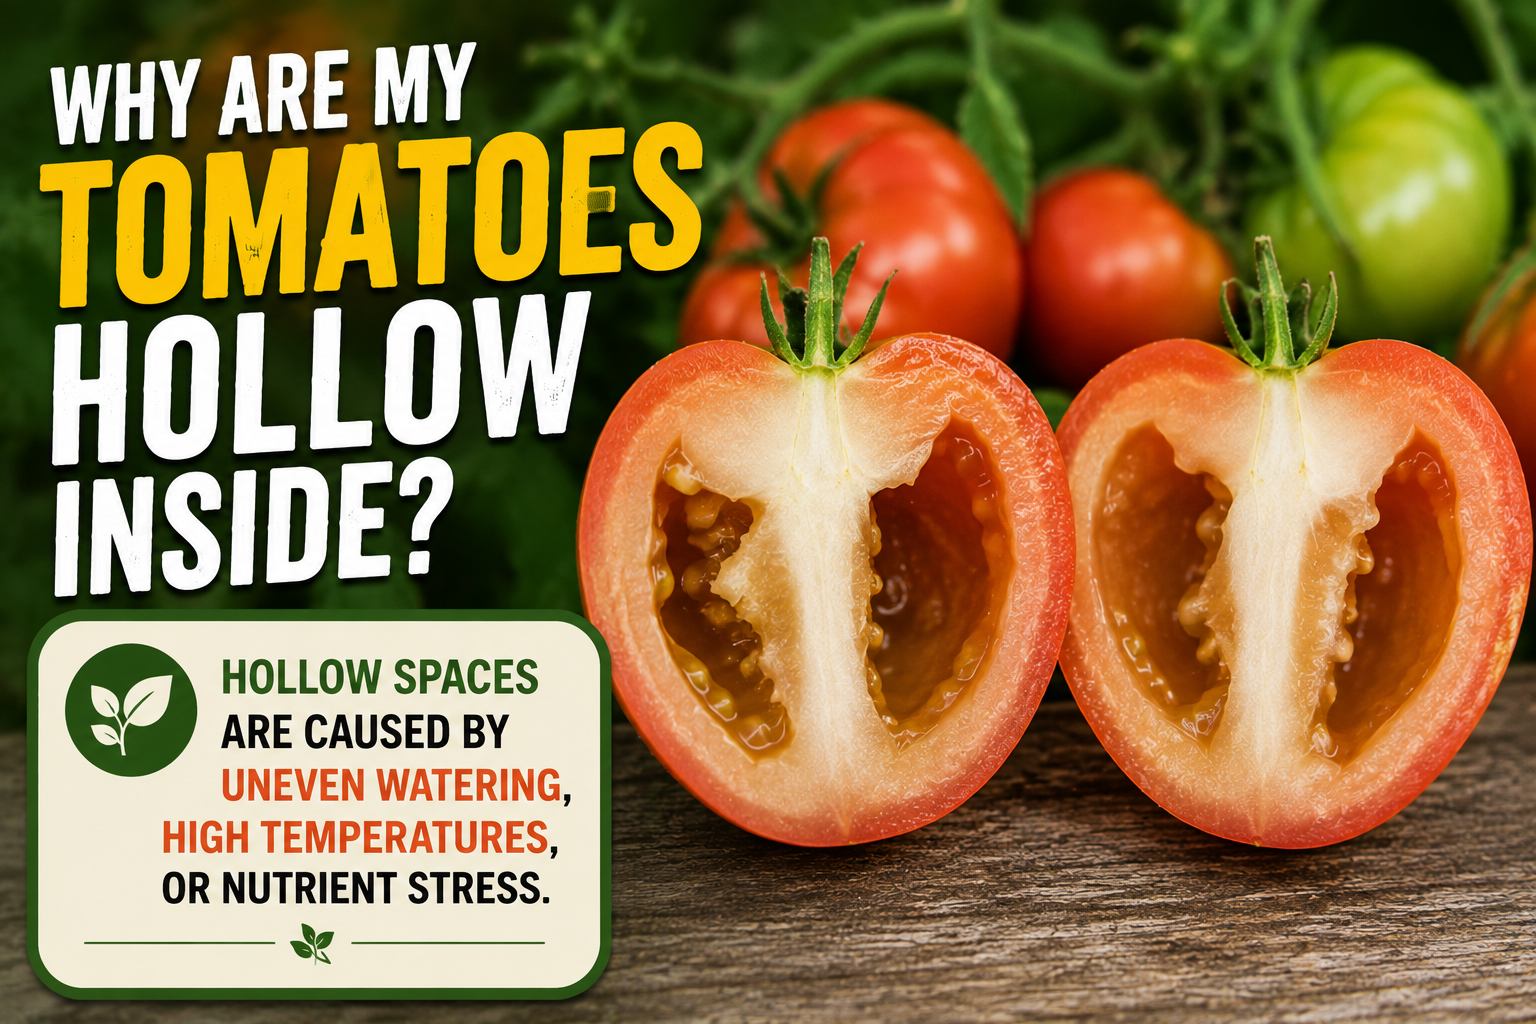
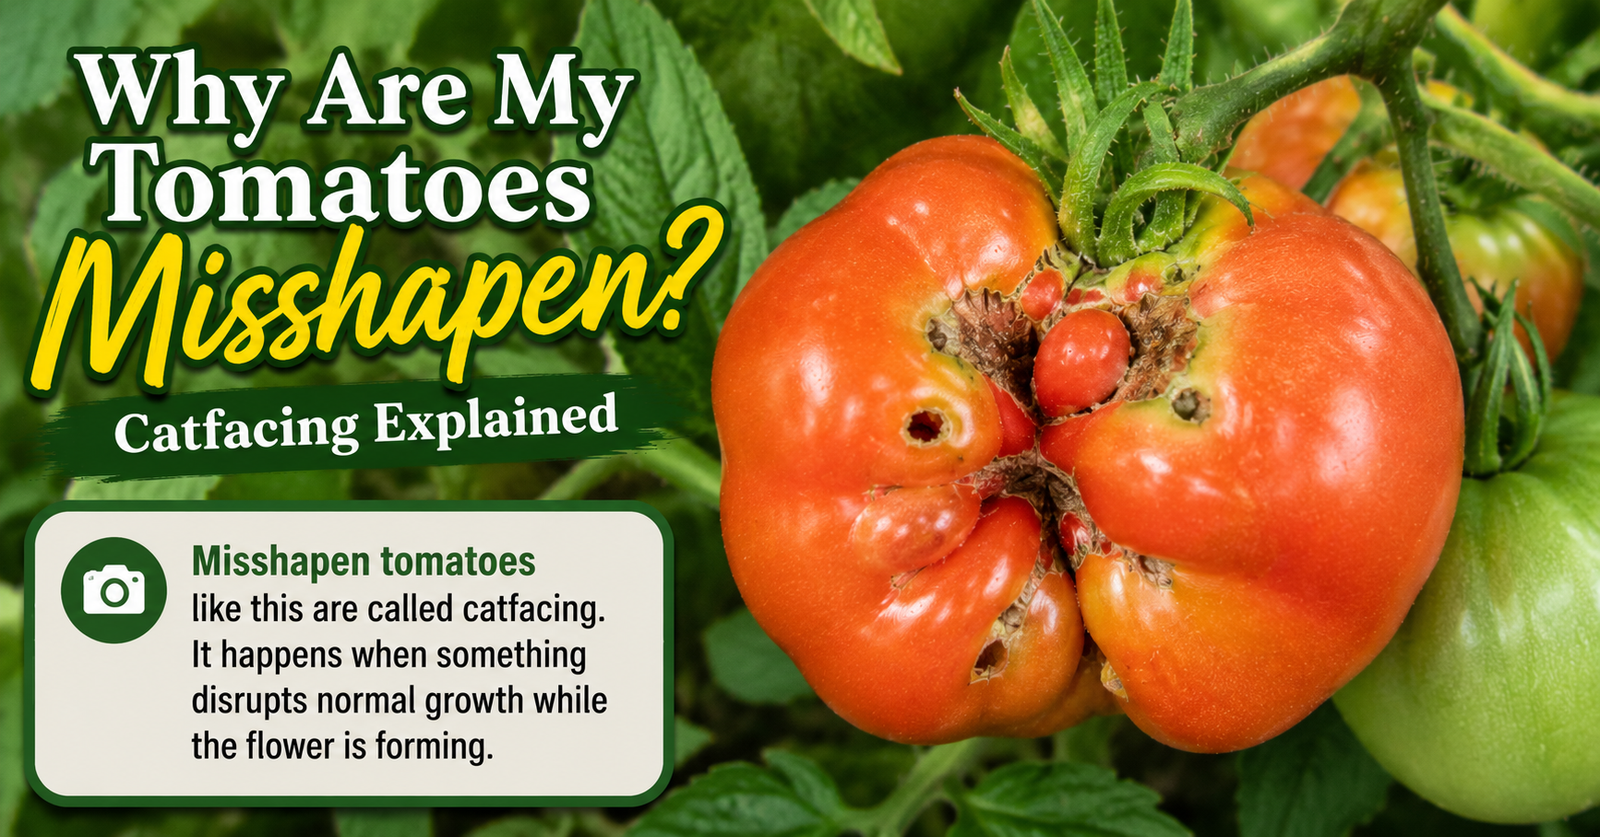
Mulch also moderates soil moisture. That matters because wildly fluctuating moisture can contribute to several fruit problems, including tomatoes that crack and split.
I leave a small amount of open space around the stem rather than packing wet mulch tightly against it.
3. Water at the Base
I direct water toward the root zone instead of spraying the entire plant. A soaker hose, drip line or watering wand held near the soil works well.
Morning is my preferred watering time. Any accidentally wet foliage has a chance to dry during the day.
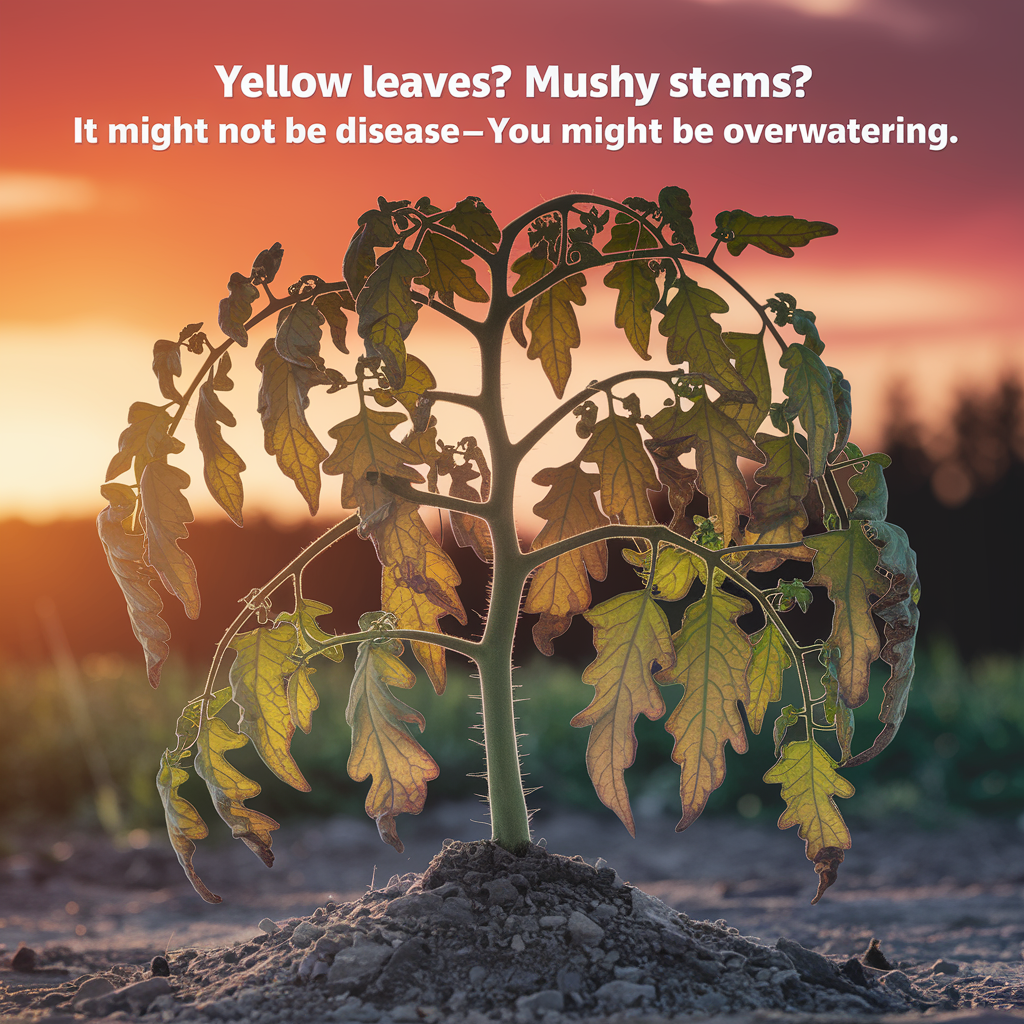
I also check the soil before watering. A plant suffering from constantly saturated soil can become stressed, and stressed plants often tolerate disease poorly. These signs of overwatering tomato plants help separate a genuinely thirsty plant from one sitting in wet soil.
4. Improve Airflow
Crowded tomato foliage dries slowly after rain and dew. I stake or cage plants, remove weeds and keep branches from sprawling across damp soil.
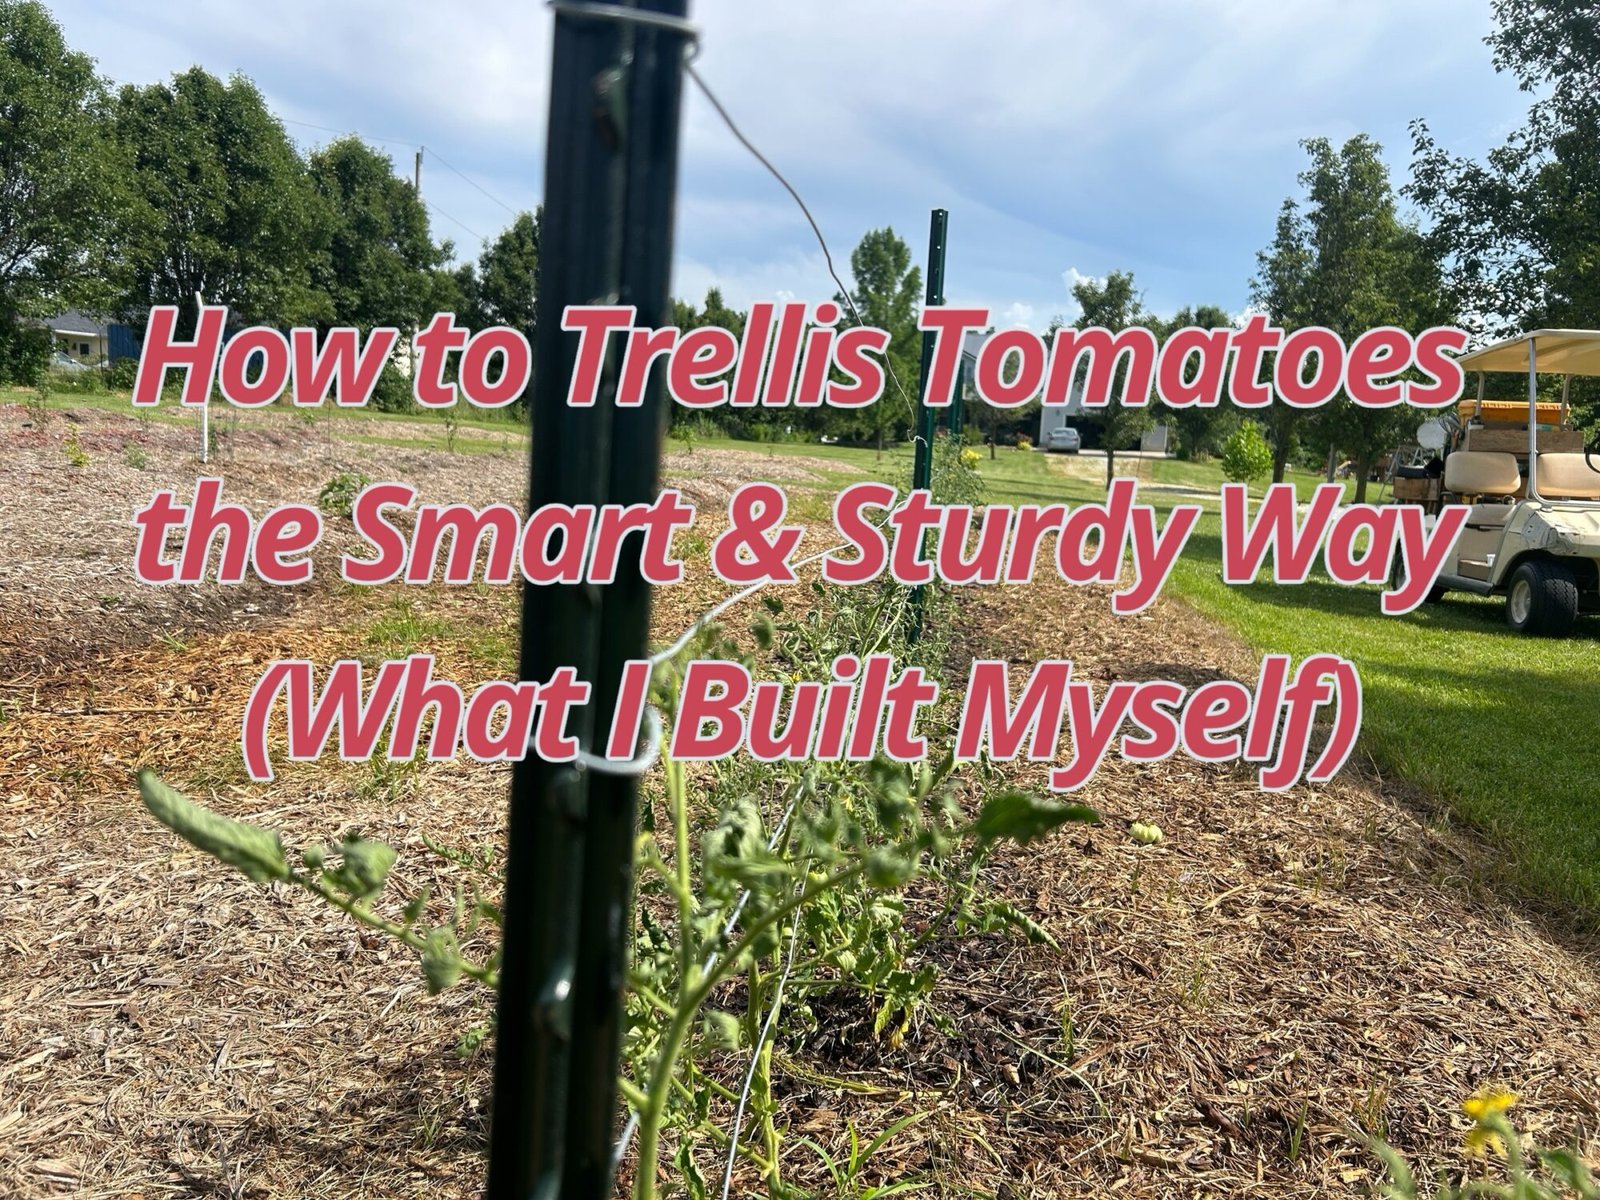
Supporting the vines also keeps fruit cleaner and makes early symptoms easier to spot. A strong tomato trellis system is one of the most useful forms of disease prevention I use.
I do not aggressively prune a wet plant. Working among damp leaves can help move pathogens from one part of the garden to another.
5. Monitor the Plant Every Few Days
Removing diseased leaves once is not the end of the job. I inspect the lower and middle foliage every few days, particularly after rain.
I watch for:
- Fresh spots on previously healthy leaves
- Damage progressing rapidly upward
- Dark stem lesions
- Spots appearing on fruit
- Multiple neighboring plants developing symptoms
A plant with slowly developing leaf spots may remain productive. A plant deteriorating rapidly deserves a closer diagnosis.
Should I Use Copper Fungicide for Early Blight?
Copper fungicide may help protect uninfected plant tissue, but it does not restore leaves that are already damaged. This is an important distinction.
A fungicide is most useful as a preventative treatment or when disease pressure is beginning, not as a miracle cure for a badly defoliated plant.
Before applying anything, I read the entire product label. The label explains:
- Which plants and diseases the product covers
- How much product to mix
- How frequently it may be applied
- Required protective equipment
- Weather restrictions
- How long to wait before harvesting
More product is not better. Excessive or poorly timed applications can injure plants and add unnecessary copper to the soil.
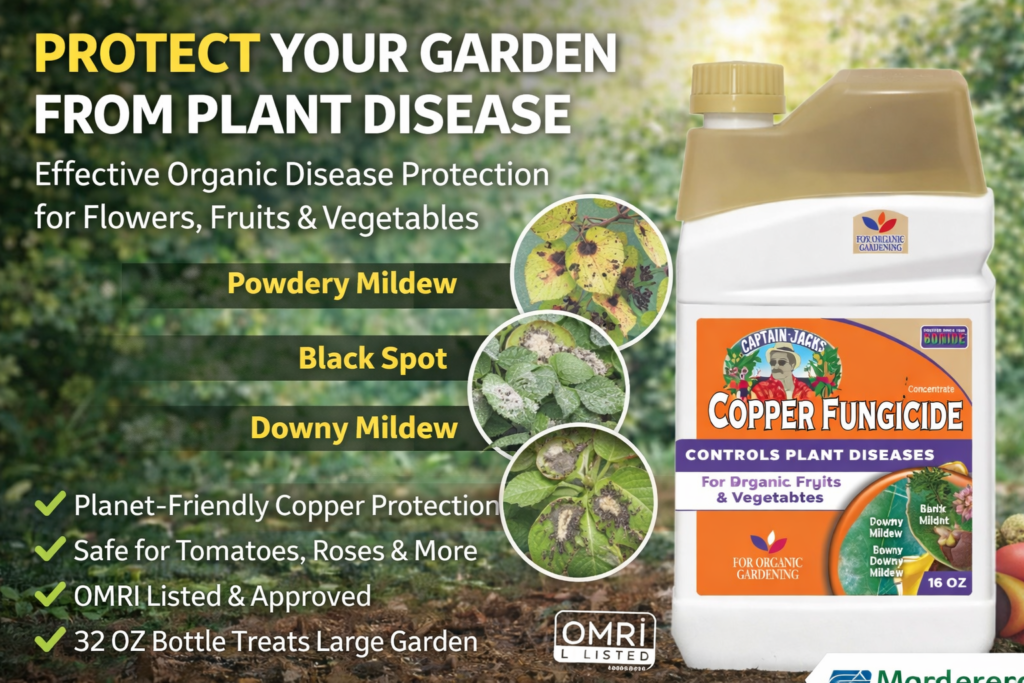
My guide to using copper fungicide on tomato plants explains where it may fit into a broader disease-management plan.
For many home gardens, sanitation, mulching, dry foliage and good airflow may be enough to keep ordinary leaf spot diseases manageable. The University of Minnesota Extension notes that most home-garden tomatoes do not require fungicide treatment for common leaf spot diseases.
Common Early Blight Mistakes
A few well-intended responses can make the situation worse.
Removing Too Many Leaves
Stripping a tomato plant nearly bare reduces its ability to produce energy and exposes fruit to direct sunlight. I remove the worst foliage first and reassess the plant before taking more.
Watering the Entire Plant
Spraying water over the foliage may spread contaminated soil and keep leaves wet. The roots need water. The leaves do not.
Fertilizing Heavily After Symptoms Appear
A struggling plant does not automatically need a strong feeding. Excess nitrogen can produce soft, crowded growth without correcting the disease.
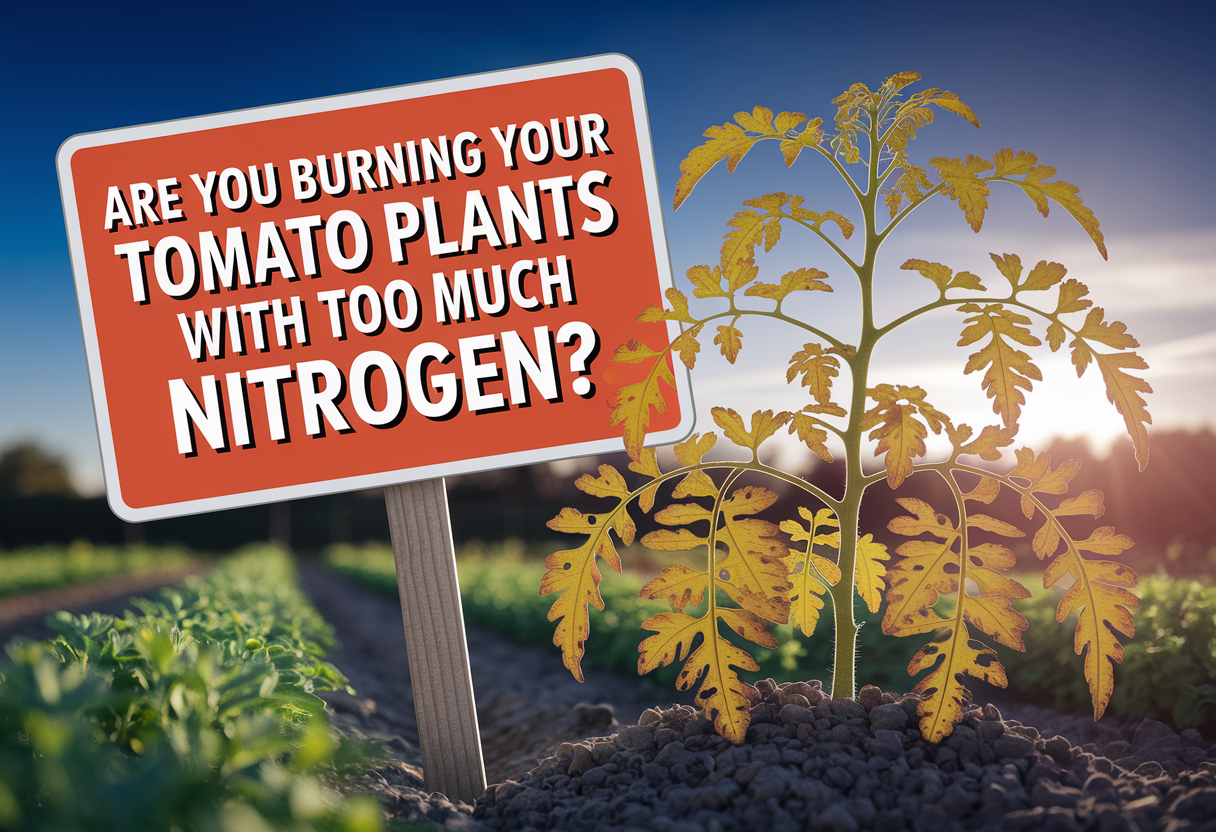
Before adding fertilizer, I consider the plant’s overall appearance, recent feeding and soil conditions. Too much nitrogen can damage tomato plants in ways that create additional confusion.
Expecting Diseased Leaves to Recover
Once a leaf has developed early blight lesions, those damaged areas will not turn green again. The goal is to protect healthy tissue and slow new infections.
Leaving Diseased Debris in the Garden
Old vines and infected leaves can help the disease persist from one season to the next. Good cleanup is part of next year’s prevention plan.
How I Prevent Early Blight Next Season
Early blight management begins before the first spot appears.
Rotate Tomato Family Crops
I avoid repeatedly planting tomatoes in the same small patch when space allows. Peppers, eggplants and potatoes are related crops, so replacing tomatoes with one of those does not provide a meaningful rotation.
The University of Minnesota Extension recommends rotating away from tomatoes and related crops for at least two years as part of early blight management.
In a small garden where rotation is difficult, containers and fresh growing mix can provide another option.
Start With Healthy Transplants
I inspect seedlings before bringing them home. I avoid transplants with spotted, yellowing lower leaves or suspicious stem lesions.
If I grow tomatoes from seed, I use clean containers and fresh seed-starting mix. Old garden soil is not suitable for starting seedlings indoors.
Space Plants Properly
Tomato plants that look comfortably spaced in spring can become an impenetrable wall by midsummer. I plan for their mature size, not their size on planting day.
Proper spacing improves airflow, makes pruning easier and allows leaves to dry faster.
Mulch Before Disease Appears
Mulching early is easier than trying to slide material under a large, tangled plant. I apply mulch after the soil has warmed and the young plant is established.
Remove Volunteer Tomatoes and Nightshade Weeds
Volunteer tomato plants and susceptible weeds may carry disease between seasons. I remove them instead of allowing them to grow among the new crop.
Choose Disease-Tolerant Varieties
No tomato variety is completely immune to every disease. Still, choosing varieties with useful resistance or tolerance can make a noticeable difference, especially in gardens with recurring disease pressure.

Will Early Blight Return Every Year?
It can return, particularly when tomatoes are grown in the same place and infected debris remains nearby.
Weather also plays a major role. A garden may have little trouble during a relatively dry season and experience much more disease during a warm, rainy summer.
I cannot control the weather, but I can reduce the conditions that help early blight spread:
- Clean up old tomato debris.
- Rotate crops when possible.
- Mulch bare soil.
- Water the root zone.
- Support plants above the ground.
- Provide room for airflow.
- Remove affected lower foliage early.
- Avoid working among wet plants.
These practices do not guarantee a spotless tomato plant. They do give the plant a much better chance of remaining productive.
Frequently Asked Questions
Can a tomato plant recover from early blight?
A tomato plant can continue growing and producing after a mild or moderate infection. Existing leaf lesions will not heal, but healthy new growth may remain productive if the spread is slowed.
Should I remove every leaf with a spot?
Not necessarily. I remove badly affected, yellowing or dying leaves first. Removing too much healthy foliage at once can stress the plant and expose fruit to sunscald.
Does baking soda cure early blight?
I do not rely on homemade baking soda sprays as a cure. Early blight cannot be reversed once lesions form, and incorrectly mixed homemade sprays may damage foliage. I focus first on sanitation, dry leaves, mulch and airflow.
Can early blight spread to other tomato plants?
Yes. Spores can move through splashing water, wind, infected debris, tools and garden activity. I handle affected plants carefully and avoid working among tomatoes while the foliage is wet.
Can I reuse soil after early blight?
The pathogen can survive on crop debris and in the garden environment. In an outdoor bed, I rotate crops and remove infected debris rather than attempting to sterilize the soil. For containers, replacing the growing mix and cleaning the container provides a cleaner start when disease was severe.
Is early blight caused by overwatering?
Overwatering does not directly create the pathogen, but wet foliage, splashing soil and prolonged moisture can encourage infection and spread. Poor drainage can also stress the plant.
Early Action Protects the Harvest
When I see ringed brown spots on the bottom leaves of a tomato plant, I act before the entire plant is involved. I remove the worst foliage, keep water off the leaves, cover exposed soil and open the plant to better airflow.
The objective is not to make every leaf perfect. It is to slow the disease, preserve enough healthy foliage and help the plant carry its tomatoes through harvest.
Once the plant is under control, I inspect the rest of the garden. Early blight is far easier to manage when I catch the first few spots instead of waiting for the lower half of every tomato plant to turn yellow and brown.
Written by Daniel Harper, an experienced home gardener who shares straightforward advice for growing healthier plants and solving common garden problems through Tomato Growing Tips.